


About
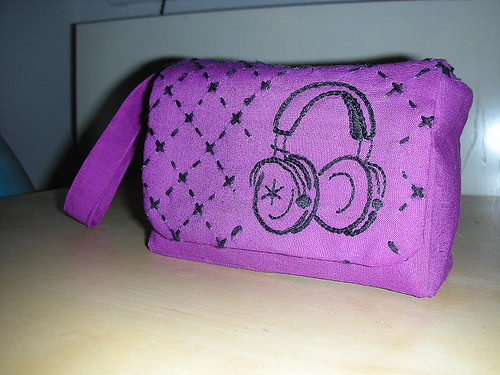
Embroidered Camera Case
made for my sister who saw my DS case and requested that i make her something... purple.
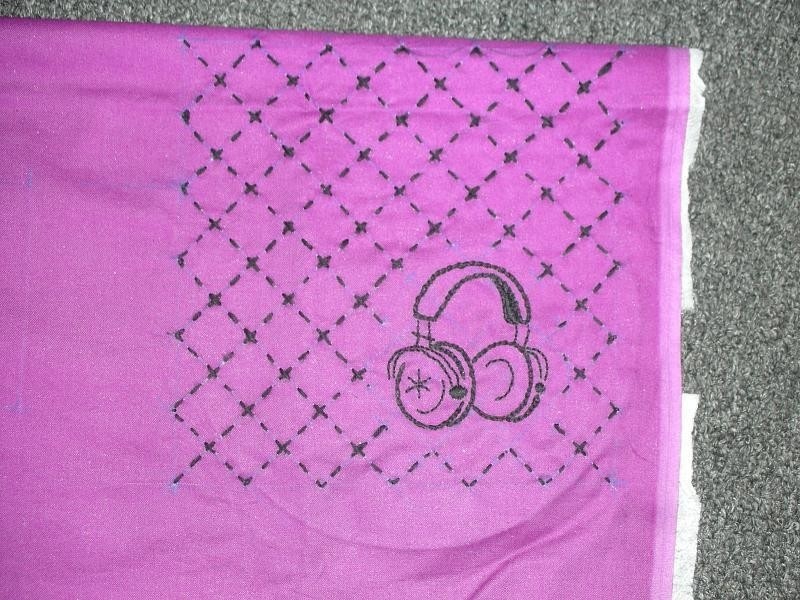
Used my own pattern from the size of the camera.
But used a Sublime Stitching Rock'n'Roll pattern.
Design requirements were:
- purple
- wristlet
- for taking to concerts
- cool looking
-
 Elaine M. commented on Headphones Embroidered Camera Case
21 Feb 13:14
Elaine M. commented on Headphones Embroidered Camera Case
21 Feb 13:14
-
Elaine M. favorited Headphones Embroidered Camera Case
21 Feb 13:13
-
 Step 1
From outside fabric (I ironed on interfacing before i cut the below):
- cut 1 side 15"x4"
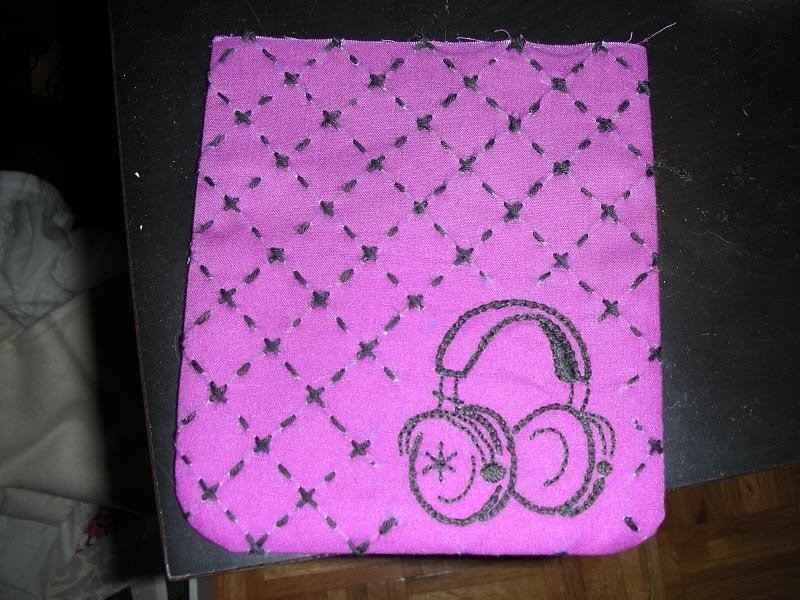
- cut 1 lid 6"x6" (you'll want to embroider this first if you're doing something similar to mine otherwise it won't fit in the embroidery hoop)
- cut bottom 6"x3"
- cut moo card holders 3.5"x2" -
Step 2
From batting and lining fabric cut:
- 1 side 15"x4"
- 1 lid 6"x6"
- 1 bottom 6"x3" -
Step 3
Measure and clip the long edge of the outside fabric at the following marks:
- 0.5, 5.5, 7.5, 12.5Press a crease at each of the measurements.
Sew sides together with a 1/2" seam
-
Step 4
Attach exterior sides to bottom
- right sides together and pin one by one (side by side)
- stitch around and backstitch at each clip
- trim the bottom corners -
Step 5
Attach the moo card holders to the lining piece, where you want them.
Then follow the previous steps 3+4 to make the lining with the batting and lining fabric.
-
 Step 6
Attach lining to the exterior.
- right side of exterior facing out
- wrong side of lining facing out
- fold in tops and pin
- stitch 2 sides around (i handstitched this but you can machine it)
- insert the wristlet hook in to the 3rd side
- leave the back open for now. -
 Step 7
Make lid piece by putting the lining and the outside fabric face together and stitching 3 sides around.
open out.
-
 Step 8
Insert the lid into the opening of the main piece and stitch closed.
Attach velcro or other fastening, velcro will keep it more secure.
-
 Step 9
Finished!
I'm sorry this is kind of sketchy but i sort of made a lot of it up on the fly.
If you have any questions please feel free to message me and I'll help out however I can.


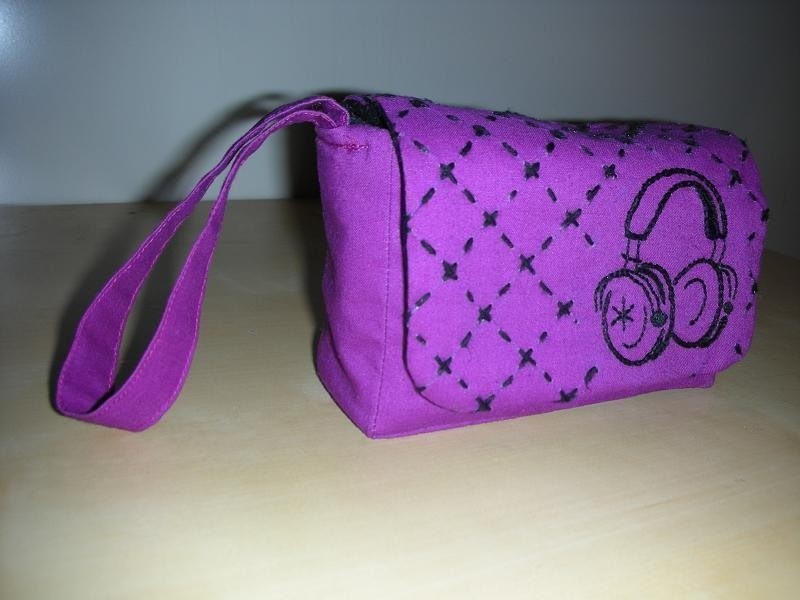


the color is so cool with the blue embroidary