Harvest Moon Halloween Hanger
Extract from Glitterville's Handmade Halloween • By Stephen Brown • Published by Andrews McMeel Publishing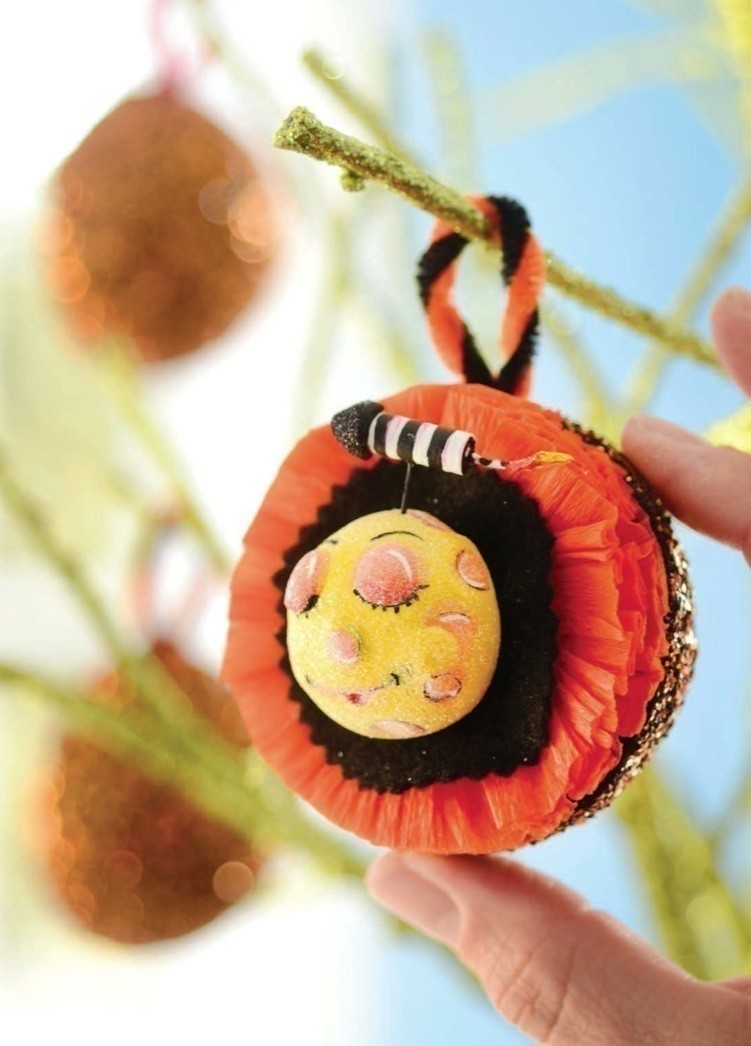

About
The iconic faces of the season shine brightly on these glittering balls for the holiday.
Like a Halloween hanging hatter, my pattern placement I do scatter.
From the branches of my October tree, hang glittered balls so rarely seen.
I purposely peruse for the perfect place, so from the ground, you see each smiling face.
I look up through the twigs, my elation muffled, to see if anyone needs to be shuffled.
It’s the picture of autumnal perfection. I take that back, there’s one correction.
I should make a few more balls, not for myself, but for friends who call.
The fall is for sharing the harvest, you see, so start with those picked from a glittered tree.
The iconic faces of the season shine brightly on these glittering balls for the holiday. Using elementary school–style glitter gives them a thick texture that makes them seem vintage but with a modern twist. A loop of chenille at the top allows them to be suspended by multicolored ribbons.
From Glitterville’s Handmade Halloween: A Glittered Guide for Whimsical Crafting! by Stephen Brown/Andrews McMeel Publishing, LLC
Tags
© 2024 Stephen Brown / Andrews McMeel Publishing · Reproduced with permission.
-
 mmotse03 favorited Harvest Moon Halloween Hanger
19 Aug 22:28
mmotse03 favorited Harvest Moon Halloween Hanger
19 Aug 22:28
-
 sternchen favorited Harvest Moon Halloween Hanger
02 Nov 13:01
sternchen favorited Harvest Moon Halloween Hanger
02 Nov 13:01
-
 Alissa B. favorited Harvest Moon Halloween Hanger
27 Oct 05:49
Alissa B. favorited Harvest Moon Halloween Hanger
27 Oct 05:49
You Will Need
-
 Step 1
Use a serrated knife to cut the Styrofoam ball in half.
-
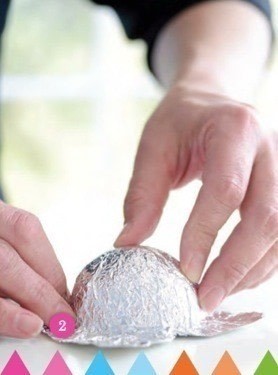
 Step 2
Brush the round side of the half- ball with white glue and press a 6-inch square of aluminum foil over it, leaving the excess foil flat around the half-ball as shown. Covering Styrofoam with foil makes it seem more substantial and allows it to accept glitter much more evenly.
-
 Step 3
Turn the half-ball over, brush the flat side with white glue, and add another 6-inch square of foil as shown.
-
 Step 4
Use scissors to trim the excess foil, leaving about 1?4 inch all the way around.
-
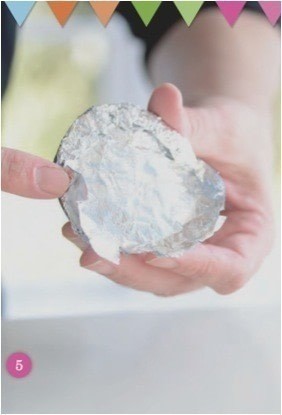
 Step 5
Use your fingers to fold the foil toward the flat area of the half- ball all the way around. This will be easier if you snip the edges before folding.
-
 Step 6
Paint the rounded side of the half- ball black and allow to dry.
-
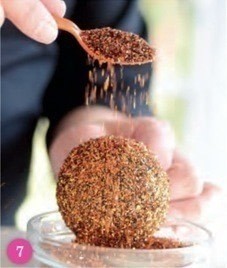
 Step 7
Brush the rounded part of the half- ball with white glue and sprinkle it with glitter. Do not glitter the flat side.
-
 Step 8
Make a pleated circle of crepe paper and use flat-headed straight pins to secure it to the flat side of the half-ball.
-
 Step 9
Use pinking shears to cut a black felt circle that is approximately 2 inches in diameter.
-
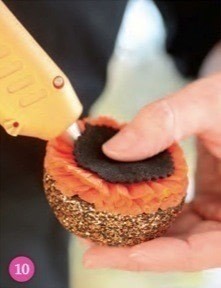
 Step 10
Use hot glue to attach the felt circle to the center of the pleated crepe paper, making sure the straight pins are hidden underneath.
-
 Step 11
Sculpt the moon medallion for the front of the ornament out of paperclay and allow it to harden.
-
 Step 12
Paint the medallion with a base coat of yellow and allow to dry.
-
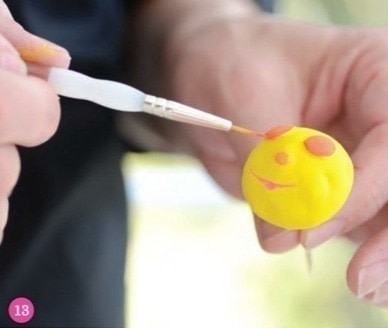
 Step 13
Color block the eyes, nose, and mouth and allow to dry.
-
 Step 14
Paint the finishing details and allow to dry.
-
 Step 15
Brush the moon face with white glue and sprinkle with clear iridescent glitter.
-
 Step 16
Hot glue the finished medallion in the center of the felt circle. I’ve also added a small paperclay rocket.
-
 Step 17
Use a kitchen skewer to make a small hole in the top of the ornament.
-
 Step 18
Make a small loop for hanging out of a 3-inch piece of regular chenille stem. Dip the ends in white glue and insert them into the hole on the top of the ornament.