


About
Make your own books, old style.
This is my second favorite method of bookbinding.
# Plus points include: It's swisher, or "more professional"
# More durable
# Good recycling opportunities (game boards for the cover, etc)
And minus point:
# I just like the other method; it's kind of kooky/whathaveyou.
I'll get round to doing a tutorial of method numero uno at some point :)
-
 Conner W. added Hardback Bookbinding to book crafts
15 Jul 16:21
Conner W. added Hardback Bookbinding to book crafts
15 Jul 16:21
-
 Rachael H. added Hardback Bookbinding to Books/Journals
16 Dec 17:09
Rachael H. added Hardback Bookbinding to Books/Journals
16 Dec 17:09
-
 bomont favorited Hardback Bookbinding
15 Nov 07:03
bomont favorited Hardback Bookbinding
15 Nov 07:03
-
 sfloyd1 added Hardback Bookbinding to to make
06 Sep 02:37
sfloyd1 added Hardback Bookbinding to to make
06 Sep 02:37
-
sfloyd1 favorited Hardback Bookbinding
06 Sep 02:30
-
 dee M. favorited Hardback Bookbinding
02 Jun 12:50
dee M. favorited Hardback Bookbinding
02 Jun 12:50
-
Jenn L. added Hardback Bookbinding to bookmaking
14 Nov 06:07
-
 BlauPiepmatz favorited Hardback Bookbinding
20 Aug 21:07
BlauPiepmatz favorited Hardback Bookbinding
20 Aug 21:07
-
 Jen O. favorited Hardback Bookbinding
18 Aug 17:31
Jen O. favorited Hardback Bookbinding
18 Aug 17:31
You Will Need
-
Step 1
Equipment
# A heavy duty craft knife, preferably a stanley knife or whatev.
# A ruler. Use "W" shaped metal one, any others will slip or get cut into by your knife.
# A large sewing needle, I use a tapestry needle.
# A compact weight, a small but full cashbox is perfect.
# A brush and pot for your glue(s). I find a cheap kiddy brush works fine, and a paper cup cut down to a dish-shaped thing is good.Supplies
# Paper. Use anything you want, really. I tend to make A5 sized sketchbook-type books, so I get 100grm A4 paper. Basically, you want each sheet of paper you have to be twice the size of your finished book.
# Thick card. You can use anything, as I said above, old game boards, record covers, whatev. The thickness is up to you. I like to get A1 greyboard from paperchase and cut it down to size. That's about 2mm thick.
# Scrap of thin card. This doesn't have to be pretty or anything; it's for the spine. Manilla folders or good, as are (I have found) covers from university prospectuses.
# Something to cover your cover. Let your imagination run wild, ahem. I go for anything from cardstock I've stolen from school, old LP covers, er, gift wrap, etc etc. You want it to be fairly durable, but also pretty. And big enough to cover your cover, with about 4-5 inches left top and side to overlap.
# Glue. Hm, I'm no expert on this issue. I've used bostik extra-strong, PVA and a few in between. I find that PVA is easier to work with, easier to clean up when you mess up, and doesn't wrinkle the pages as much. The main downside to bostik, however, is that it gets a little trippy, especially when you leave the cap off. Hm.
# Thread of some kind. It needs to be strong enough that it hold the pages, doesn't snap when you're sewing it, or roughing the book up. It also needs to be thin enough that it doesn't pose a problem when closing the book, and won't get caught up in the holes. I've used embroidery floss, but also just sewing thread, doubled up. Both were fine, but possibly the lazy options, hmpf. Colour is, of course up to you. I use brighter colours, cause I think it's nice when you can see how a book is made, it gives it a little character, but you can match the colour of your pages to camouflage, whichever.
# Ribbon. You need two or three equal(ish) pieces, I'd recommend the non-silky types, for stickiness sake. You can also Have a little extra for spine protectors (labeled 'headbands' here), and a ribbon bookmark.I think that's everything. Let's go.
-
 Step 2
Decide on how many pages you'd like your book to have.
For this I did 21 sheets of A4, in seven sections of three.Fold each piece of paper in half, short edges together. Try your best to be neat. Squash those edges down nice and flat.
-
 Step 3
Group the pages into booklets (or 'magazines', as they're called in this context). How many sheets to each magazine is up to you, but I'd recommend 2-5 as the boundaries for this kind of scale.
-
 Step 4
Cut some pieces of ribbon, around 6-7cm each.
-
 Step 5
measure the width of your ribbon.
Mine's 16mm. -
 Step 6
Now for some maths.
Please bear in mind that you can totally eyeball this whole part. I'm just a control freak, and it would keep me up at night knowing that my ribbons may not be equally spaced out on the spine of my sketchbook. Call me weird if you will.Take your ribbon width, times it by two and add on one or two mm for comfort (you'll understand later on, promise).
measure the height of each of your pages. Mine's 21cm (A5, yes?). Take away 1cm.
Take the ribbon-times-two-thing away from your page height (so, 20-3.4 for me)
Then divide the whole lot by three.
I get 5.5cm.
THIS IS THE MAGIC NUMBER. -
 Step 7
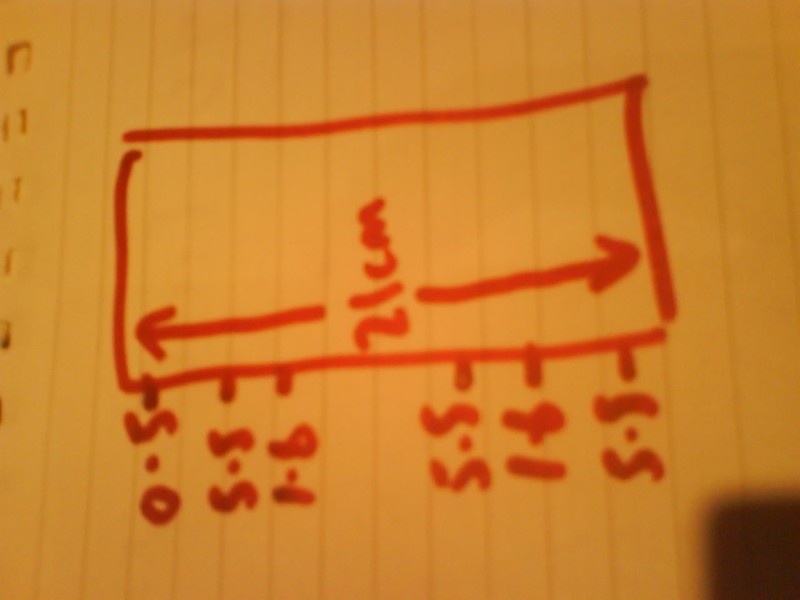
Now for one of my brilliant diagrams.
*ahem*
it really doesn't help that it's sideways :/
Imagine it's rotated 90 degrees clockwise.The numbers down the side indicate the teeny cuts we'll be making to sew through in a short while.
The numbers (in cm) are not adding up as we go down- they refer to how far away the current mark is away from the one above it.
Christ on a bike, I'm waffling on.
We start with 0.5cm in from the top.
Then the MAGIC NUMBER comes in, and then the ribbon width, then MAGIC NUMBER, ribbon width, magic number, then (hopefully) that last mark is 0.5cm from the bottom.PHEW.
-
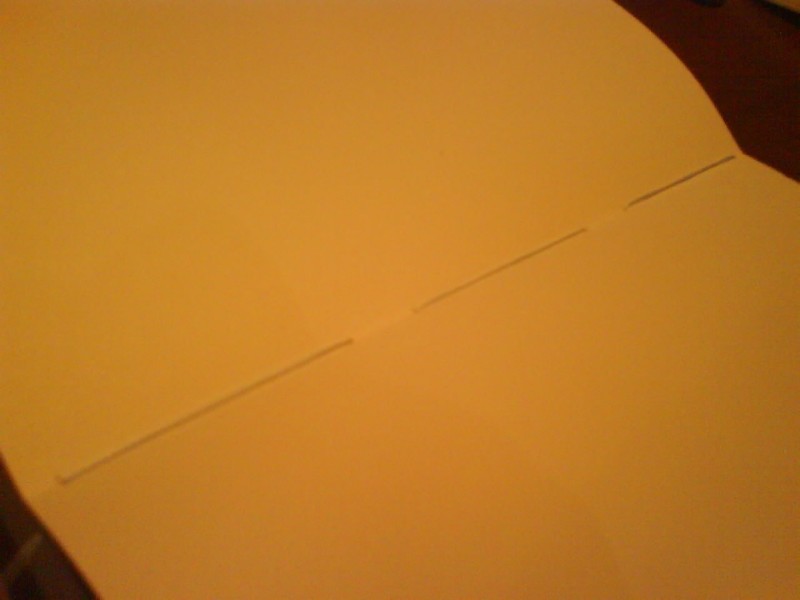
 Step 8
Can you see my little marks?
I cut with my hefty stanley blade, but you can also use a pin and blu-tack (pokey-through method), or whatever.
Hold each magazine tight and steady when you do your cuts, mind your fingers, and make sure each cut goes through every sheet.
Do the same for all of your magazines. Fun (y)
-
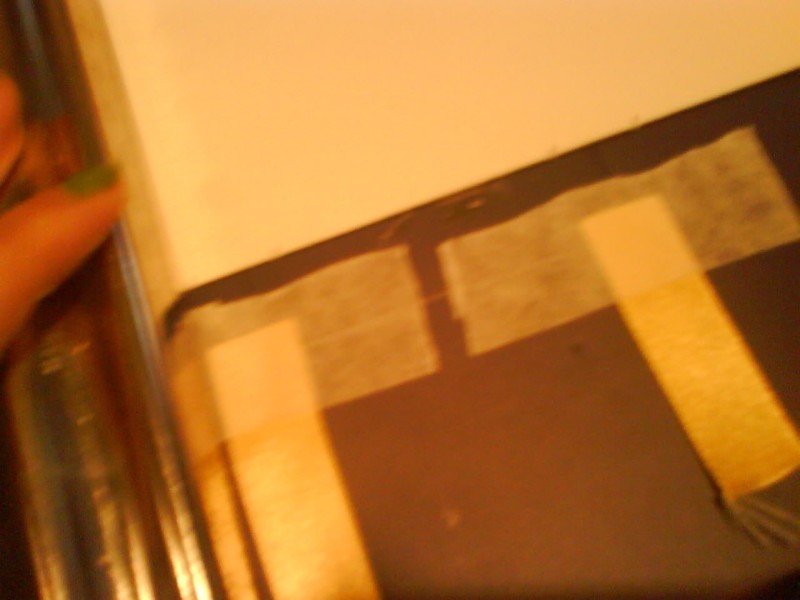
 Step 9
Using your pre-cut holes as a guide, tape two ribbons in place, under the correct gap.
This picture might be of some use;
http://davethedesigner.net/booktut/images/book4.gifSee what I mean now?
-
 Step 10
Thread yo' needle.
Hm.
-
 Step 11
Going in from the outside (:/) sew along the fold of your first magazine.
You want the thread to loop around each ribbon, attaching it to the paper. As you add more magazines, you'll see why the ribbon is important. -
 Step 12
In and out, in and out, all the way along the spine. You should come OUT again at the hole 0.5cm from the opposite end.
-
 Step 13
Give everything a little tug.
Make sure the magazine's sitting flush with your ribbons.Ooh, and make sure you left a tail at the beginning to tie off.
-
 Step 14
Attatch another magazine in the same way, looping the ribbons and so on.
When you reach the tail that you left, tie a nice tight double knot.
-
 Step 15
When you get to your third magazine, you'll need to start using the kettle stitch.
This is just to make sure the ends match up nice,and to strengthen the spine.
When you come 'out' at the end of your third magazine, simply insert the needle underneath the stitch beneath, as shown, pull though, and set onto the next magazine.
-
 Step 16
Add all of your magazines in this way. Lovely.
Tie a nice tight knot.
-
 Step 17
It feels like a book now, eh? :)
Have a play around with it, make sure the ribbons aren't scrumpled, etc.
-
 Step 18
Now for the cover.
CAREFULLY (I have sustained many injuries from this) cut two pieces of greyboard the same size as your paper.
Ie, mine was 21cm high, 15cm wide.
So two of them please.
-
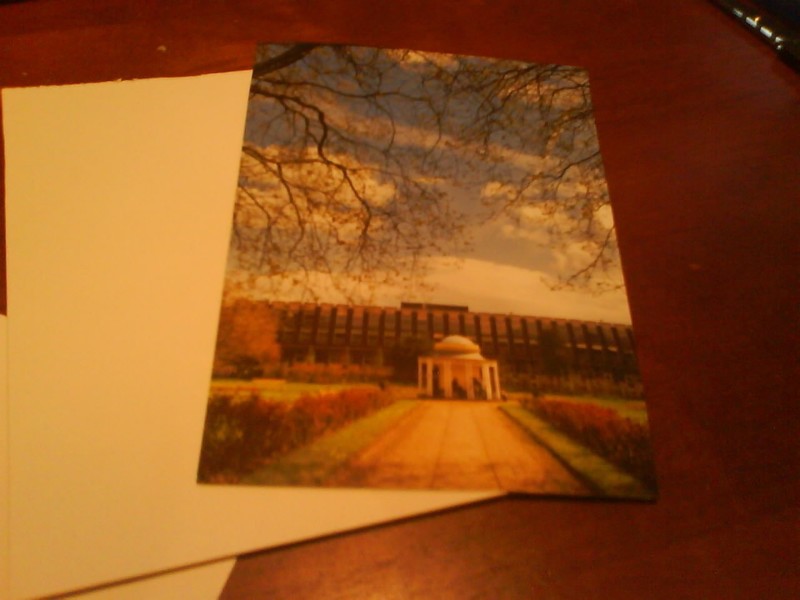
 Step 19
Also cut a bit of scrap card the same size.
This is the inside of a liverpool university prospectus, if anyone's wondering. Fancy, eh?
-
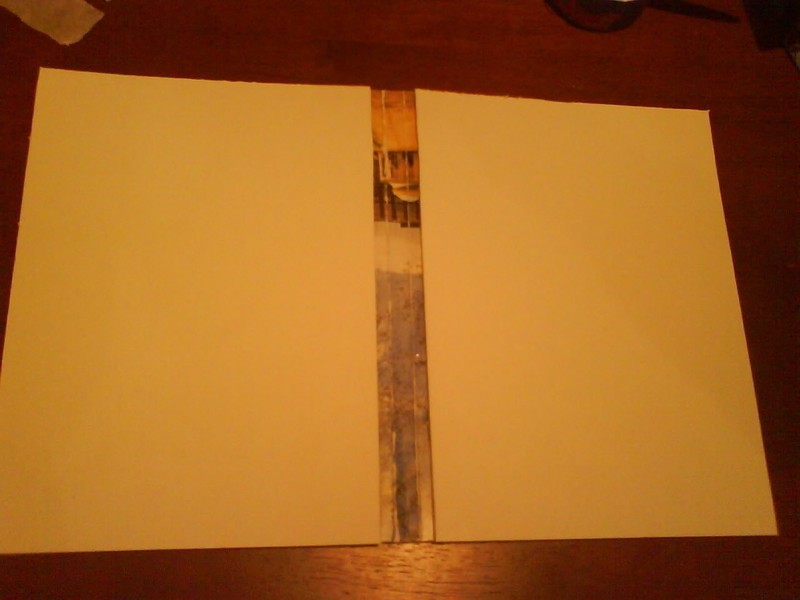
 Step 20
Oh my, this is a really horrible picture.
Imagine this mess is in the middle of the piece of card :/
The smaller double-ended-arrow is the width of the spine of my book.
Then, added onto either side of this, 3-8mm. (I go for around 4)
Score lightly down each of these lines, longways down the page. -
 Step 21
Time for glue!
spread glue over the portion of your card after all the lines.
Then attach a piece of cardstock, lining it up with your most outerly scored line.
Do the same for the other side.
You should probably leave it to dry.
I never do :/ -
 Step 22
Mmn, like that.
Ta da :D
-
 Step 23
Take another piece of paper, the same size as one page, and glue it down the spine.
Then glue the ribbons to it, and then all of that to the outer pages on each side.
-
 Step 24
Cover your cover.
I've used a Gilbertand Sullivan LP cover here, but I wouldn't reccomend that thickness of card.Normally, plain old cardstock is fine.
-
 Step 25
Thoroughly glue the first page of the magazines to the inside of the cover.
Then do the same for the other side.
-
Step 26
Leave to dry under your compact weight for a few hours.
FIN!


yesterday i made one!!it was a bit difficult but it worth the effort!!!
i'll upload my version soon!
Signed
Anon Hoarder!!
Signed
Anon Hoarder!!