
About
A cute memoboard for the thrifty (broke).
This project was so easy and fun, I can't wait to do it again when I have better decorations at hand :)
-
 Kathy Gregson added Handy Heart Knock Off to Weihnachten
07 Dec 03:32
Kathy Gregson added Handy Heart Knock Off to Weihnachten
07 Dec 03:32
-
 Meena R. favorited Handy Heart Knock Off
07 Apr 10:26
Meena R. favorited Handy Heart Knock Off
07 Apr 10:26
-
Rae F. added Handy Heart Knock Off to good ideas
10 Feb 15:21
-
 sherry.engle.5 favorited Handy Heart Knock Off
02 Dec 02:16
sherry.engle.5 favorited Handy Heart Knock Off
02 Dec 02:16
-
 Youghurt Jaja favorited Handy Heart Knock Off
27 Oct 19:08
Youghurt Jaja favorited Handy Heart Knock Off
27 Oct 19:08
- Hazzard favorited Handy Heart Knock Off 18 Oct 05:13
-
Kathy Gregson favorited Handy Heart Knock Off
18 Oct 00:35
-
 Belle favorited Handy Heart Knock Off
16 Oct 23:45
Belle favorited Handy Heart Knock Off
16 Oct 23:45
-
 Pam ^_^ favorited Handy Heart Knock Off
16 Oct 22:31
Pam ^_^ favorited Handy Heart Knock Off
16 Oct 22:31
-
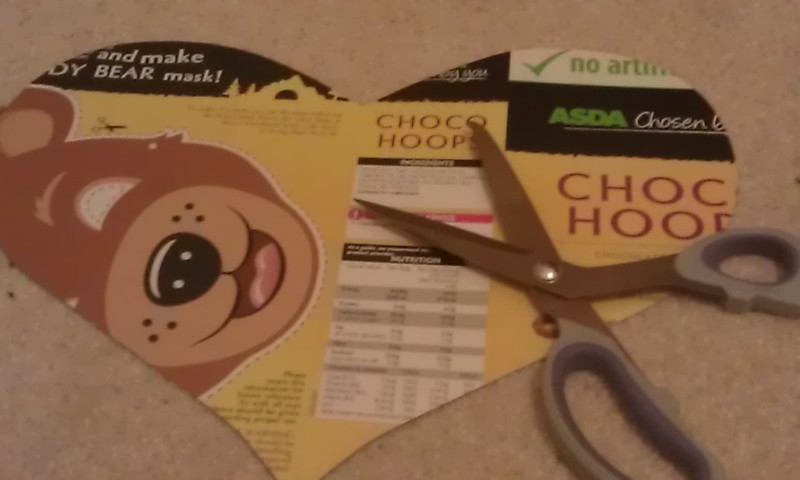
 Step 1
Cut out your desired shape from your cardboard, twice, and glue your pieces together. The more pieces you have, the sturdier it will be.
-
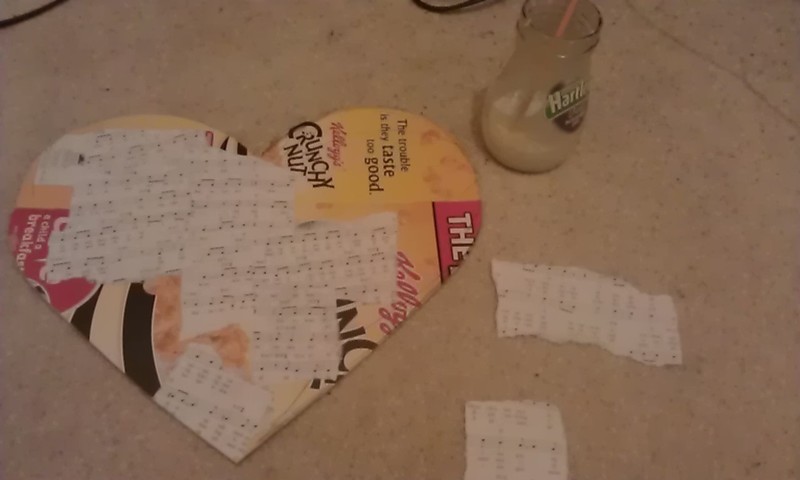
 Step 2
As cover, I chose 'faux burlap' (it's was a plant protector), and since the holes in them are quite big, I had to cover up the the colors from the cereal brand. I mod podged some torn pieces from a music sheet to cover the front. You could cover the back as well if you want to be fancy. I didn't. I'm not fancy.
NB! : If you choose a fabric that isn't full of holes, you could put some batting under the fabric, to create a softer look.
-
 Step 3
Lay the fabric of your choice over your heart, and thumbtack it down.
-
 Step 4
Now flip it over and start thumbtacking the folds on the back, while drenching the edges in Elmers glue (or staple it down, if you have such fancy things on hand).
Stamp, stencil or decorate the front as you wish. Throw some glitterglue on it, let your hair down, go crazy. Let the glue dry. While letting it dry, put a book on top to make sure your cardboard doesn't bend while drying.
-
 Step 5
Remove all thumbtacks (so that you don't stab yourself on the ones pierced through the back). Take one long piece of thread and wrap it around your heart, pull it tight, and thumbtack everywhere the thread makes an 'X'. Tie it on the back.
-
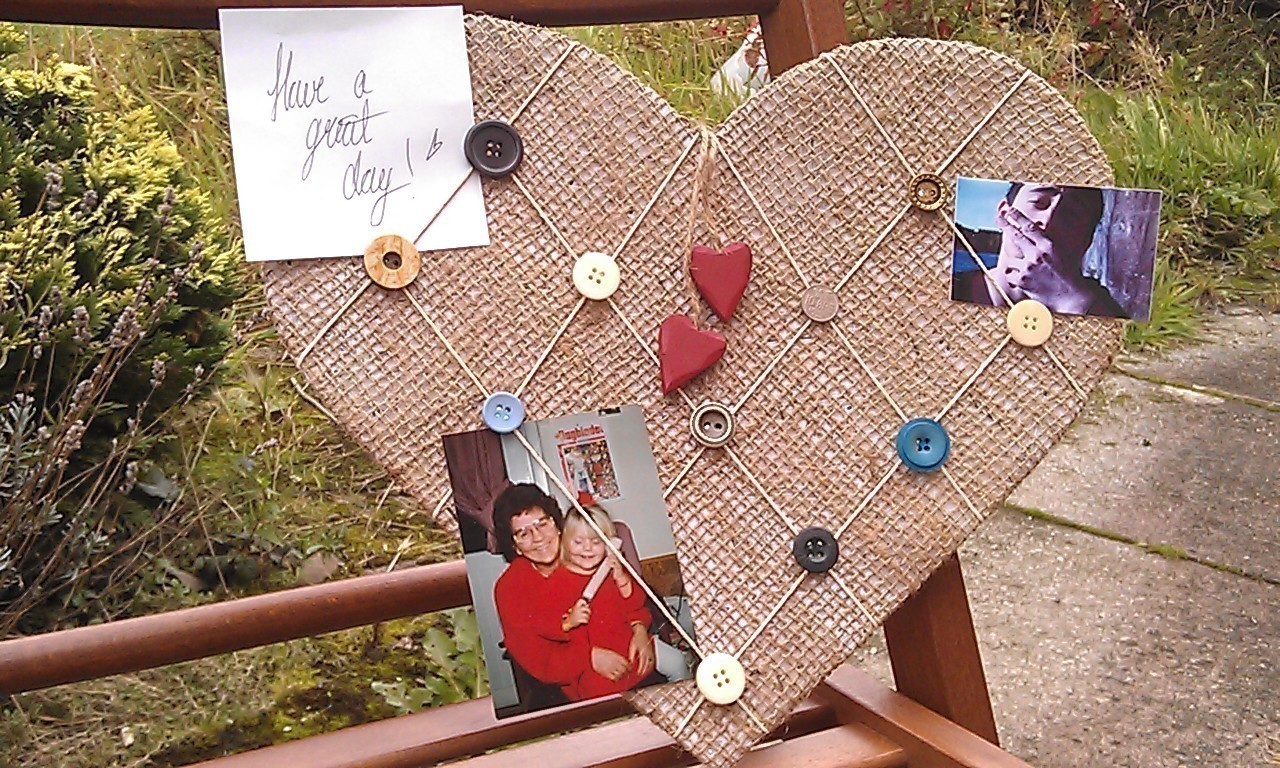
 Step 6
Hang it on your wall (or pose pretentiously on a chair) and enjoy :)