
About
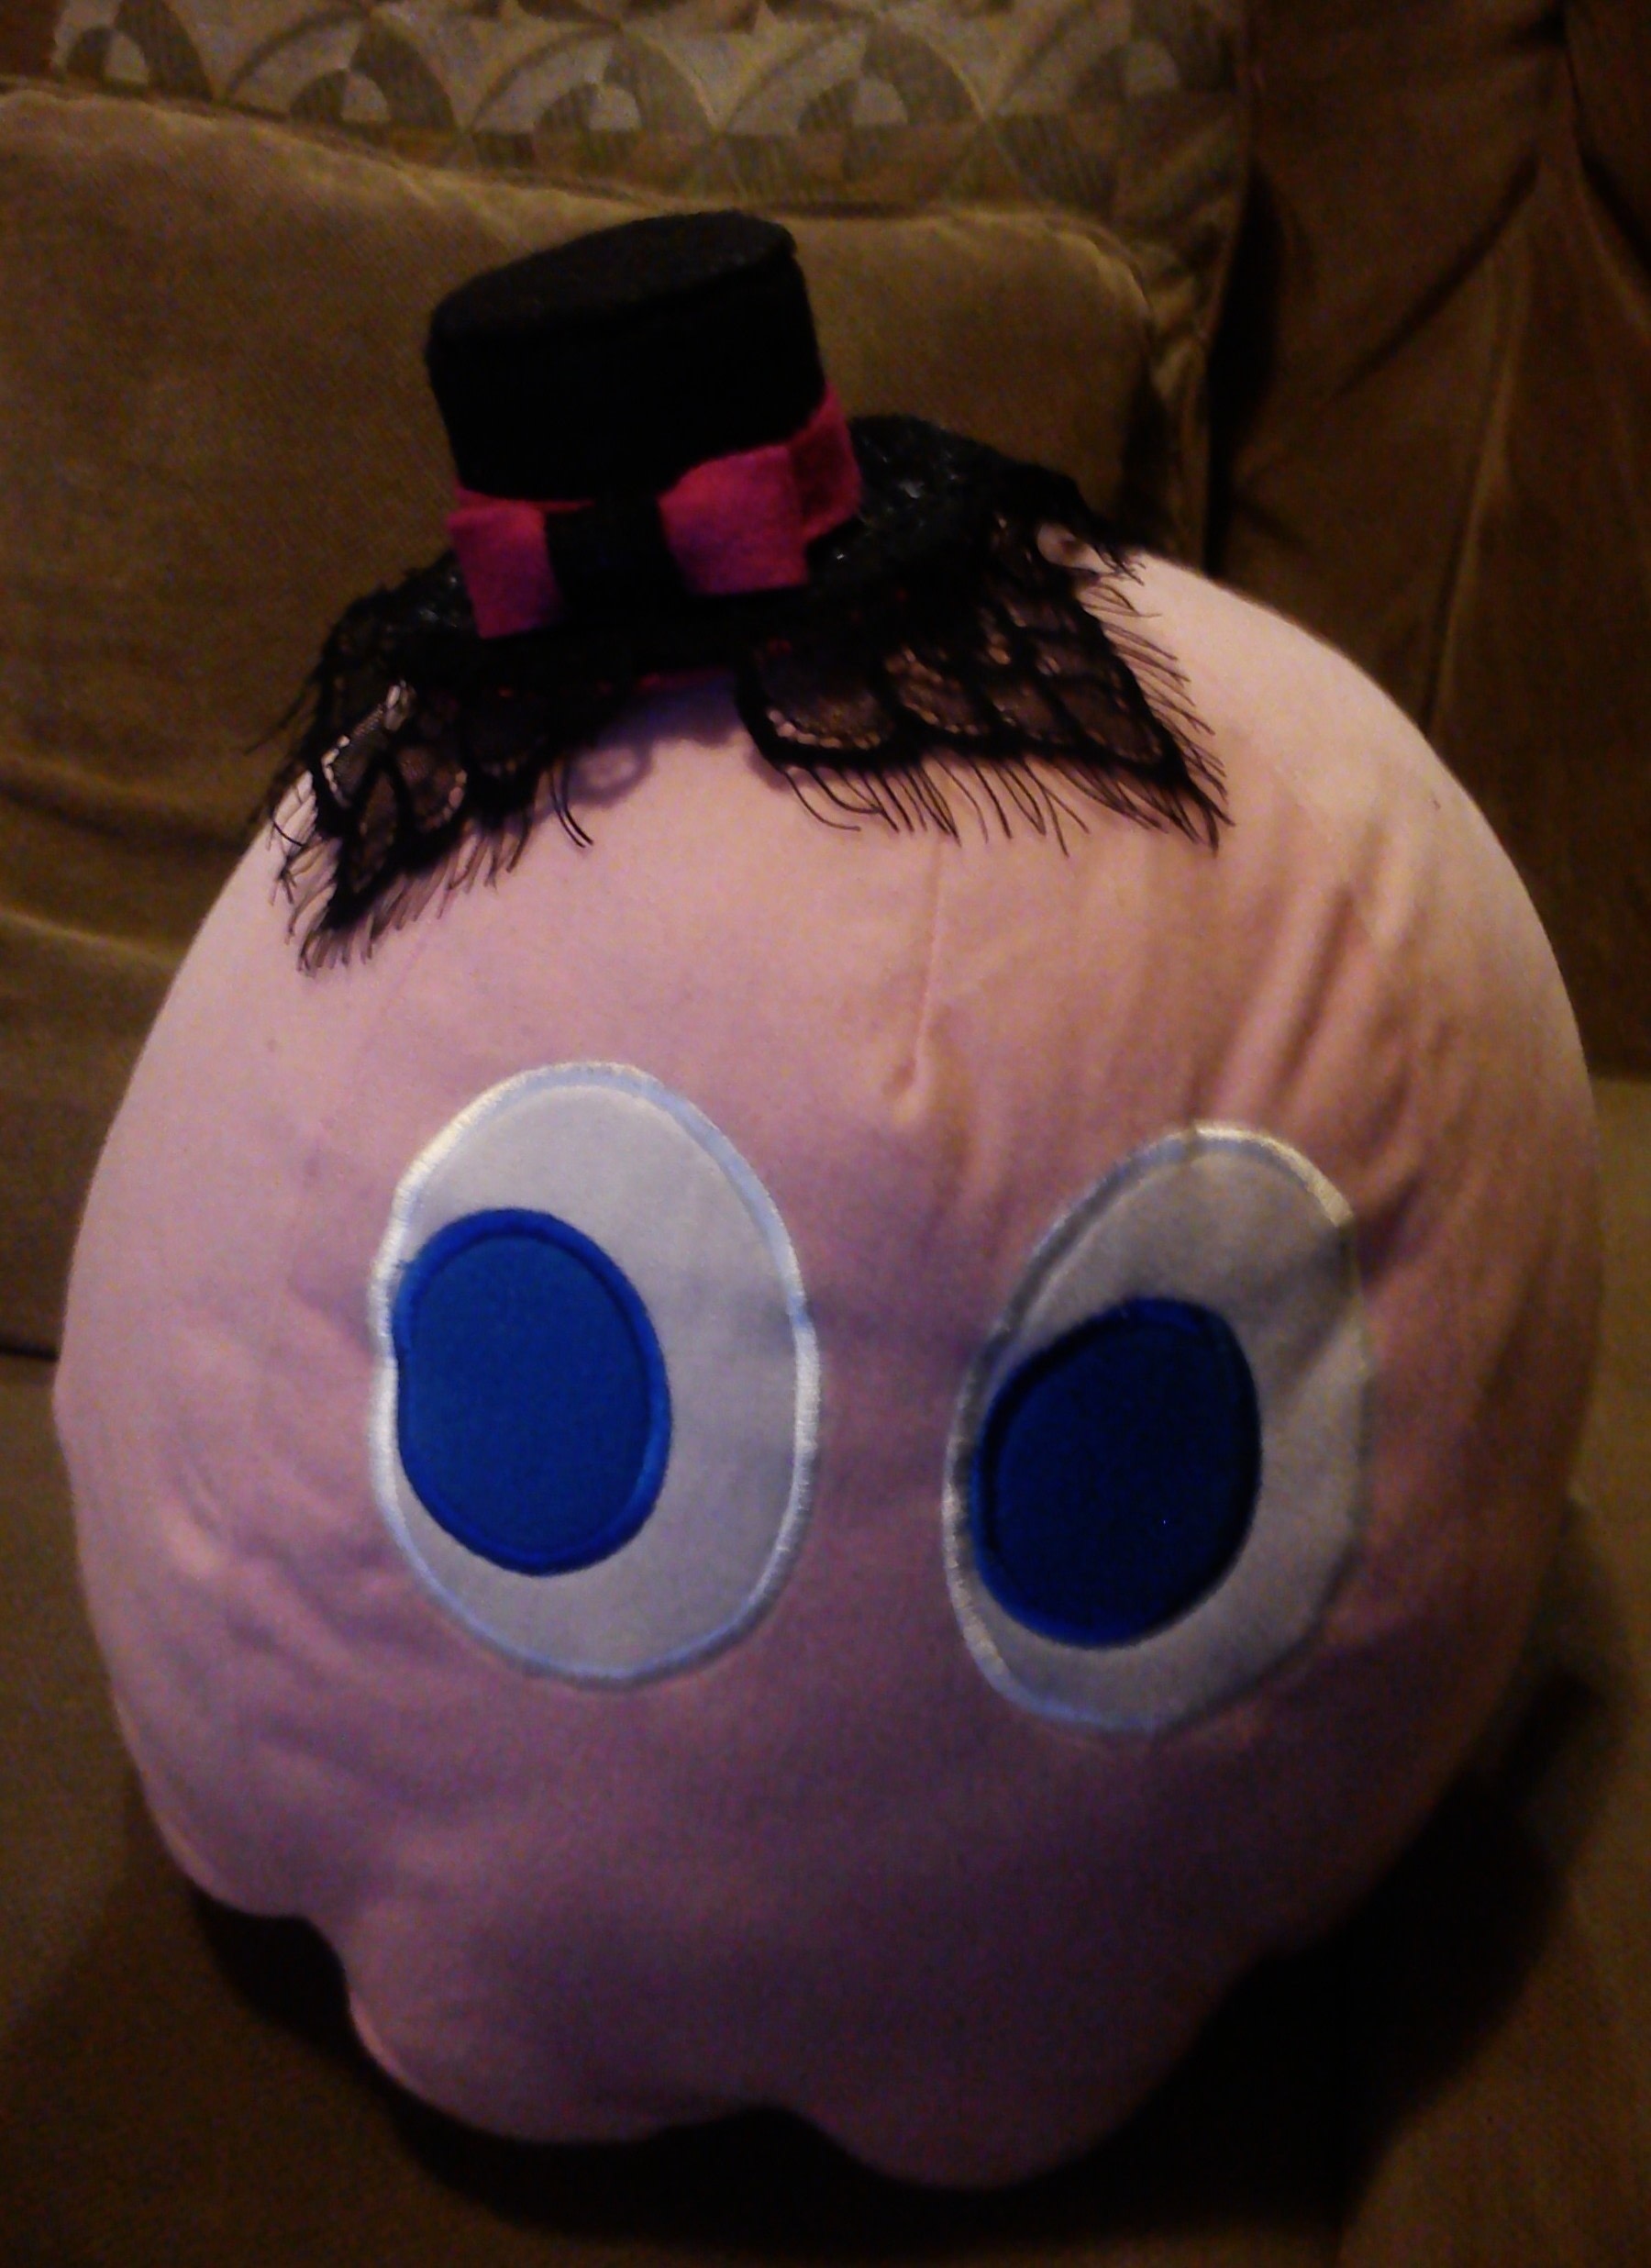
A easy to make mini top-hat for any occasion!
A basic tutorial for a mini top hat that you can customize as you prefer. The perfect accessory for your Halloween costume.
Tags
-
 shari.martin2 added Halloween Cute Mini Top Hat to hats/fascinators
23 Jan 23:35
shari.martin2 added Halloween Cute Mini Top Hat to hats/fascinators
23 Jan 23:35
-
 Ginger J, favorited Halloween Cute Mini Top Hat
16 Oct 20:54
Ginger J, favorited Halloween Cute Mini Top Hat
16 Oct 20:54
-
 Key West Witch favorited Halloween Cute Mini Top Hat
10 Sep 08:48
Key West Witch favorited Halloween Cute Mini Top Hat
10 Sep 08:48
-
 Carina F. favorited Halloween Cute Mini Top Hat
09 Mar 21:25
Carina F. favorited Halloween Cute Mini Top Hat
09 Mar 21:25
-
 MokoCrazy published her project Halloween Cute Mini Top Hat
21 Oct 07:26
MokoCrazy published her project Halloween Cute Mini Top Hat
21 Oct 07:26
-
 Step 1
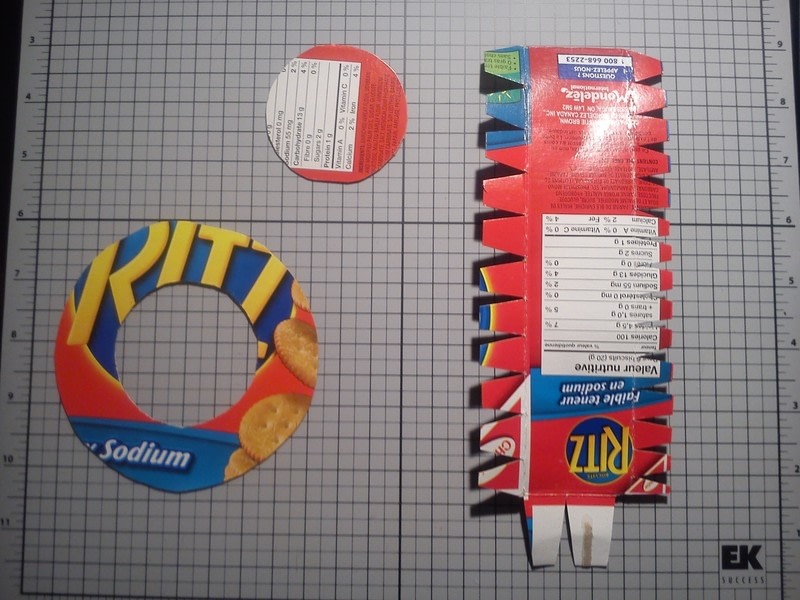
First decide the size of your hat, draw the parts on the cardboard from the cereal box and cut them out.
-
 Step 2
Take the small circle (top of hat) and put it over the black felt, cut a circle about 1/2 cm larger that the piece of paper. Do the same for the doughnut leaving 1/2 cm on the inside and outside. Cut a second circle the size of the doughnut. Cut a rectangle the size of the 3rd piece.
-
 Step 3
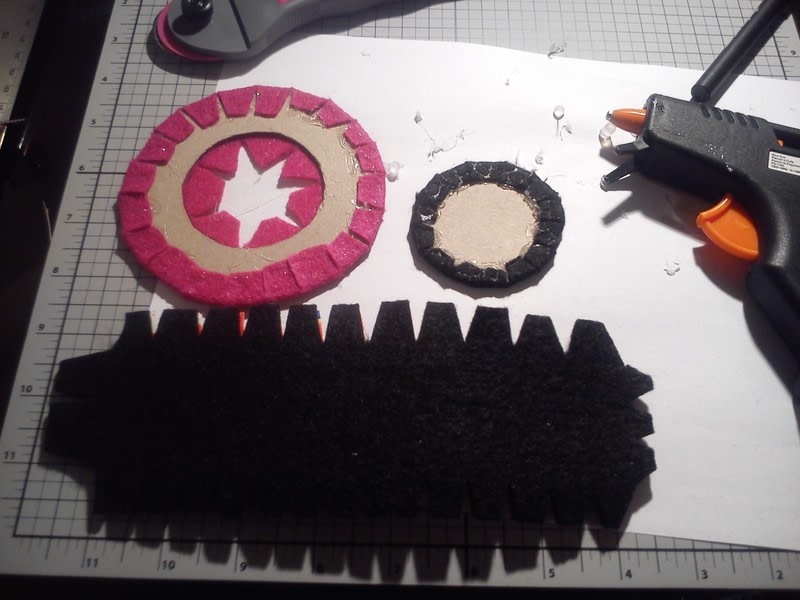
Cut the extra fabric on the outside of the circle, the inside/outside of the doughnut, and the sides of the rectangle as shown in the photo.
-
 Step 4
Glue the fabric to the cardboard as shown in the photo.
-
 Step 5
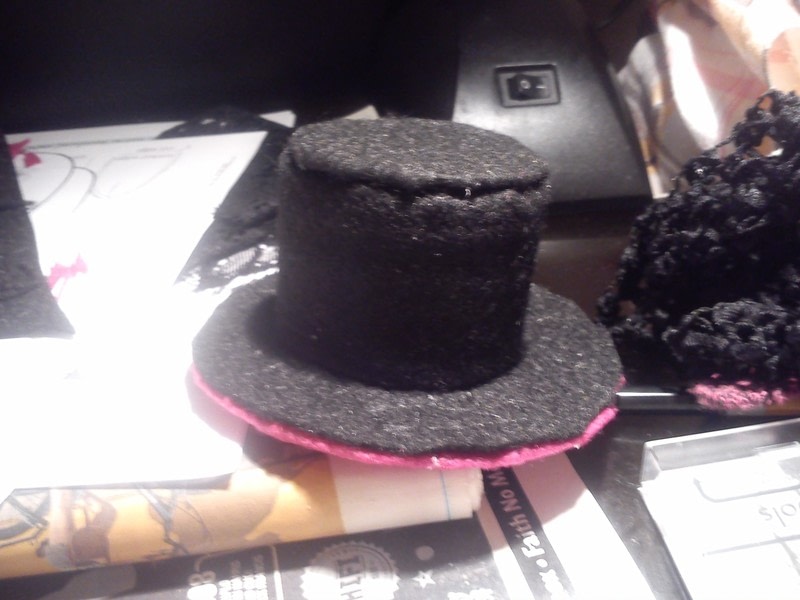
Fold the rectangle in a tubular shape and glue the ends together using the tabs. Glue the small circle to one end of the tube using the tabs. Stick the large black fabric doughnut over the pink bottom and then glue the bottom and the top of the hat together. Leave to dry for 10 minutes.
-
 Step 6
Glue the lace to the brim of the hat, then cut 1 strip of pink felt about 1.5 cm wide and glue it around the base of the tube top of the hat. Cut another strip of pink felt and a small one of black felt and make it into a bow (you can stick it to the hat with the hot glue).