
About
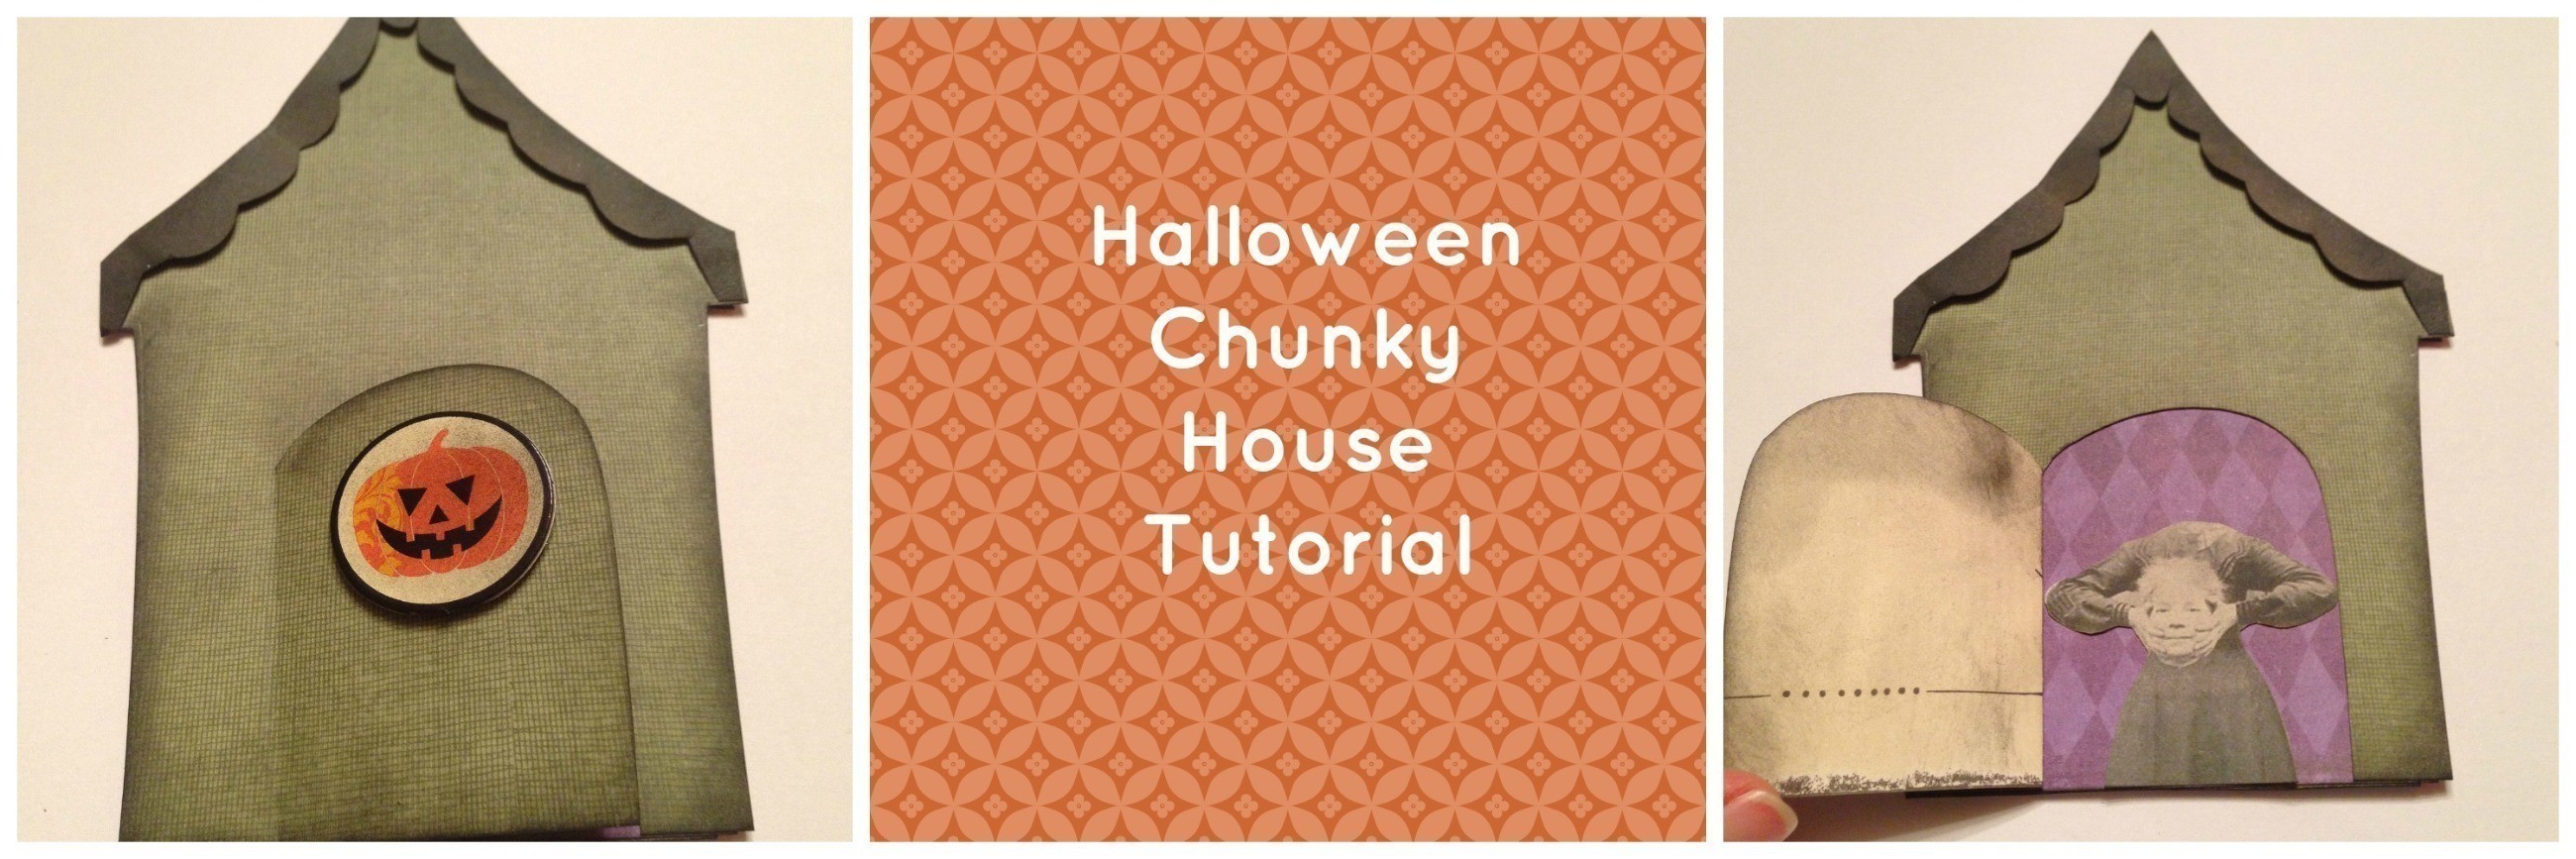
Create a chunky (3D) house from cardstock and decorative paper!
“Chunky” in crafty lingo refers to anything that is decorated in a 3-dimensional manner…that is to say, embellished within an inch of its life. You start with a base that is made of cardstock, foam core, paperboard, etc. Then….we decorate!! Glitter, stickers, twine, buttons, scrapbook papers, miniature figures…whatever your little heart desires!
This tutorial can be adapted to any theme - it doesn't have to be Halloween! Think outside the box, and have fun!
-
 Rachael H. added Halloween Chunky House Tutorial to Envelopes/Paper
09 Jan 05:52
Rachael H. added Halloween Chunky House Tutorial to Envelopes/Paper
09 Jan 05:52
-
 Kim B. published her project Halloween Chunky House Tutorial
24 Nov 14:22
Kim B. published her project Halloween Chunky House Tutorial
24 Nov 14:22
You Will Need
-
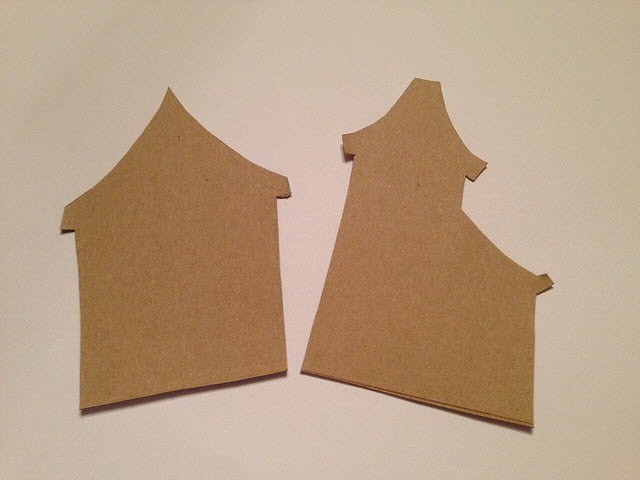
 Step 1
Use a template to trace the outline of the house onto your base material and cut it out. (I used a cereal box for my base material.)
-
 Step 2
Choose some paper for the “interior” of our house…I promise this will make sense later! You can use anything you wish – book pages, magazine pages, anything goes! Again, trace the outline of the house on the paper, cut it out, then glue it to your base material. Be sure cover the whole house, so you don’t have any unexpected bare spots in your design.
-
 Step 3
Apply glue of choice to attach paper to house template.
-
 Step 4
Decide on an “exterior” for your house – use patterned paper, or whatever you wish. Trace the outline of the house and cut it out.
-
 Step 5
Now you need to decide if you want a door or a window…For a door, simply cut a 3-sided rectangle or a rounded opening (see picture) and use a straight edge to fold back the door.
-
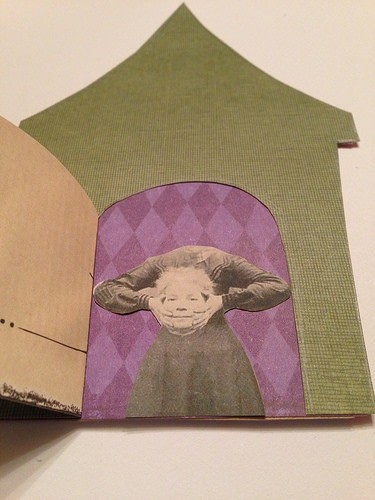
 Step 6
Once you have the door cut and folded back, affix to the house. DO NOT GLUE YOUR DOOR SHUT! You want your creepies to be able to roam freely about the dwelling. (If you want windows, decide how you want them cut out – the house with Edith (shown at the end of this tutorial), I cut each “pane” individually, which was a little tedious, but I loved the end result!)
-
 Step 7
Now….we DECORATE!! Break out the glitter, feathers, bottle caps, whatever you can find! It really becomes a game — how many different things can you add before it is “too much”? Remember, you can follow along with this tutorial, or you can decorate in your own way. Make it yours!!
If you want to follow along, print out Headless Harriet. It should be to size already, but you can play around with it if you need to. Decide where you want her to live, and then attach her to the house.
-
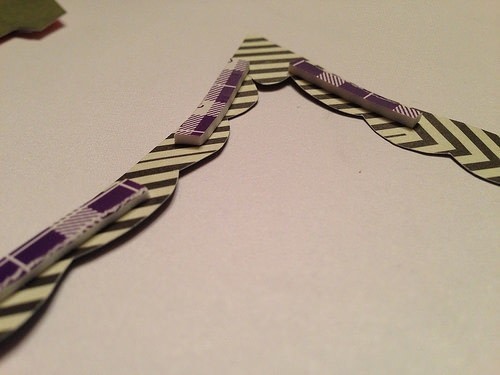
 Step 8
I also cut out a simple scallop design for the roofline, and used the double-sided adhesive squares, cut down to fit…this will give it a little dimension.
-
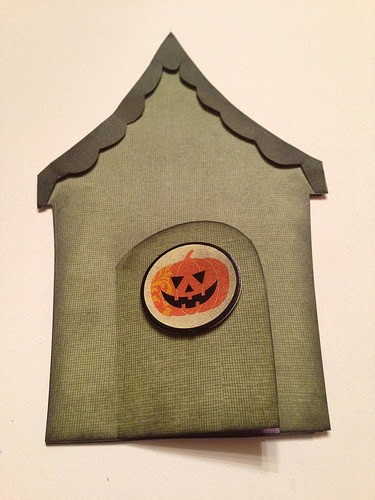
 Step 9
On the front of the house, I added a little Jack o’Lantern embellishment…I used the double-sided adhesive again to add diminution.
-
 Step 10
When you’re satisfied, use an ink pad in black or brown to grunge it up a bit. I just dab it around the edges of the house, on any corners or straight lines to tone down the color a bit. If you choose to do this, you might want to spray the finished house with a clear sealant spray (be sure you’re in a well-ventilated area!) to avoid any smudging!