


About
Create a forest of trees for Christmas this year!
Modular Origami with a few glue dots to hold each layer in place. Enjoy.
Tags
-
 Alyssa D. favorited Get Your "Tree" On! Holiday Tutorial
13 Dec 07:19
Alyssa D. favorited Get Your "Tree" On! Holiday Tutorial
13 Dec 07:19
-
 Kinhime Dragon added Get Your "Tree" On! Holiday Tutorial to alter
01 Nov 13:45
Kinhime Dragon added Get Your "Tree" On! Holiday Tutorial to alter
01 Nov 13:45
-
Kinhime Dragon favorited Get Your "Tree" On! Holiday Tutorial
01 Nov 13:44
-
 Xfluffy_unitatoX favorited Get Your "Tree" On! Holiday Tutorial
17 Nov 18:10
Xfluffy_unitatoX favorited Get Your "Tree" On! Holiday Tutorial
17 Nov 18:10
-
 harleygirl6815 added Get Your "Tree" On! Holiday Tutorial to Paper Crafts
29 Nov 04:47
harleygirl6815 added Get Your "Tree" On! Holiday Tutorial to Paper Crafts
29 Nov 04:47
-
harleygirl6815 favorited Get Your "Tree" On! Holiday Tutorial
29 Nov 04:47
-
 PaigePickle7 :) favorited Get Your "Tree" On! Holiday Tutorial
12 Nov 04:57
PaigePickle7 :) favorited Get Your "Tree" On! Holiday Tutorial
12 Nov 04:57
-
 Janet W. favorited Get Your "Tree" On! Holiday Tutorial
09 Nov 21:12
Janet W. favorited Get Your "Tree" On! Holiday Tutorial
09 Nov 21:12
-
 Anna J. favorited Get Your "Tree" On! Holiday Tutorial
31 Dec 21:38
Anna J. favorited Get Your "Tree" On! Holiday Tutorial
31 Dec 21:38
- fay.schouten favorited Get Your "Tree" On! Holiday Tutorial 13 Dec 16:51
-
 Step 1
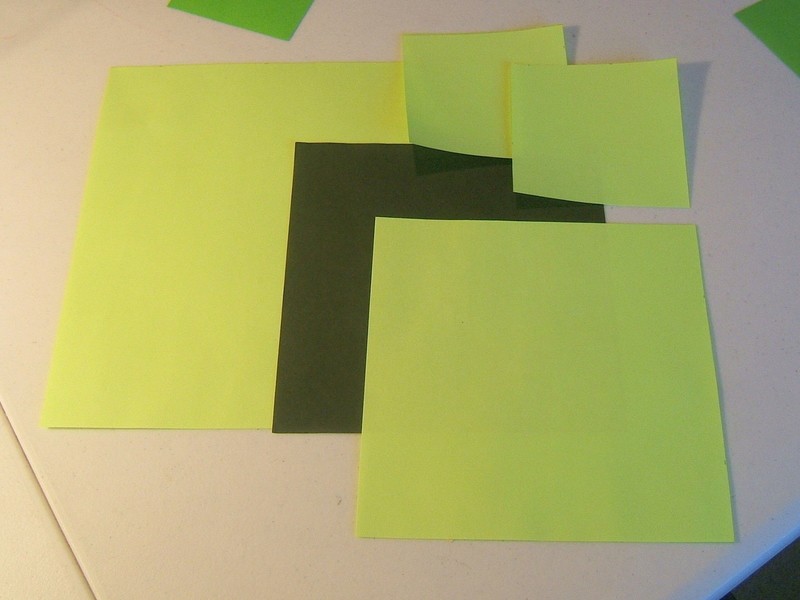
I used sheet music the first time I made this; however for the tutorial, I will use a few solid colored pieces of paper so it will be easier to follow. You will need 5 sheets of paper in total. (a)20cm x 20cm, (b), 15cm x 15cm, (c)8.5cm x 8.5cm, (d)8.5 cm x 8.5cm, (e)for the trunk 15cm x 15 cm
-
 Step 2
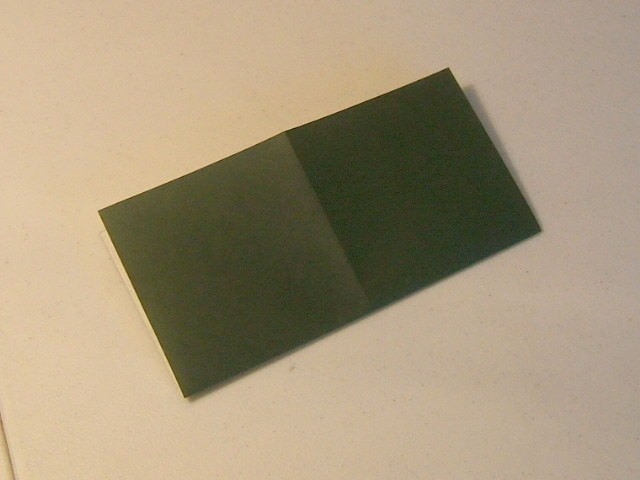
Let's make the trunk of the tree first. I'm using my dark green sheet of paper which is 15cm x 15cm.
-
 Step 3
Fold in Half. Make sure that the colored side is facing out...then unfold.
-
 Step 4
Now fold in half the other way...then unfold. Turn the paper over now so that the green square is facing up.
-
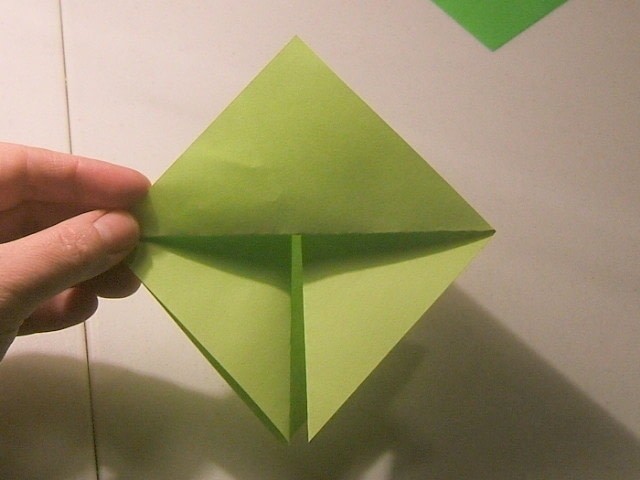
 Step 5
Now...fold corner to corner, shown here. :) Now turn over so that the white side is face up.
-
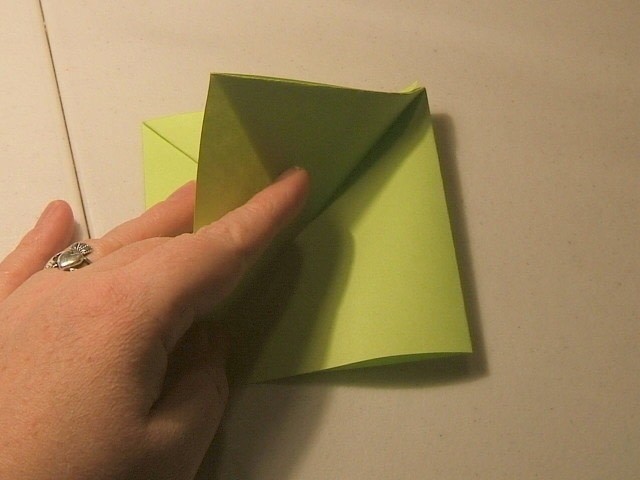
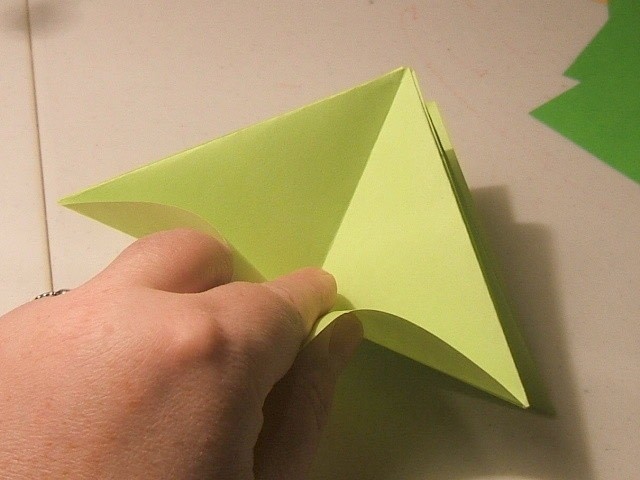
 Step 6
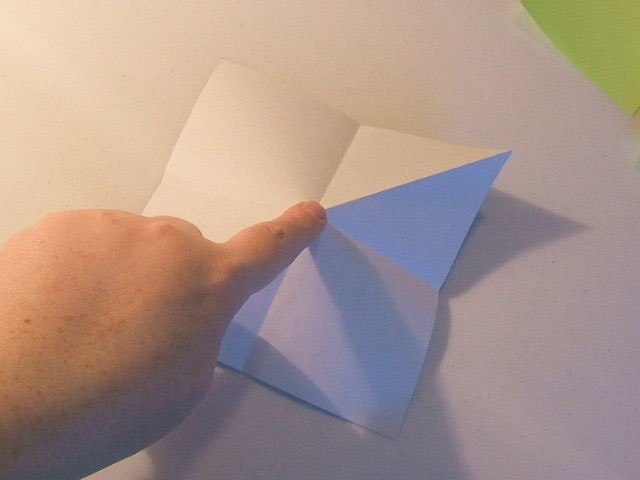
Place your finger over the center of the square, shown here, and simply press down. This will allow the corners of your square to "pop" up.
-
 Step 7
Now Grasp two corner together as shown....
-
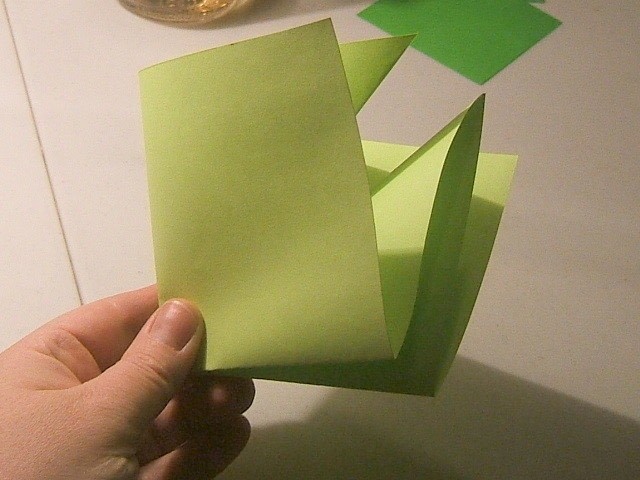
 Step 8
As you are holding those two corners in place, gently bring up the other two corners, so that all 4 corners are brought together as shown. Lay project flat on your desk. You should have a flat small square.
-
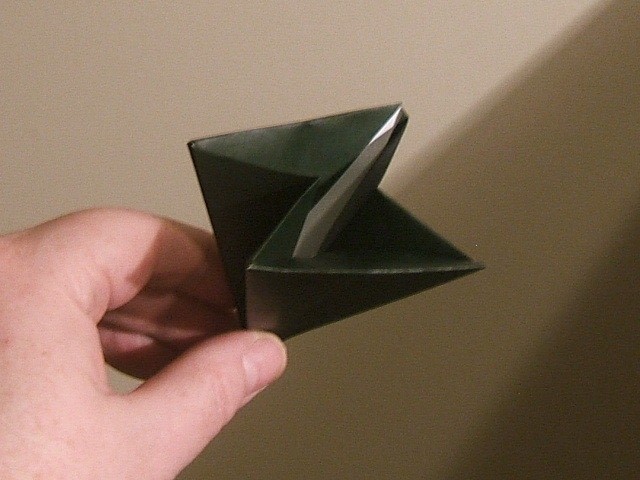
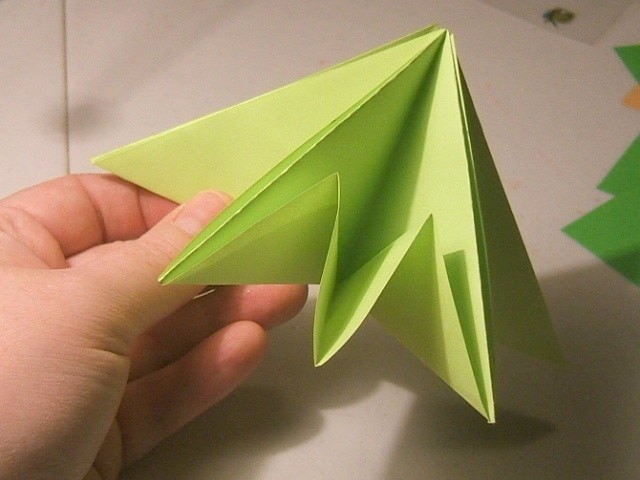
 Step 9
Now raise one of the flaps, stick your finger inside which will create this cone effect. :) why does this sound bad? LoL...
-
 Step 10
Then simply squash it flat, shown here. Make sure it's centered nicely. Repeat step 9 and 10 on the remaining 3 sides.
-
 Step 11
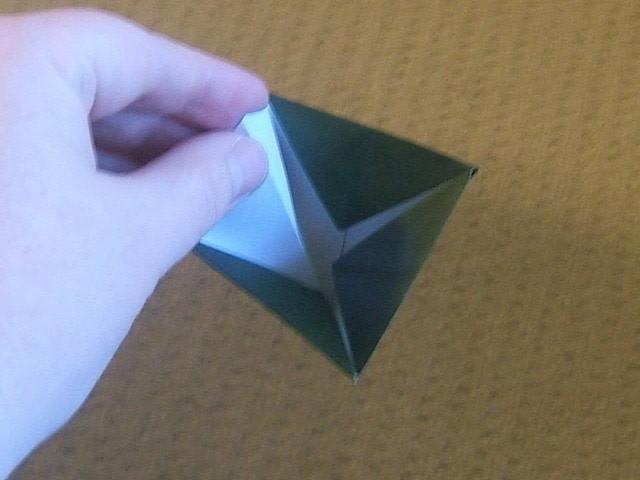
This is what you should have now. :)
-
 Step 12
Turn the front flap, and back flap over shown here...
-
 Step 13
Now, take that front flap....
-
 Step 14
...and tuck it inside...like this. Repeat this step for the back flap as well. :)
-
 Step 15
This is the top view of what you should have so far. Now, simply tuck in the side flaps....
-
 Step 16
...Just one more flap to tuck in, and then we will be done with the trunk!
-
 Step 17
All tucked in...good job!
-
 Step 18
Congrats! Here is your trunk. Now simply add a glue dot to the front and back, and set aside. View step 19.
-
 Step 19
There's the placement of the glue dot. Add one to the back, and set aside. Now...lets start with the bottom layer of the tree!
-
 Step 20
Start with your 20cm x 20cm size sheet...I'm using light green copy paper. It's green on BOTH sides...
-
 Step 21
Fold in half, then unfold.
-
 Step 22
Fold in half the other way, then unfold. Turn paper over...
-
 Step 23
Fold corner to corner...just like we did with the trunk. Flip sheet over...
-
 Step 24
Place finger in the middle of the sheet, and press down to "pop" up the corners.
-
 Step 25
Grasp two of the corners....
-
 Step 26
Bring up all four corners together. :)
-
 Step 27
This is what you should have now...Place on your desk flat.
-
 Step 28
Bring one flap up to the top point of the module, press flat.
-
 Step 29
This is what you should have so far. Do not unfold this crease.
-
 Step 30
Fold flap over, and repeat steps 28 and 29 on the remaining three sides. :)
-
 Step 31
This is what you should have now.
-
 Step 32
Start bringing the tip down.
-
 Step 33
It's very important to place your fingers the way I've got mine.
-
 Step 34
You want to create this "M" shape between the flaps.
-
 Step 35
Then sandwich that "M" shape between the two flaps like this. Press firmly. :)
-
 Step 36
This is what it should look like. Repeat steps 32 to 35 on the remaining three sides.
-
 Step 37
Aerial View...lol of all the sides completed for this module. Now lets place it on the trunk! :)
-
 Step 38
Insert the bottom of the trunk into the tree. Careful of the glue dots. When it's where you want it, make contact with the glue dots.
-
 Step 39
Awww...it's kinda cute already! LoL
-
 Step 40
I used a deeper green to show the next layer of the tree. This one is the 15cm x 15cm sheet of paper, repeat the EXACT same steps (steps 20-37) for this layer. Make sure you add a couple of glue dots to the bottom layer first, and then position the next layer on top of it. Now lets go to the small top layer.
-
 Step 41
Here's the top layer. Use the 8.5cm x 8.5 cm paper for this. EXACT same steps. Just follow steps 20-37 Again. Now for the tippy top!
-
 Step 42
Use the other 8.5 cm x 8.5 cm piece to make the tippy top. Follow the TRUNK instructions, steps 3-12 to create this piece. Make sure there are a couple of glue dots on the small layer before placing the tippy top on! Voila!
-
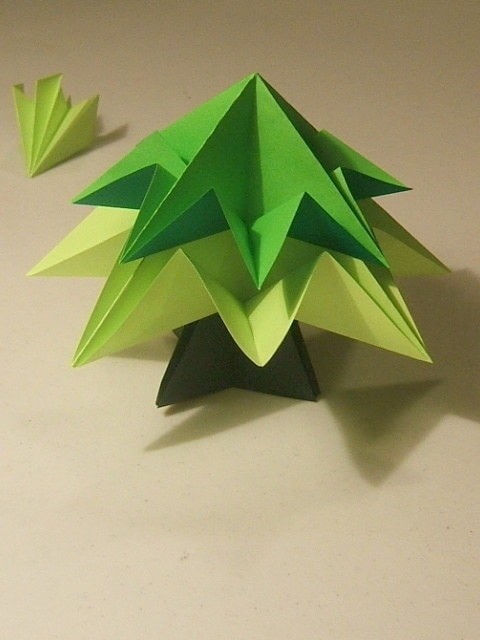
 Step 43
You have done it! Congrats! I hope you have enjoyed this tutorial!
Lanie. :)


Also I'm going up in paper size to make it BIGGER!
There's now one sitting at the front desk of my offices.
Thank you for the great tutorial
This is the perfect mini-decoration for my room!!
So easy to make and so adorable!
sooo prettty adorable and great idea to make. like it, the pict too with the lights.
sooo adorable, and well taken care. I love the whole project.!!!
mabyby i give it a try when i have time, but i sure 1'm fallen in love by yours.LOL
thank you for all your work!!!;-D