


About
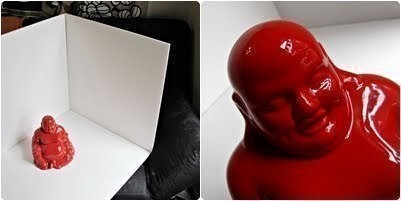
How To-sday | 10 Dollar 10 Minute Fold-Up Photo Studio
If you have an Etsy shop, or even if you just like to play around with your camera, you need to try this. My apartment is tiny tiny, so I don't have room to keep a light box around all the time. I've improvised and made on that folds completely flat, and it only cost me ten bucks!
-
 Batiste favorited Fold Up Photo Studio
29 Dec 23:26
Batiste favorited Fold Up Photo Studio
29 Dec 23:26
-
 Sarah Sylvia S. favorited Fold Up Photo Studio
25 Jul 04:27
Sarah Sylvia S. favorited Fold Up Photo Studio
25 Jul 04:27
-
 Ginger J, commented on Fold Up Photo Studio
08 Jul 17:21
Ginger J, commented on Fold Up Photo Studio
08 Jul 17:21
-
 Emma H. favorited Fold Up Photo Studio
11 Aug 23:24
Emma H. favorited Fold Up Photo Studio
11 Aug 23:24
-
 Kathleen H. favorited Fold Up Photo Studio
23 Jun 05:51
Kathleen H. favorited Fold Up Photo Studio
23 Jun 05:51
-
 MsSunshine633 added Fold Up Photo Studio to Photography
24 Apr 19:19
MsSunshine633 added Fold Up Photo Studio to Photography
24 Apr 19:19
-
 cynthia.zabee favorited Fold Up Photo Studio
31 Oct 15:52
cynthia.zabee favorited Fold Up Photo Studio
31 Oct 15:52
-
 Tiffany S. favorited Fold Up Photo Studio
09 Oct 22:20
Tiffany S. favorited Fold Up Photo Studio
09 Oct 22:20
-
 cattus favorited Fold Up Photo Studio
06 Jul 19:04
cattus favorited Fold Up Photo Studio
06 Jul 19:04
-
 Step 1
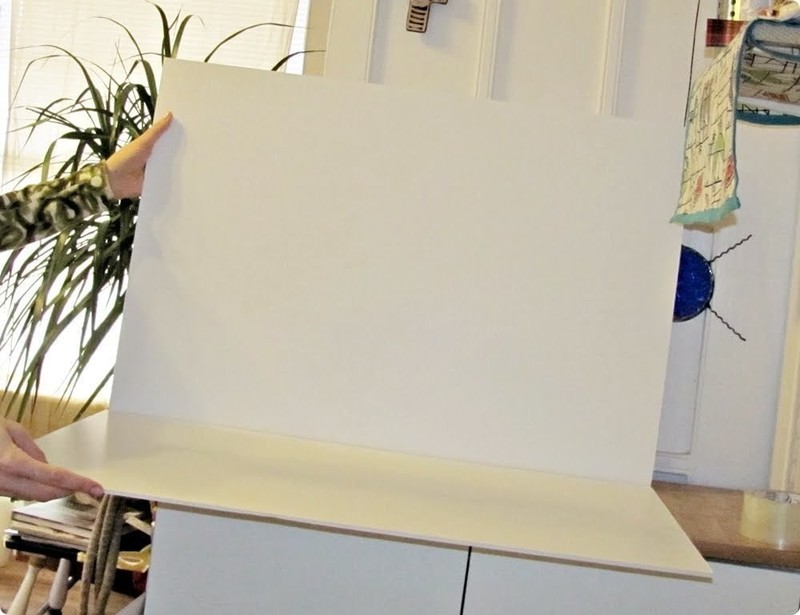
Tape two sheets of foam board together along the long side. Does anybody remember elementary school where you folded paper either 'hamburger' or 'hot dog?' Well, tape your boards along the hot dog side.
-
 Step 2
Tape the corners as well. Make sure everything is perfectly lined up when you tape so that it opens out straight. Now you should be able to fold up like the picture.
-
 Step 3
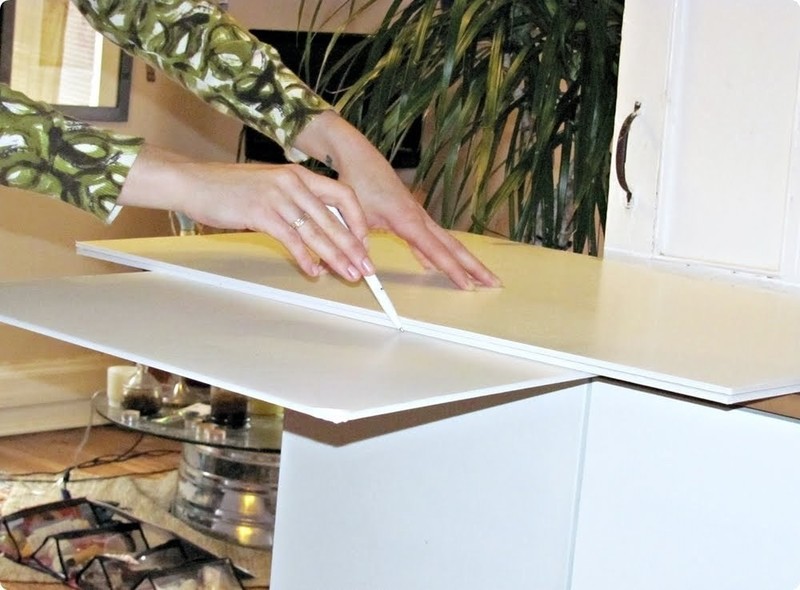
Now take your third piece, and lay it on your work surface. Lay the other foam board across it in the opposite direction, and trace a line. You want this last piece to be a square.
-
 Step 4
Use your exacto knife to cut through the line you traced. Be careful with the knife, and yes, I do realize that my hands like they belong to an 85 year old woman.
-
 Step 5
Here comes the sort of confusing-to-explain part. You want this little square to fold behind your top piece, so you have to tape it to the back of only the top sheet of foam board, just like you did with the original set. You can open your first set and hang one side over your table to make sure you don't tape it.
-
 Step 6
When you're done, you can fold the whole thing completely flat for storage. When your ready to use it, set it up next to a sunny window, and just fold everything up. If you'd like to really secure the loose edge, tape a piece of ribbon to the back, and then tack it to the other loose edge.
-
 Step 7
Done


Comments


