

About
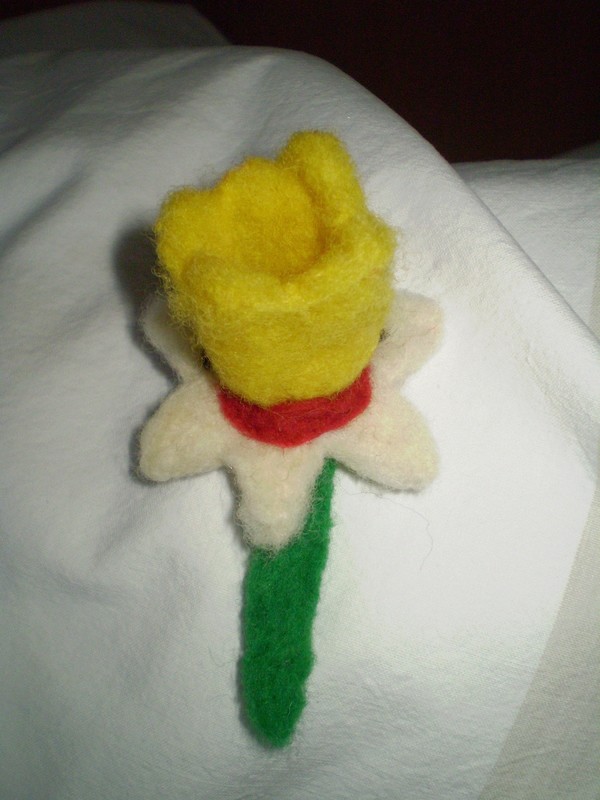
A simple little spring creation, ready to wear or grow in your garden!
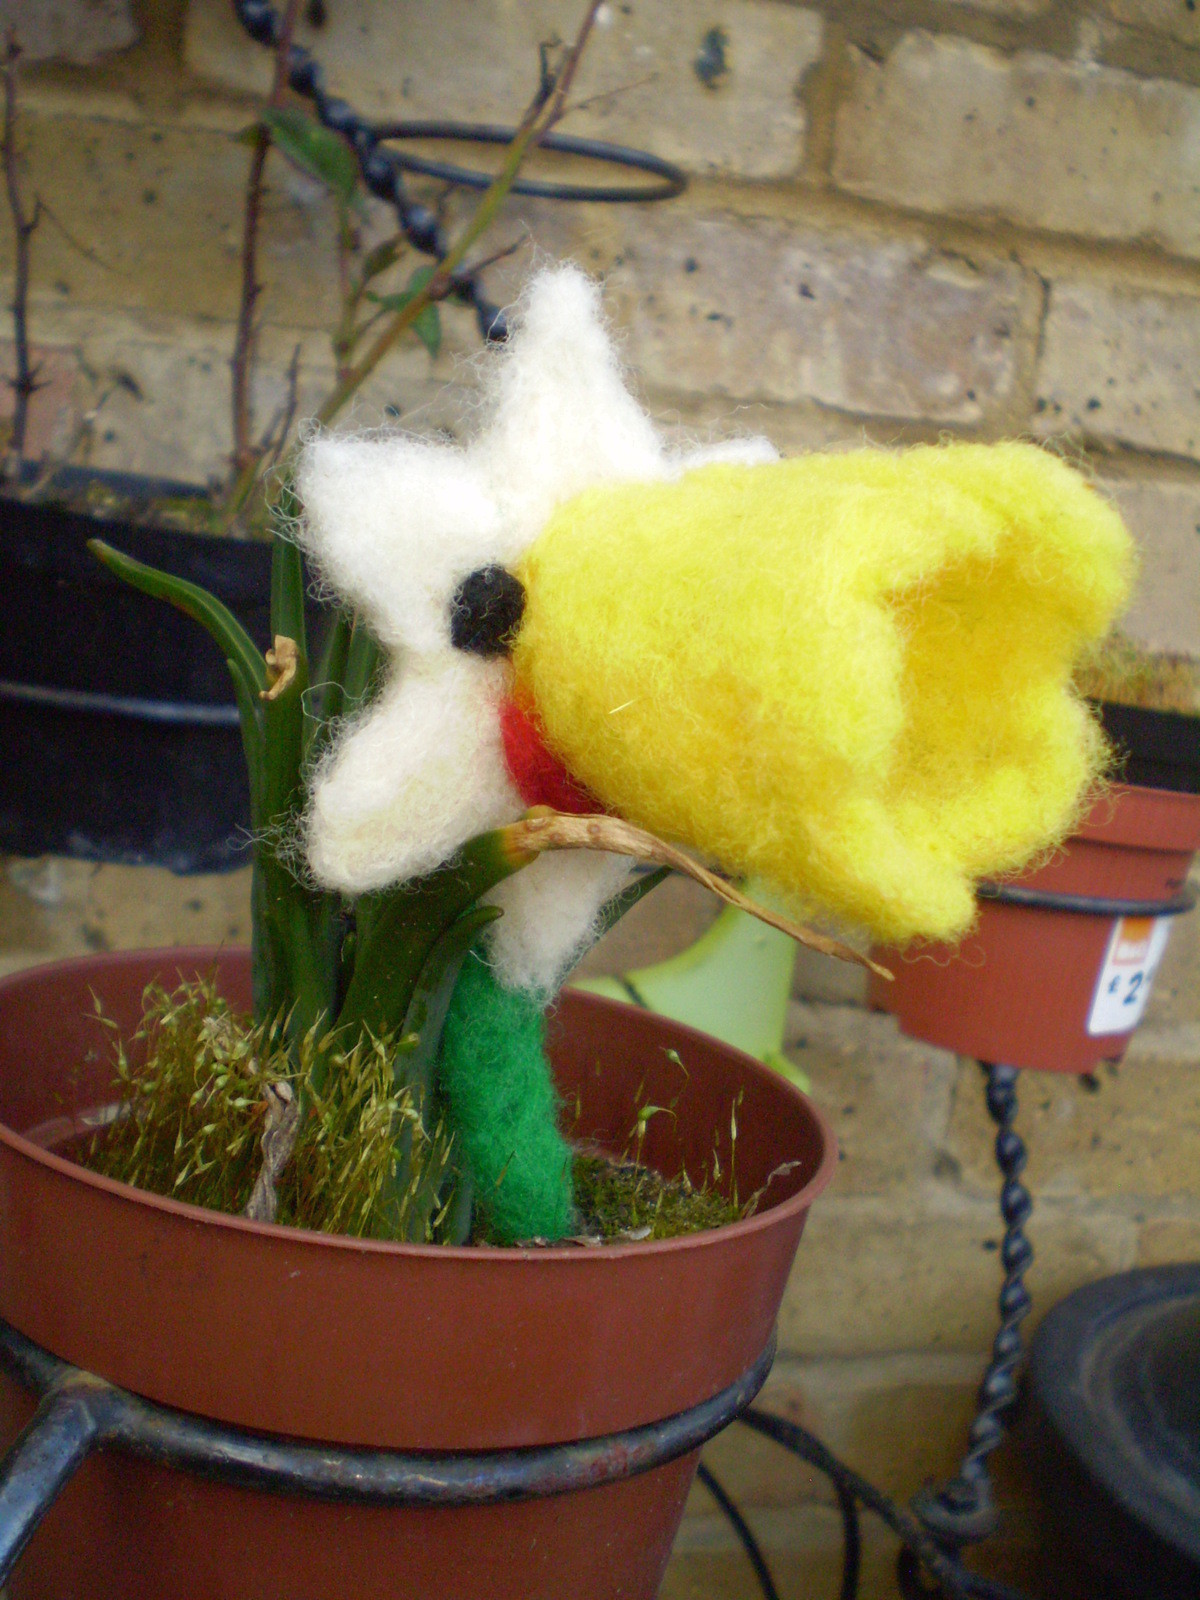
I wanted to make something daffodil themed and came up with this idea. As with all my makes he had to have a smiley face, only I made the trumpet a little too big on this one, so you can't see the face straight on. You could make this into a pin or make a whole load of them and put them in a plant pot together!
Tags
-
 Neko-San K. favorited Felted Spring Dafodil
31 May 21:50
Neko-San K. favorited Felted Spring Dafodil
31 May 21:50
-
 Kristy B. favorited Felted Spring Dafodil
27 Mar 07:53
Kristy B. favorited Felted Spring Dafodil
27 Mar 07:53
-
 Flo Di favorited Felted Spring Dafodil
10 Mar 04:01
Flo Di favorited Felted Spring Dafodil
10 Mar 04:01
-
 Kathy S. favorited Felted Spring Dafodil
11 Jan 01:48
Kathy S. favorited Felted Spring Dafodil
11 Jan 01:48
You Will Need
-
 Step 1
First you need to get a wad of light yellow/white felting wool to work with.
-
 Step 2
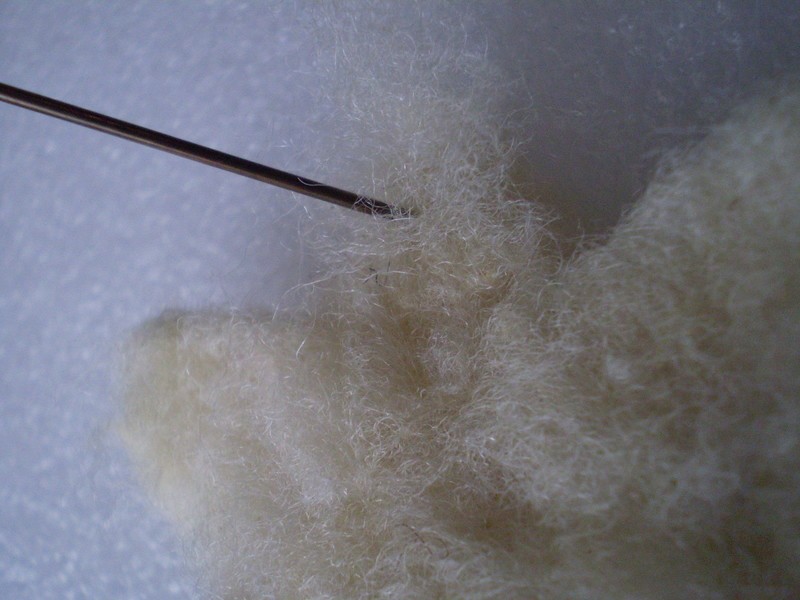
On the felting mat start poking the wool with your felting needle. Try to make the wad into a sort of star shape, with six points. Add more felt layers as you go along to make the flower base thick and sturdy.
-
 Step 3
Prod the points of the star with your needle to make them more defined.
-
 Step 4
Make sure there aren't any loose ends sticking out of your design. Prod these fly-away areas to get them to lay flat.
-
 Step 5
Next get a smaller amount of bright yellow/orange felting wool. This will make the trumpet of the daffodil.
-
 Step 6
You need to make a sort of wave shape with the yellow. Make sure the wave has a straight edge at the bottom however, as this is the side that will attatch to the flower base.
-
 Step 7
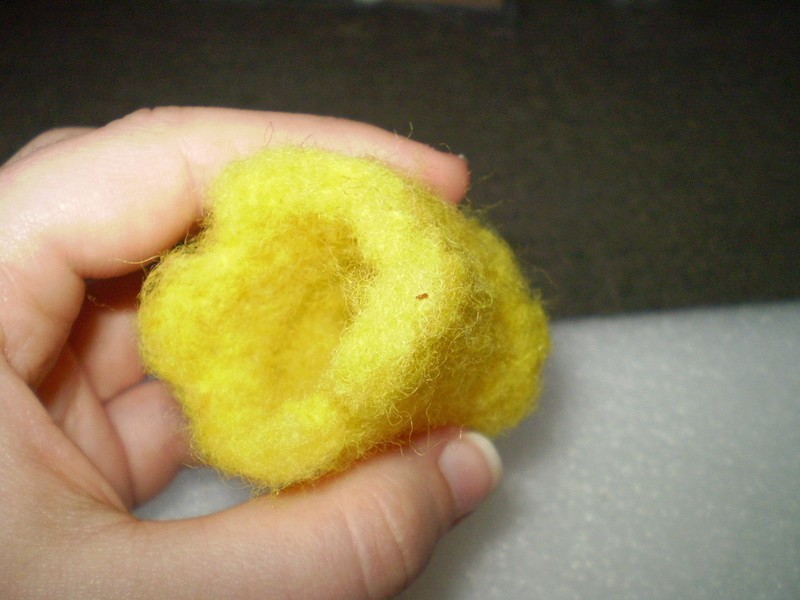
The next bit is a little fiddly. You need to roll the wave up to make a yellow tube. When you have done this carefully hold the tube with one hand while you prod the ends of the tube to stick them together. It will now look like a proper trumpet!
-
 Step 8
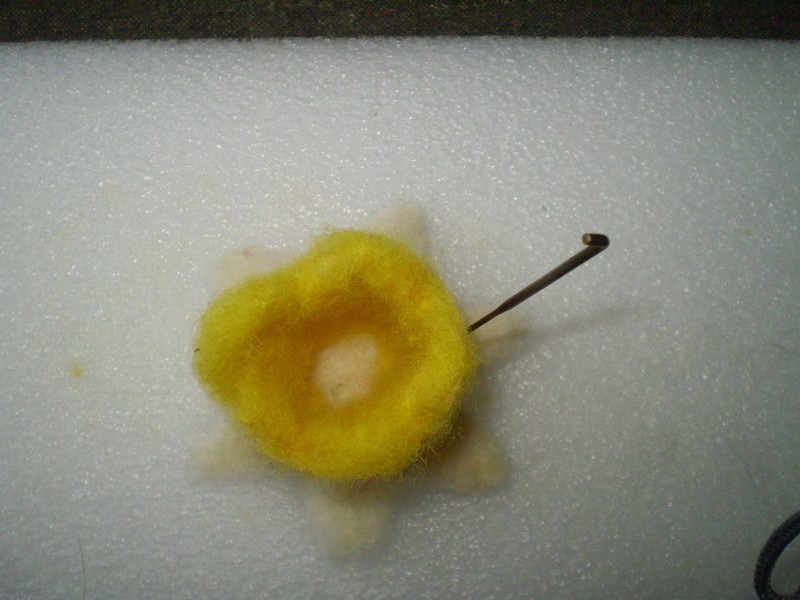
The trumpet now needs to be attatched to the face of the flower. Prod the trumpet right at the edges, making sure you are going through both layers. You will need to do this quite a few times so that the trumpet is securely attatched to the flower. Make sure you do not prick yourself with the needle as this will really sting!
-
 Step 9
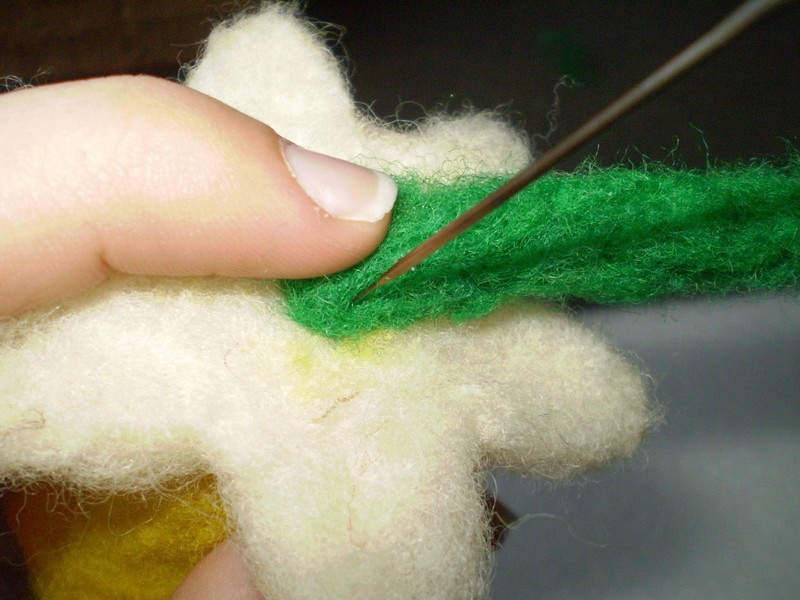
Now for the stem! Only use a small amount of green felting wool and roll it with your fingers to make a pencil shaped piece. You will need to double the strip over a few times to increase thickness.
-
 Step 10
Then attatch the stem to the flower by proding it onto the back of the flower. Again, make sure you spend a while on this to stop your creation from falling apart!
-
 Step 11
*OPTIONAL*
If you want to make yours a smiley daffodil like I've done, then you can add tiny amounts of green/black/blue felt for the eyes and a nice, big, bright red piece of wool for the smile. -
 Step 12
Your new spring friend is now completed. You could attatch it to an Easter card, wear it in your hair, add a pin back and put it on a pastel-coloured cardigan, make it into a piece of jewellery, give it away as a friendship gift...the possibilites are endless!