
About
Make your own felt squirrel buddy!
This adorable squirrel and acorn (from the earlier How-to) project was inspired by futuregirl's page (found here: http://www.futuregirl.com/craft_blog/2007/07/tiny-squirrel-for-frizz.aspx)
While I was mainly working on hunches about the size, colours of felt, embroidery threads and types of stitches used, it felt good to know that this little chap turned out fine, in the end. :)
-
 Rebecca C. favorited Felt Squirrel
07 Aug 04:11
Rebecca C. favorited Felt Squirrel
07 Aug 04:11
-
 Amber R. favorited Felt Squirrel
25 May 09:59
Amber R. favorited Felt Squirrel
25 May 09:59
-
 Neko-San K. favorited Felt Squirrel
31 May 20:08
Neko-San K. favorited Felt Squirrel
31 May 20:08
-
olivia n. favorited Felt Squirrel
05 Aug 10:00
-
 mmotse03 favorited Felt Squirrel
20 May 09:51
mmotse03 favorited Felt Squirrel
20 May 09:51
-
 Zombie Babe favorited Felt Squirrel
12 Nov 07:30
Zombie Babe favorited Felt Squirrel
12 Nov 07:30
-
Amanda V. favorited Felt Squirrel
18 Oct 16:41
-
 B* published her project Felt Squirrel
15 Oct 12:30
B* published her project Felt Squirrel
15 Oct 12:30
-
 Step 1
Now, I know this might be strange but I began this project by working on the prettiest detail of this little chap first, namely his tail to keep me inspired through this project.
You may skip on to Step 3 if you wish to start from his head or face. :)
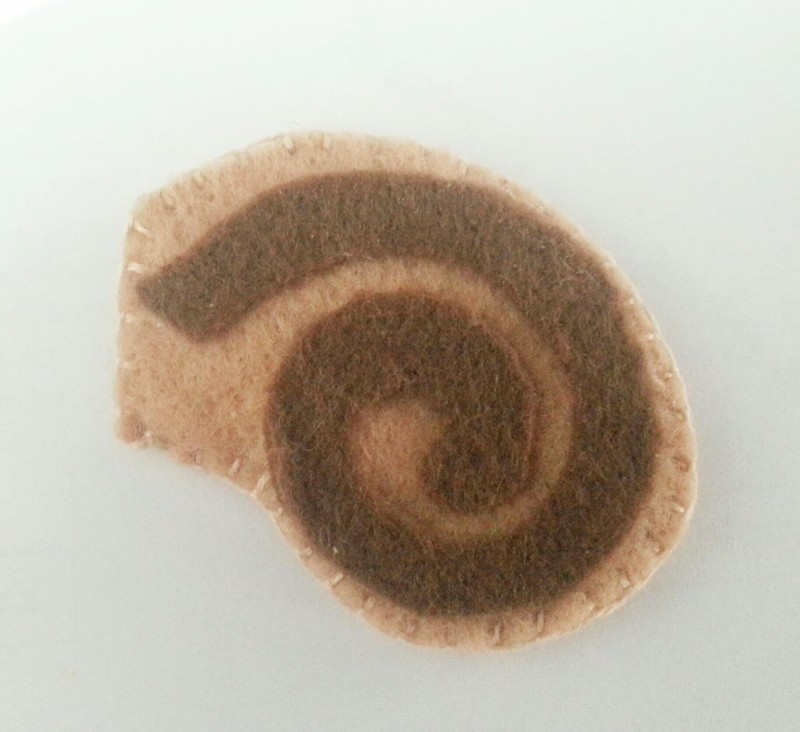
1. First, cut out 2 pieces of coffee brown-coloured felt of the shape shown here (to your desired size).
2. Also, cut out two lovely swirls of brown felt. Check that both of these tail-and-swirl set face opposite directions (as shown).
-
 Step 2
1. Attach each brown swirl onto both sides of coffee brown felt using craft glue.
2. Next, stitch both sides of the squirrel's tail together using the blanket stitch in matching coffee brown (or white) embroidery thread all around the tail.
-
 Step 3
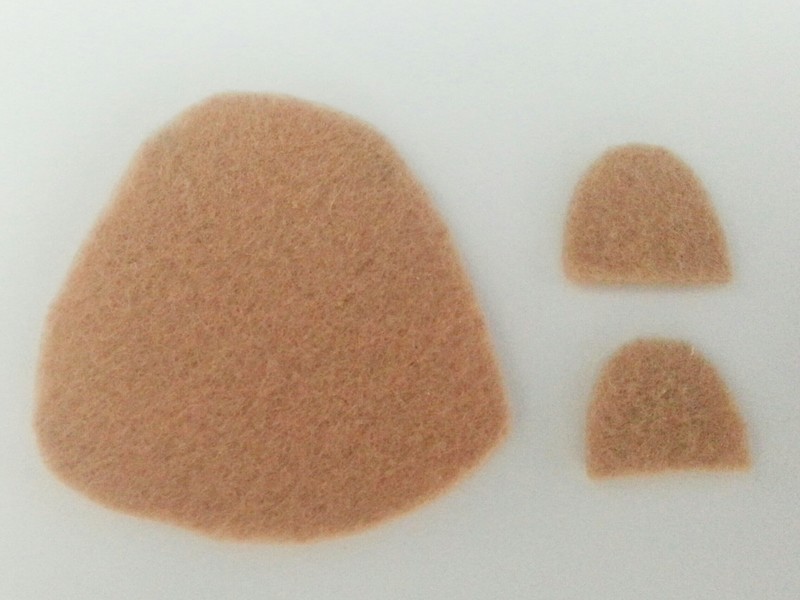
Cut out 2 sets of the large (inverted) conical shape for the front and back of the head in coffee brown felt and 2 smaller segments (as shown) for both ears.
-
 Step 4
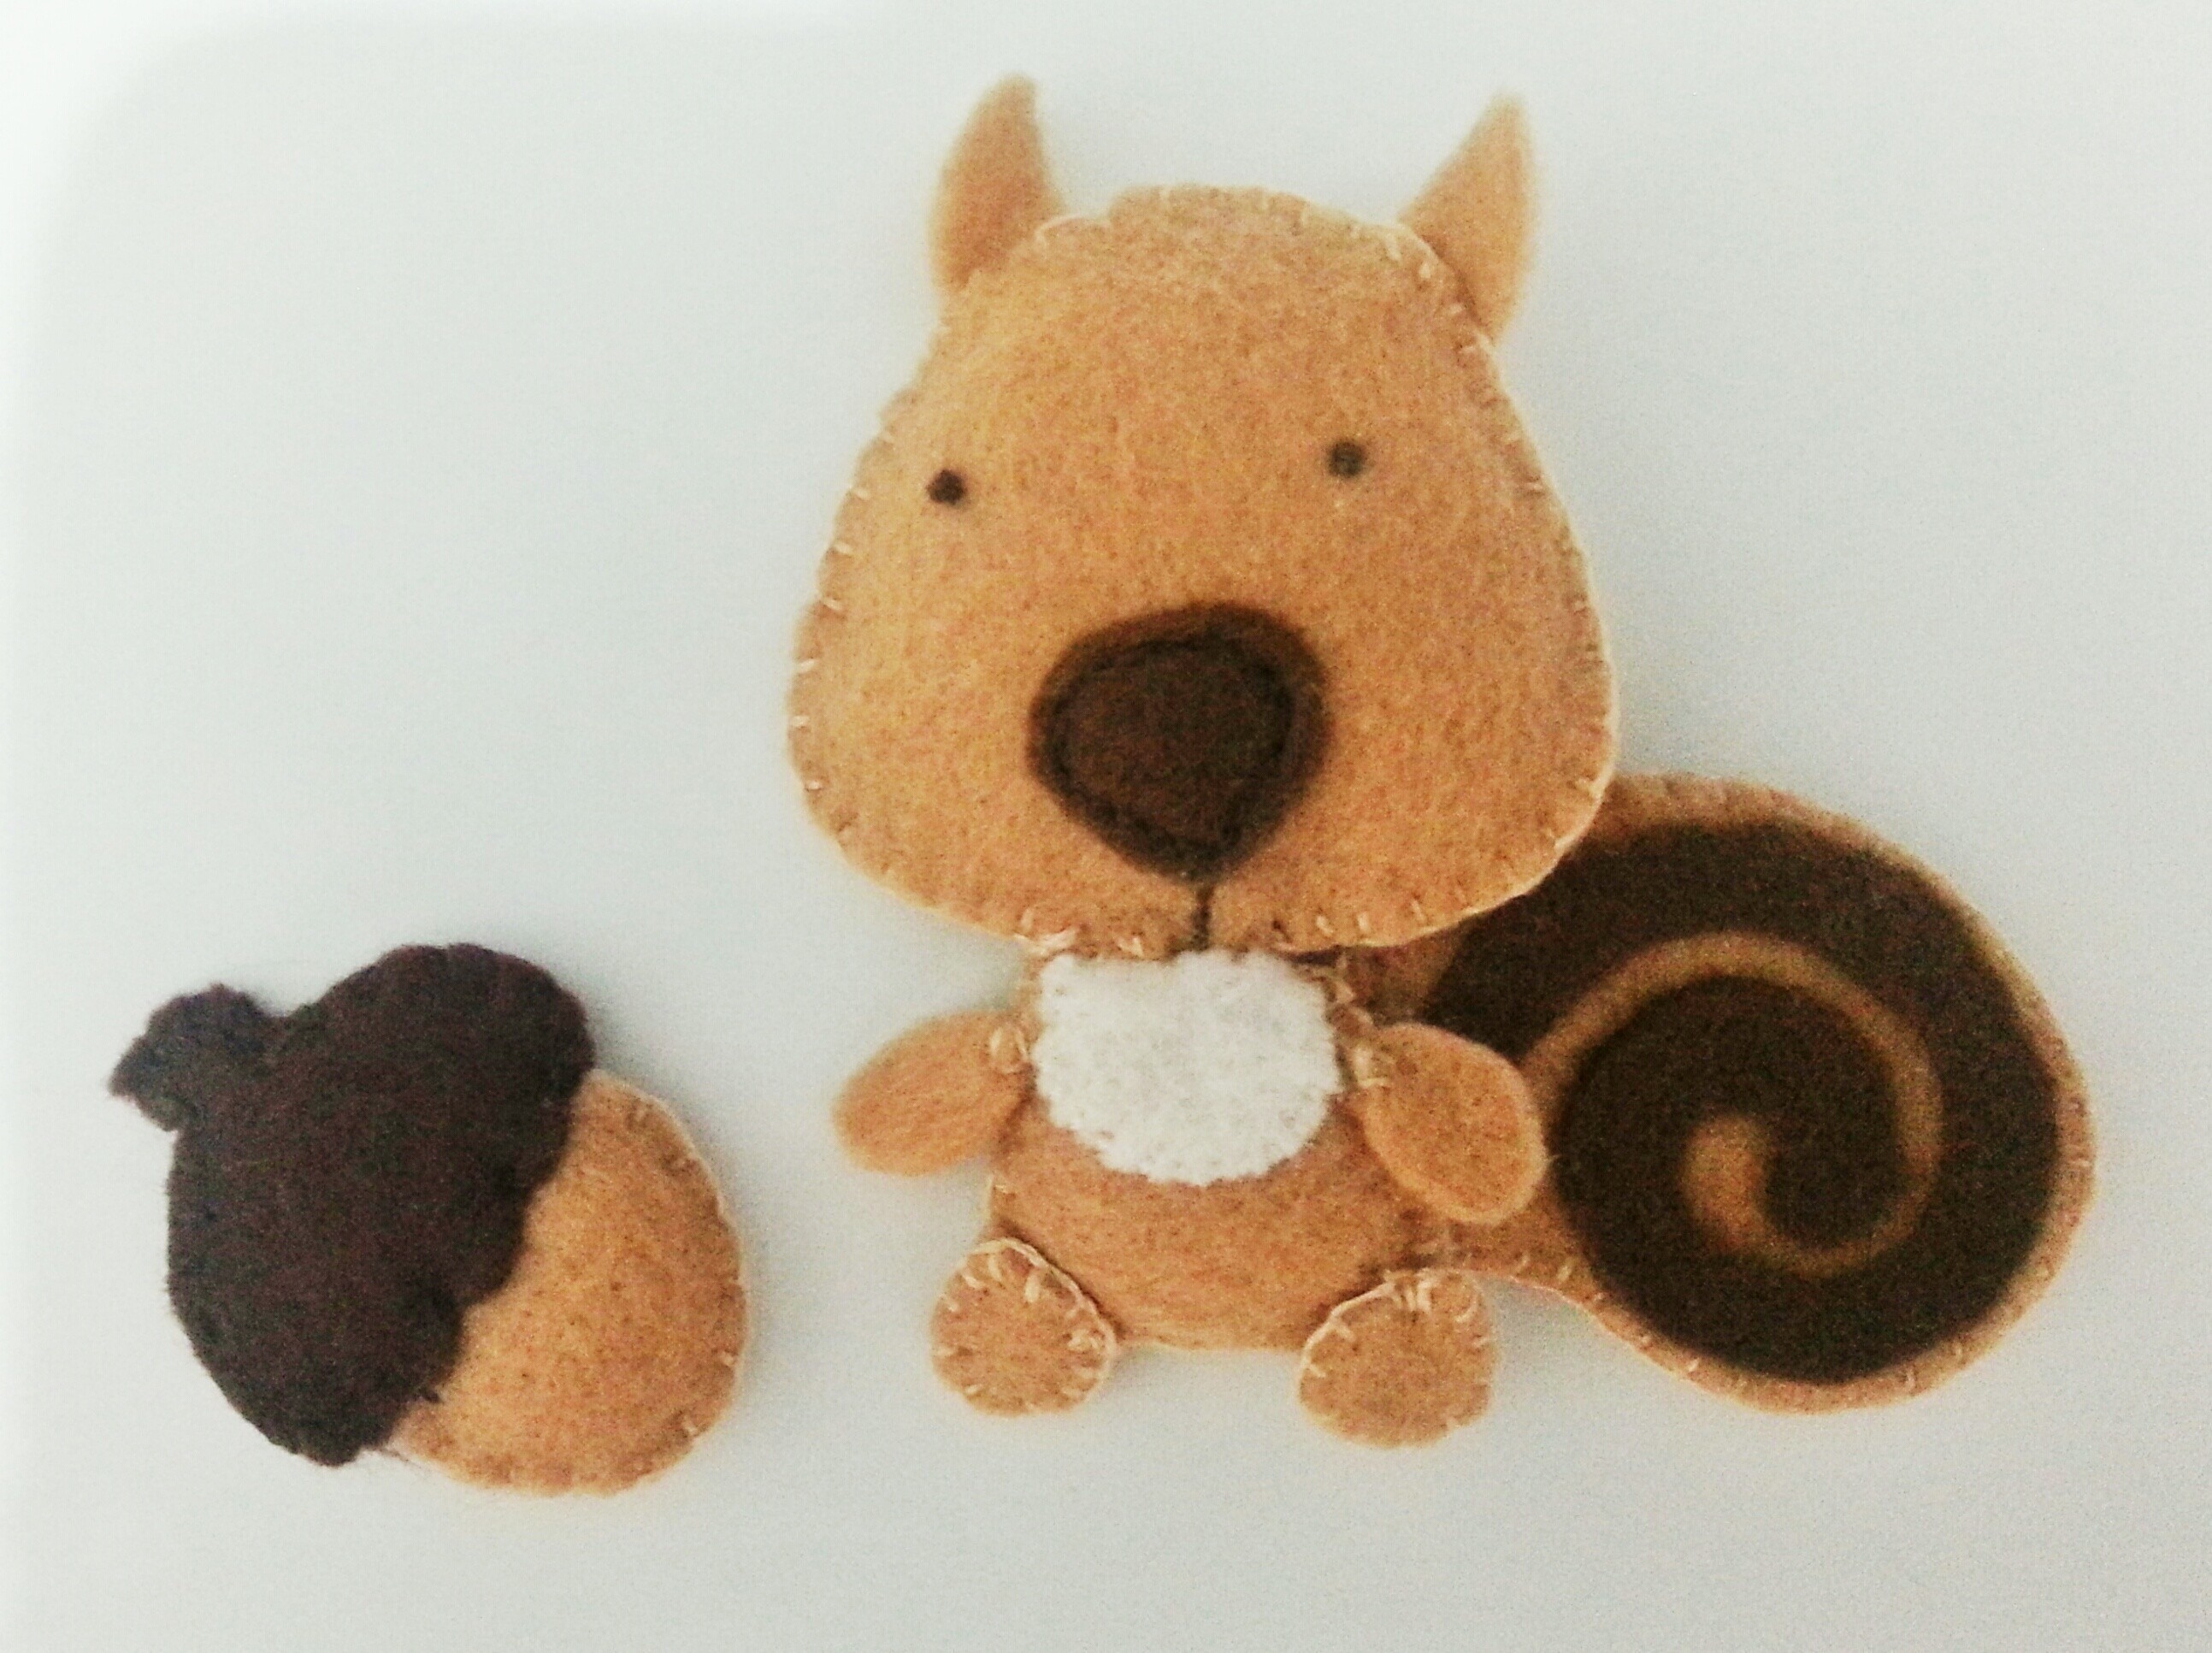
1. Stitch the eyes using a double (or triple) French knot using either dark brown or black embroidery thread.
2. Cut out a smaller, conical piece of brown felt for the squirrel's wee nose and glue it down onto his face.
3. Stitching the nose down along its outline in matching dark brown embroidery thread helps to give it a more finished look. :)
4. Stitch down the lips of the squirrel using a couple of (straight/running or back) stitches from the bottom of the nose to the bottom edge of the squirrel's face.
-
 Step 5
1. Next, fold one of the pieces of felt cut out for the ears into half by bringing both ends of the bottom together and stitch the halved bottom together using the running stitch in coffee brown coloured (or matching) embroidery thread.
2. Repeat the same for the second ear. Ensure that both ears are facing opposite directions. :)
-
 Step 6
1. Stitch both ears to either side of the top of the head by using the running stitch or backstitch in matching embroidery thread to the inner side of the back (and not the front) of the head first so that it looks neater at the end.
Note: Another tip is to apply a little glue to hold each ear down before stitching it to the inner side of the back of the head.
2. Fill the head with a little stuffing and stitch around the top and sides of the front and back sides of the head together (but not the bottom edge until Step 9).
-
 Step 7
1. Now, cut out one semi-circular piece of smaller white felt for the chest (or 'bib') for the front of the torso of your squirrel.
2. Cut two pieces of larger pieces of felt for both (front and back) sides of the squirrel's torso.
3. Stitch the piece of white felt using short running stitches in matching white embroidery thread all around the semi-circular edge.
4. Next, fill the squirrel's torso with a little stuffing and stitch all around both (front and back) sides of the torso together using the blanket stitch in coffee brown embroidery thread.
-
 Step 8
1. Cut out 2 smaller ovals of coffee brown felt for the upper limbs (arms).
2. Cut out 2 sets (each) of small, tear drop-shaped lower limbs (feet) and stitch them all around using matching embroidery thread.
3. Stitch all four upper and lower limbs to the torso, so that the squirrel's torso will look like the one shown here.
-
 Step 9
1. Place the top of the completed torso within and nearer the (yet unstitched) bottom edge of the squirrel's head, which envelops the top of the torso snugly.
2. Now, stitch the head and torso together using matching-coloured embroidery thread.
-
 Step 10
1. Stitch the tail-with-a-swirl accordingly onto the back of the squirrel's body, ensuring it is secure.
Depending on the chosen size of the tail, you may even be able to use the squirrel's tail to help support the squirrel when it stands (much like a photo frame stand). :)
-
 Step 11
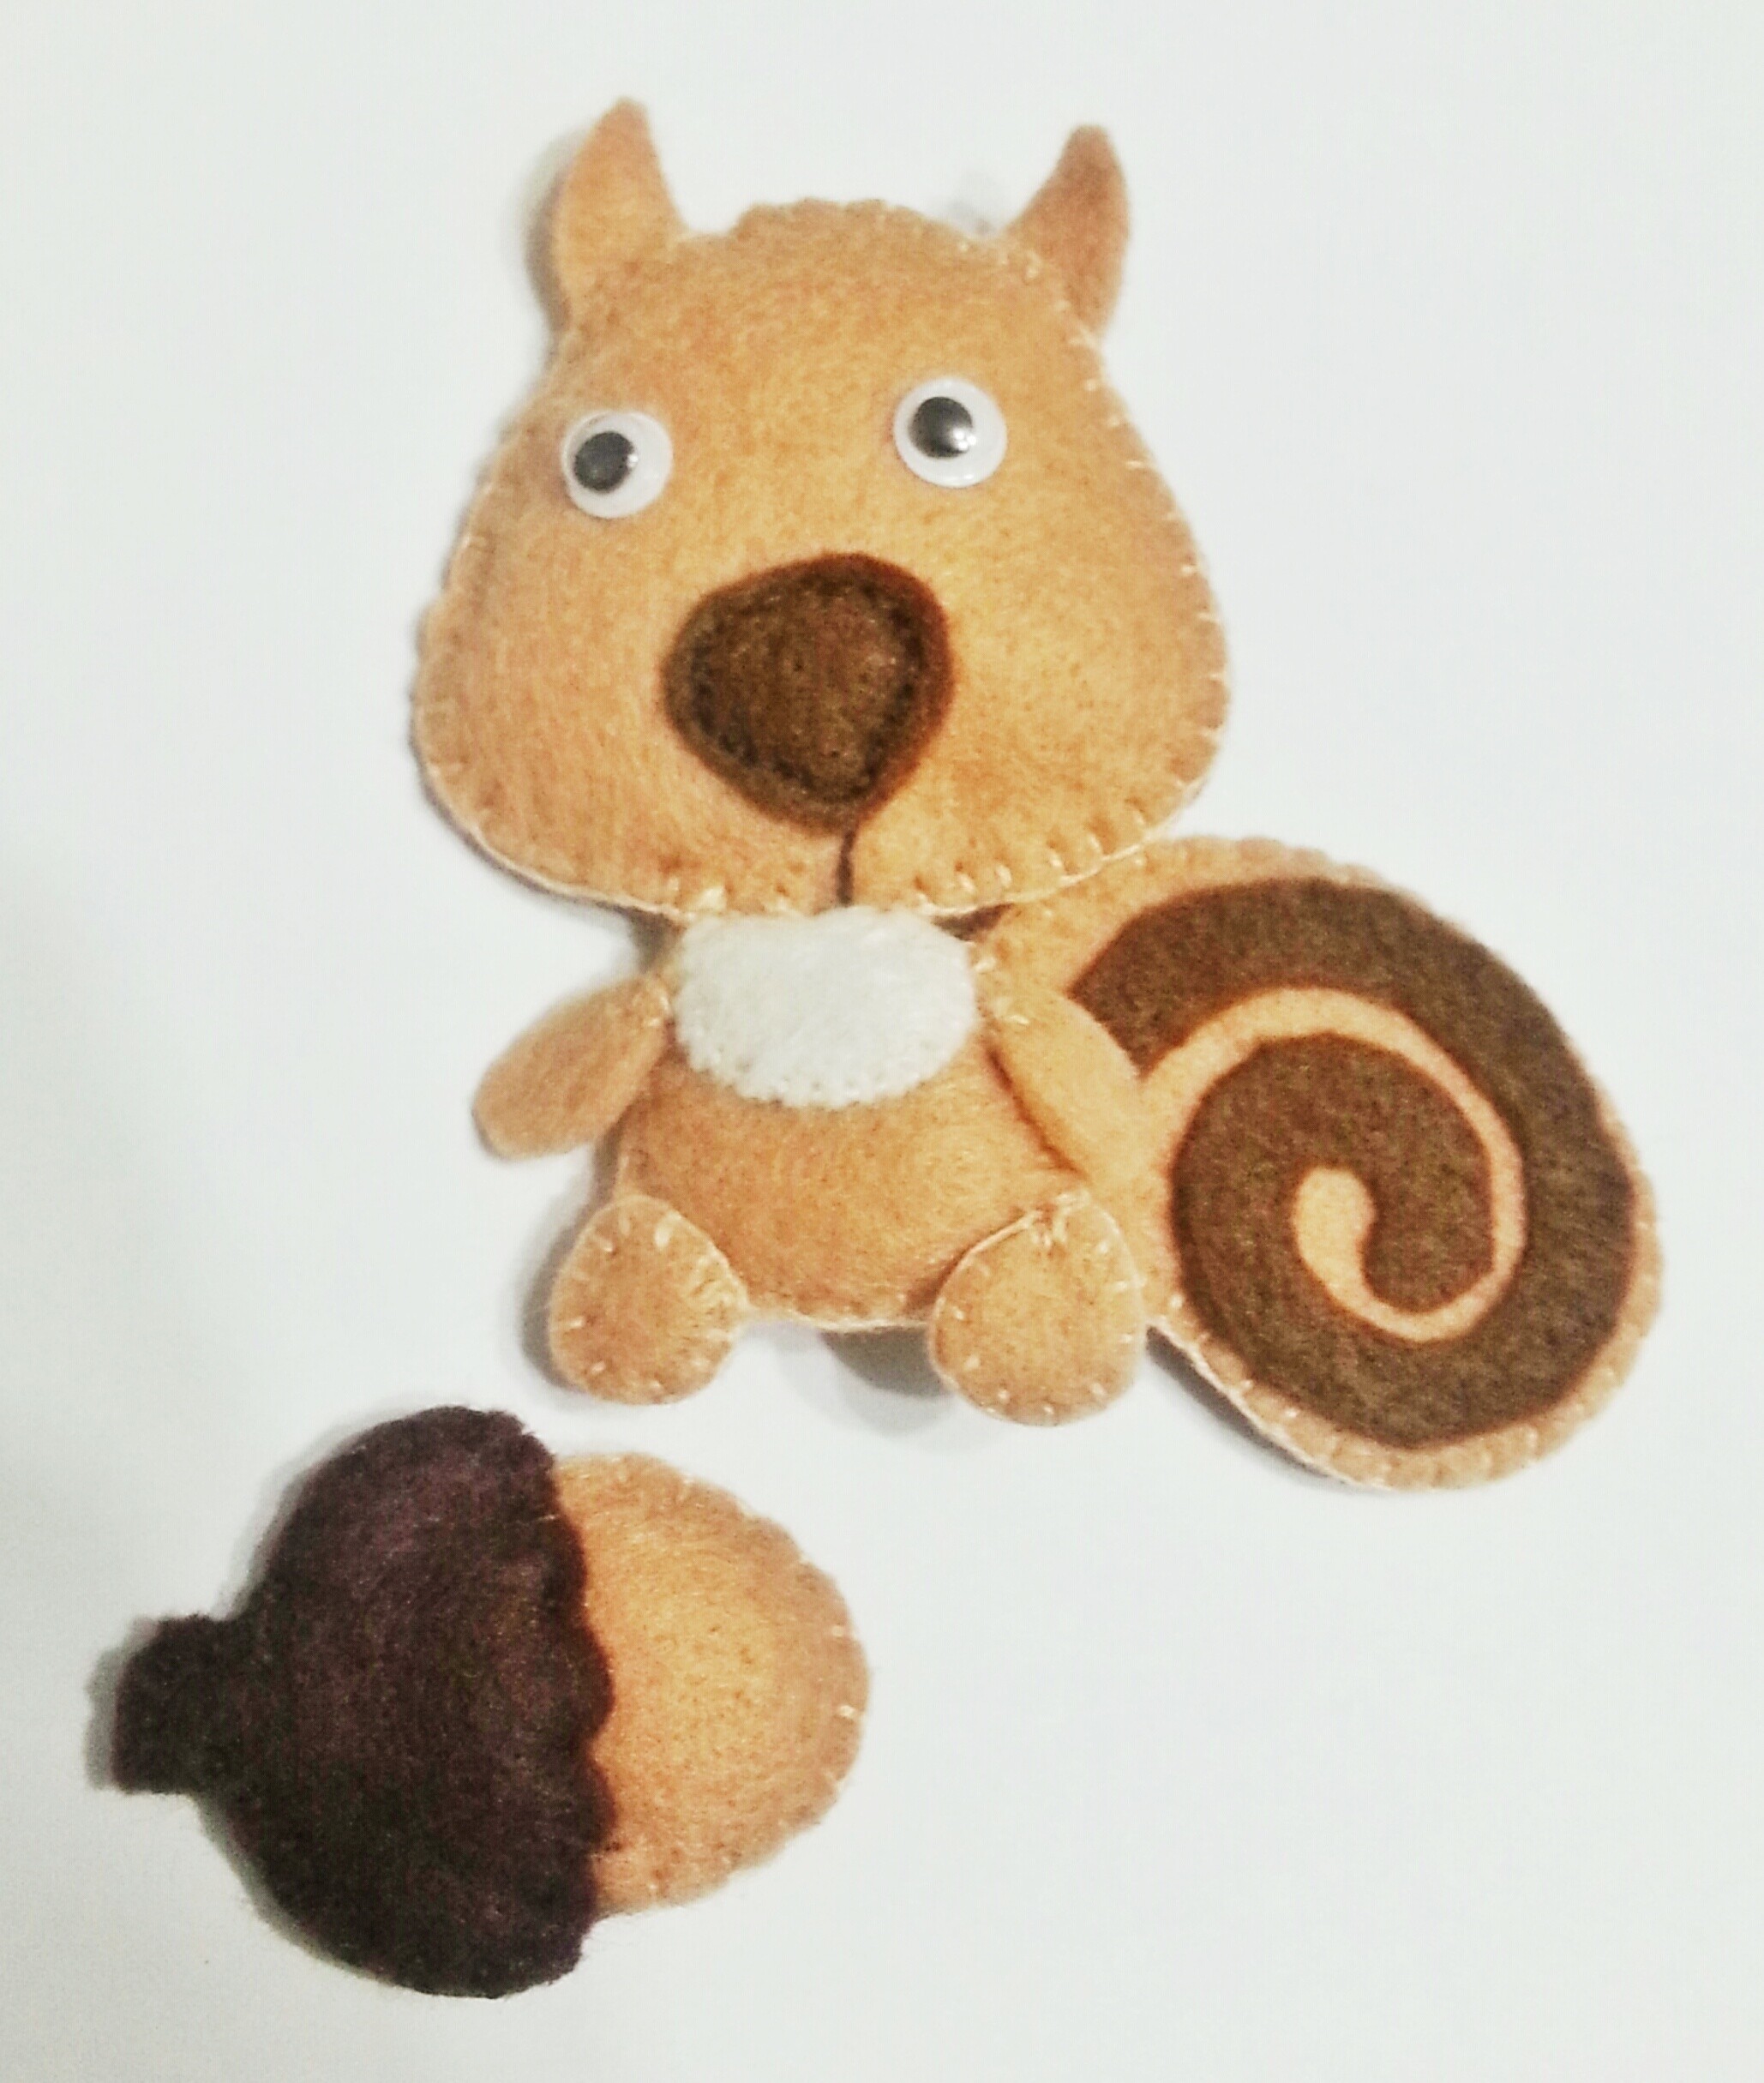
Alternatively, you may even choose to glue on 'googly eyes' to your squirrel if you prefer this look. It looks adorable either way, really.
Now, if you have already sewn your little squirrel a matching felt acorn, then you're all set. Have fun! :)