About
felt candy cane tutorial
this is an easy and fast way to make felt candy canes, felting around pipe cleaners to create the shape. no previous felting experience is necessary; this would be a lot of fun for older kids. for younger children, you could wrap the wool around the pipe cleaners and/or get them started, and have the kids do the last steps (roll them in soapy water).
Tags
-
 Neko-San K. favorited Felt Candy Cane
31 May 21:04
Neko-San K. favorited Felt Candy Cane
31 May 21:04
You Will Need
-
 Step 1
you will need some pipe cleaners (cut in half) and some wool roving. the amount pictured is about 1/8 of an ounce, which is enough to make at least 2 candy canes. you also need dish soap, hot water, a shallow waterproof dish, and a towel on hand.
-
 Step 2
take a strip of white wool. starting at one end, wrap the wool tightly around the pipe cleaner.
-
 Step 3
overlapping the wool...
-
 Step 4
wrap the wool diagonally along the pipe cleaner...
-
 Step 5
working your way to the other end.
-
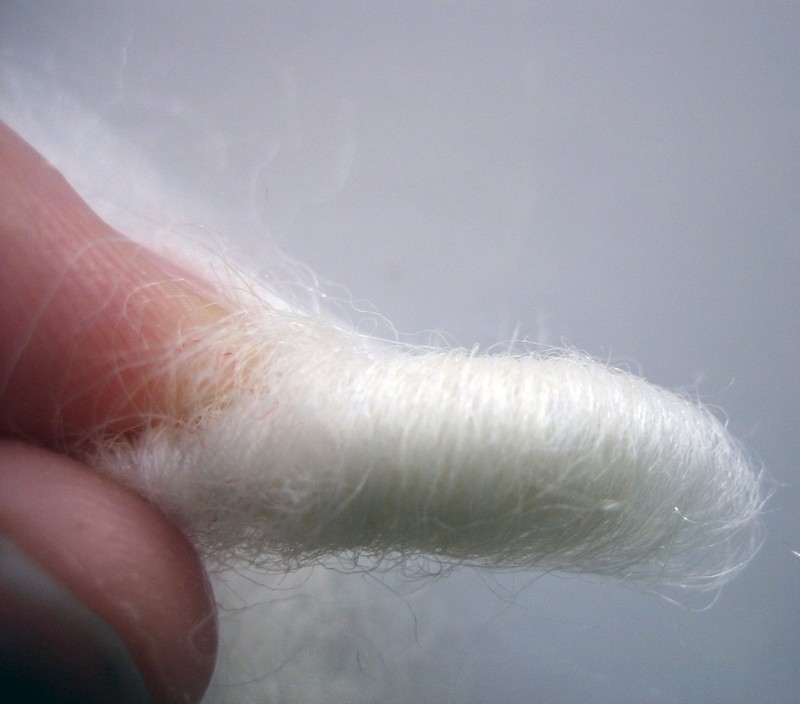
 Step 6
make sure to completely cover the end.
-
 Step 7
wrap back in the other direction, making 2 layers. when you reach the first end, turn around and wrap a final 3rd layer of wool
-
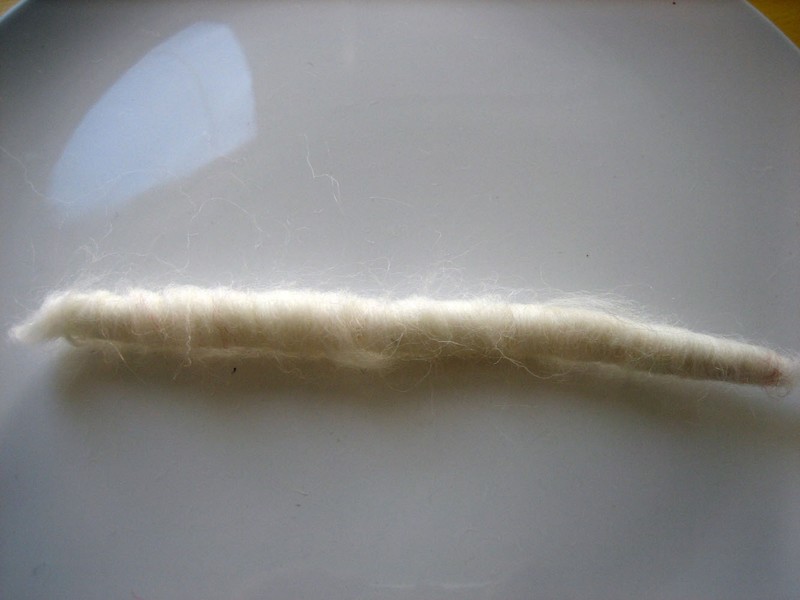
 Step 8
completed 3 layers of white wool wrapped around half a piper cleaner. if you've wrapped it tightly, it will be easier to felt in the following steps. some unevenness in the layers of wool at this point will not be a problem.
-
 Step 9
take one strip of red wool roving, about 1 and a half times longer than the white wool wrapped pipe cleaner.
-
 Step 10
wrap the red wool once or twice around one end.
-
 Step 11
and then wrap the red strip diagonally along the length of the pipe cleaner...
-
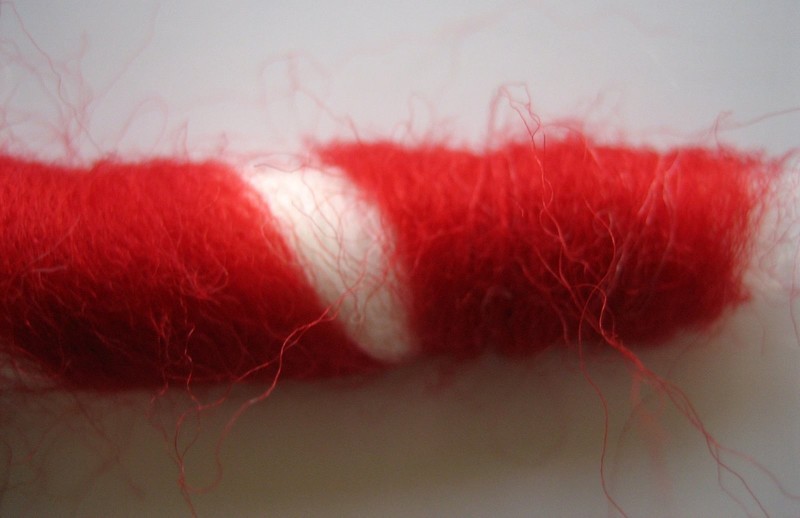
 Step 12
leaving white spaces that are the same width as the red spaces.
-
 Step 13
wrap the red wool one or two times around the end.
-
 Step 14
wool wrapping completed.
-
 Step 15
put a little hot soapy water in a dish, and roll the wool in it. using your fingertips or palms, roll the wool back and forth, as if you were making a clay snake.
-
 Step 16
the fibers will begin to join together. continue to roll the wool.
-
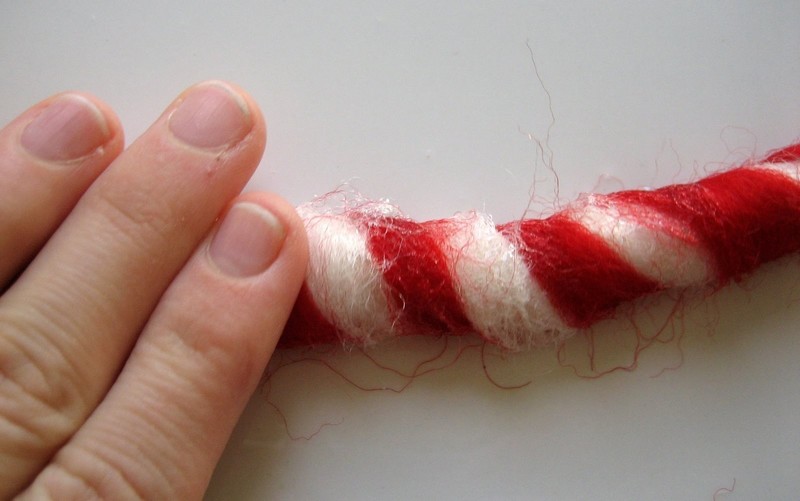
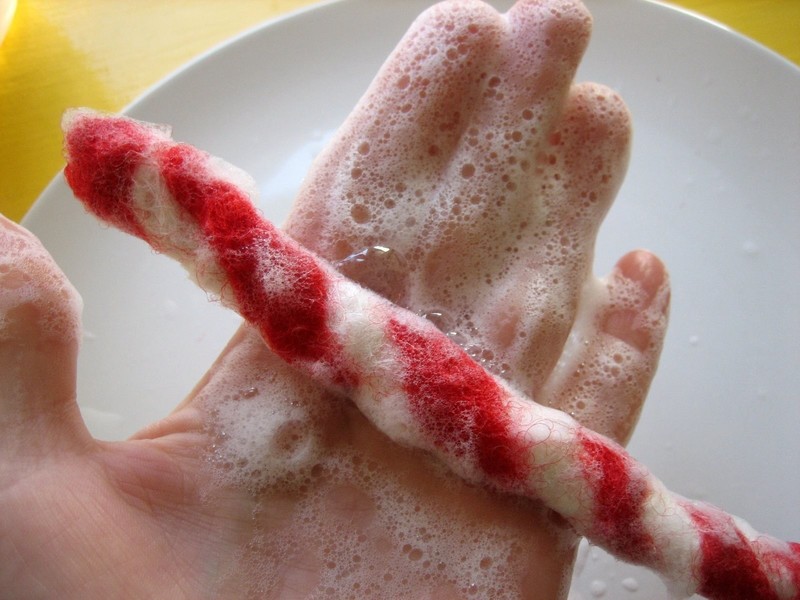
 Step 17
you can continue to work the wool: hold the stick in one hand as shown, and close your other hand around it. keeping your hands flat, rub it between your palms. you can keep working the wool as you gradually rinse out the soap.
-
 Step 18
your felt candy cane will probably have stretched a little past the wire and become longer. if you want flat ends, you can trip them off with a scissors, being careful to cut beyond the end of the wire.
-
 Step 19
bend to make a candy cane shape.
-
 Step 20
you can use the same process to make larger or smaller candy canes, or peppermint sticks (just don't bend them), or twist them into a circle for napkin rings or tiny decorative wreaths.