


About
Print it again!
I have been working on easy projects that look awesome, and won't break the budget, all based on rather difficult projects that require a lot of learning.
So here is the first in my set: Woodblock Printing.
-
 Kay T. favorited Faux Foam Woodblock Printing
12 Nov 14:46
Kay T. favorited Faux Foam Woodblock Printing
12 Nov 14:46
-
 Quickanimator favorited Faux Foam Woodblock Printing
18 May 15:04
Quickanimator favorited Faux Foam Woodblock Printing
18 May 15:04
-
 Kinhime Dragon commented on Faux Foam Woodblock Printing
10 Oct 14:03
Kinhime Dragon commented on Faux Foam Woodblock Printing
10 Oct 14:03
-
 Step 1
First come up with an idea you'd like to see repeated. I like doodling while watching Phelps kick some butt! At least that's my excuse for this badly done piece.
Here is a good tutorial for getting an image you like down to just black and white: http://www.cutoutandkeep.net/projects/stencilling_tutorial
You can do this with multiple colors, as well! Just more pieces of foam and more acrylic paint.
-
 Step 2
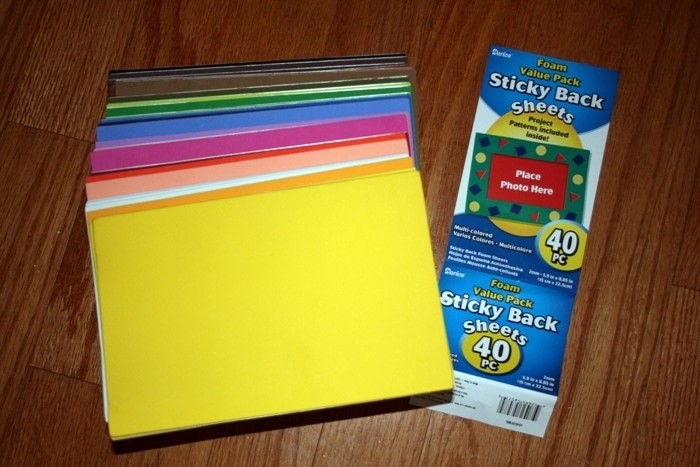
Gather your foam.
I found this stuff with the sticky stuff already on the back. It wasn't that expensive ($4.75 for the brick) and was worth not having to deal with finding a foam adhesive with just enough tack.
-
 Step 3
Stick it to pieces of foam board the size your want your picture and trim down. I trimmed then stuck. You could also get a large sheet of foam board (about $5-$7) and then cut out the pieces that way.
-
 Step 4
I used black foam to help me remember that what's sticking up is going to have ink on it. I drew out the simplified design with a white pastel pencil and then cut it out with a VERY sharp exacto knife. Dull will not work. Use the knife to help peel off pieces of foam. Don't worry if some of the foam board comes off.
Then I used a foam roller to spread my ink on evenly. You don't need a roller, but as a former printmaking student I needed it.
-
 Step 5
Test! See if you need to cut out more, or where the paint isn't going to stick as well. See where you need to press harder.
Practice centering
-
 Step 6
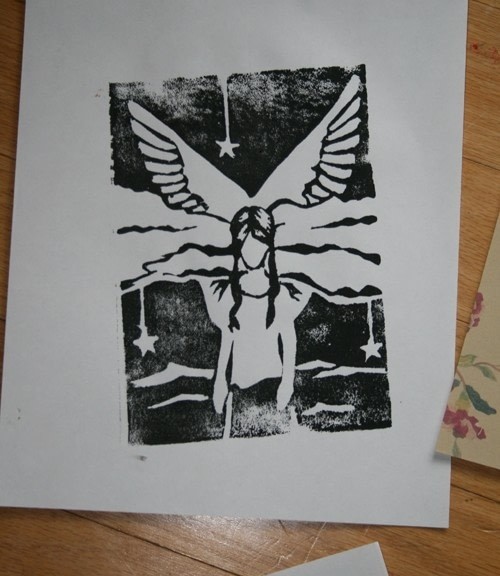
Test, test, test!
-
 Step 7
Use some good paper, or have the final image ready for binding in a book! Use all forty sheets and tell a story without words! (An awesome book about story wood cuts can be found at your local Books a Million in the comic book section. I do not have it as it's about $35, but I'm so getting it!)


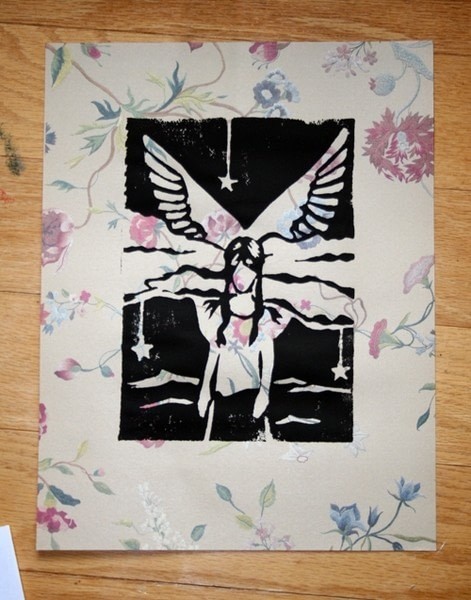


i love the background
skillzzz x