


About
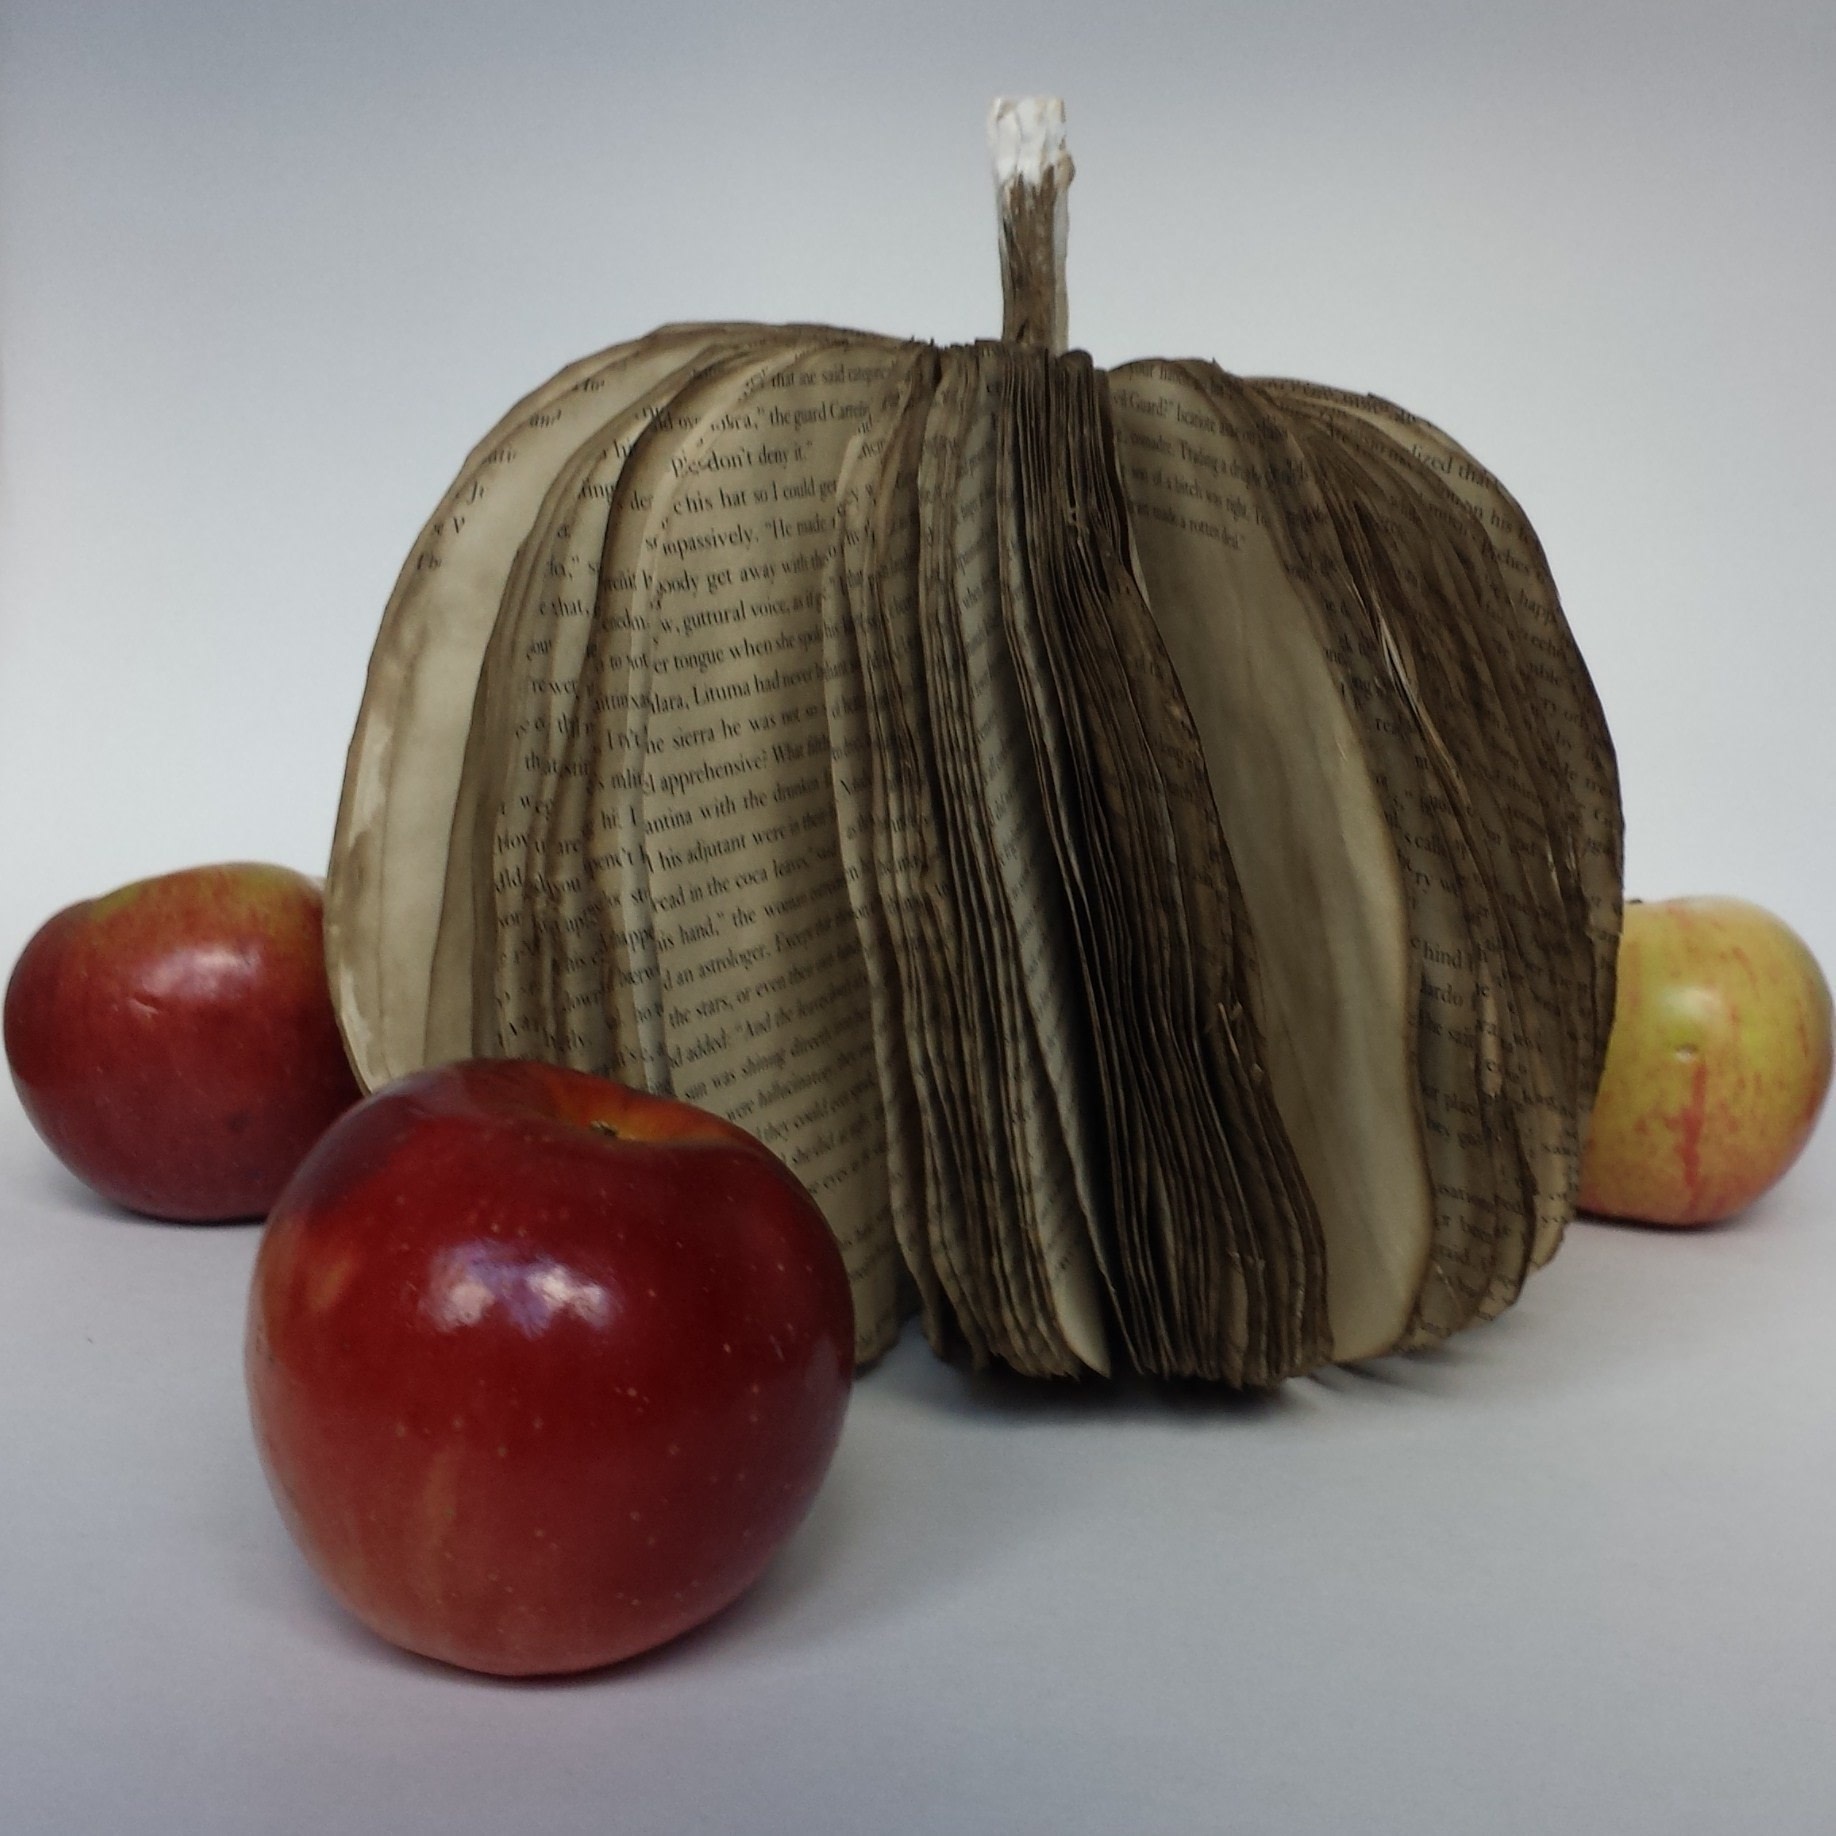
Have an old book lying around? Make it into a decorative fall pumpkin!
Make a cute decoration for this fall using an old book, an X-Acto Knife, and hot glue. Distress your book pumpkin with coffee to give it a weathered look.
Tags
-
 panteznabnch favorited Fall Book Pumpkin
01 May 01:03
panteznabnch favorited Fall Book Pumpkin
01 May 01:03
-
 Alissa B. favorited Fall Book Pumpkin
29 Nov 20:22
Alissa B. favorited Fall Book Pumpkin
29 Nov 20:22
-
 destinationdecoration published her project Fall Book Pumpkin
26 Nov 06:00
destinationdecoration published her project Fall Book Pumpkin
26 Nov 06:00
You Will Need
-
 Step 1
Start by removing the front and back covers of your book. You can also remove the glossy part of the spine if you want to.
-
 Step 2
Fold a piece of paper in half and make half a pumpkin shape. Don't round out the bottom of the pumpkin too much or it will not be able to stand.
-
 Step 3
Cut out your pumpkin template with scissors.
-
 Step 4
Open up your book to the middle of the book (it doesn't have to be exact). Place the template on the middle of the book and line up the fold with the spine of the book.
-
 Step 5
Trace around your pumpkin template with pencil. Cut around the outline of your template with a scissors or X-Acto Knife. Press hard with your X-Acto Knife and you should be able to cut through about five pages at a time.
-
 Step 6
Rip out the non-pumpkin part of the book.
-
 Step 7
The spine of your book will become the stem, so do not rip this off. Rather, rip pages close to the spine of the book, but not completely off. Continue cutting using the previously cut pages as a guideline.
-
 Step 8
When you get towards the bottom, make sure you have a piece of cardboard or some other barrier between the X-Acto Knife and the cutting surface so you don't damage your table or work space. Cut the last pages out and rip off the non-pumpkin part.
-
Step 9
Cut off the little nubbin at the bottom, but leave the top for the stem.
If you'd like, you can skip to the hot gluing step below and be finished with your pumpkin. I wanted to age my book a little bit, so I decided to distress it using coffee.
-
 Step 10
To distress the book, brew a strong pot of coffee. Use a paintbrush to paint each page with a layer of coffee. You can vary the darkness of the stain by leaving puddles on the page. Another way you can vary the color is to "paint" the outside of the pumpkin so the edges get a darkened look.
-
Step 11
Let your pages dry (this will take a while).
-
 Step 12
When your pages are dry, put hot glue on the binding and wrap the book around in a circle to get the pumpkin look.
-
 Step 13
To get your book pumpkin to stand, you'll need to "fluff" the pages a little bit to get them to spread out. This might take a while, so be patient....you'll get there eventually. I ended up hot gluing some of the pages to each other to try to get stubborn pages to move and that seemed to work. Once you're done, put it in a spot where it can be displayed and enjoy your little touch of fall in your house.


