About
Turn a figurine or doll into an fairy.
The inspiration for this project by Filth Wizardry where she made a Barbie into a fairy using paper wings (she even has a template for making the wings on her site)
Tags
-
Step 1
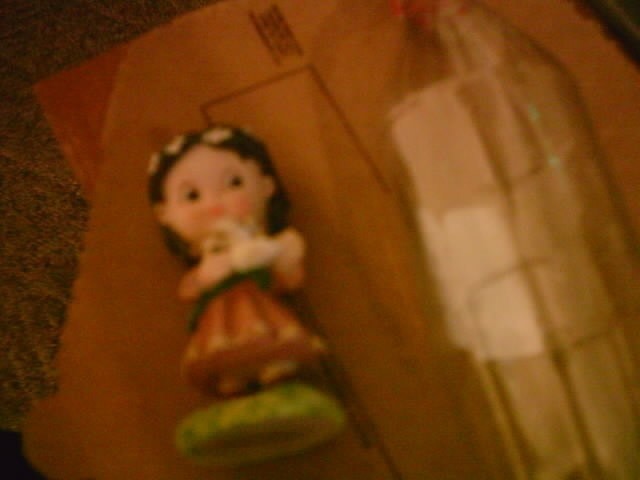
For this project I bought the figurine at the dollar store and that was my only cost out of pocket. The plastic was a 20 oz Diet Coke bottle and the elastic was from the tag attached to the figurine.
-
 Step 2
To determine the size of the wings, I put the figurine next to the bottle and then decided where I wanted to cut the bottle.
-
 Step 3
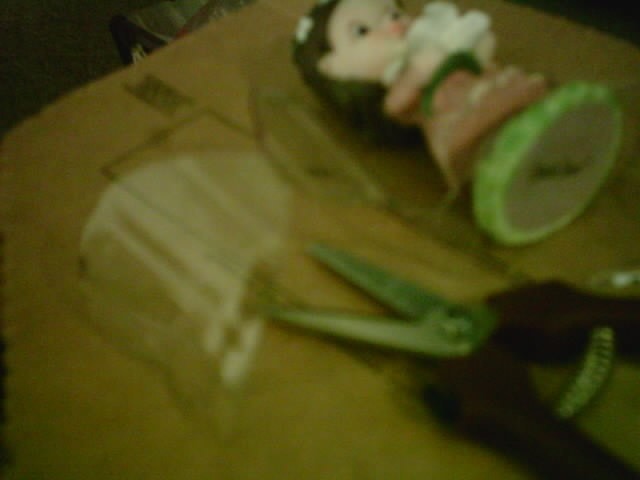
I then used a sharpie to freehand the wings shape on the bottle.
-
 Step 4
Use craft scissors and/or an Xacto knife to cut out the wings. I started cutting the bottle with the Xacto knife, then used the craft scicssors to finish cutting out.
-
 Step 5
Use the markers to create and color any design you want on the wings.
-
 Step 6
Slide the circle of elastic or rubber band around the center of the wings and continue until you have just enough stretch to slide it over the figurine or doll at the waist and do so(you may have to try it a few times to get it right - you don't want it too tight or too loose).
-
 Step 7
Pull up the wings slightly and use the hot glue gun to add small dabs of glue to the figurine or doll to secure the wings, then press the wings down.