


About
How to Make a Fabric Scrap Collage Tutorial
~This is a super fun and very easy project. This project can be useful and adapted to all levels. It can be a no- sew project if you prefer, but I love "drawing with the sewing machine.
I think this is a great way to jump start your creative juices and also practice different stitches and practice using fusible interfacing and other fusible products. The possibilities are endless. You can keep the design very simple and just have one image fused to one background, or you can use this project as a practice for design and composition. I started making these as the back panel for clutches that I had been making. The idea to frame the collage came about when I liked the design too much to fold it over into a clutch, so I decided to work several at once.~This way I could make a few framed pieces(which had been requested ) and work on my applique' design ideas for my upcoming fall and winter skirts. Thisproject is a great way to use up lots of scraps too! It is easy to work on 3 or 4 at once while working through your design ideas. For these three I used my sketches from photos I had taken from my spring garden as inspiration for some of the compositions, colors, and design elements.After you have finished you can frame them as I show here, or turn it into a patch or pocket for a purse jacket or skirt.
-
 Moira A. favorited Fabric Scrap Collage
23 Mar 14:33
Moira A. favorited Fabric Scrap Collage
23 Mar 14:33
-
 TheSewingMaven favorited Fabric Scrap Collage
09 Sep 06:22
TheSewingMaven favorited Fabric Scrap Collage
09 Sep 06:22
-
Mary K. favorited Fabric Scrap Collage
07 Jan 19:56
-
 Step 1
Make a pile of scraps that look good together. Make sure you have some big and little pieces to work with. Think about colors you like together or patterns that echo and compliment one another. Start trying to visualize a focal point fabric; one that you would like to showcase.
-
 Step 2
Choose the size for your final piece. I made these all 8.5 X11. This size was suitable for my clutch pattern, an apron bib or a standard size frame. If you have the frame you will be using you can do some preliminary designing using it .
-
 Step 3
Create the back ground field back it with fusible interface. For two of these examples I used one piece of fabric for the back ground. On the third I used two pieces sewn together. In either case iron the one sided interface to the back.This is going to be your blank paper that will be in the final frame. Keep in mind as you create your collage you want the edges to be under the frame
-
 Step 4
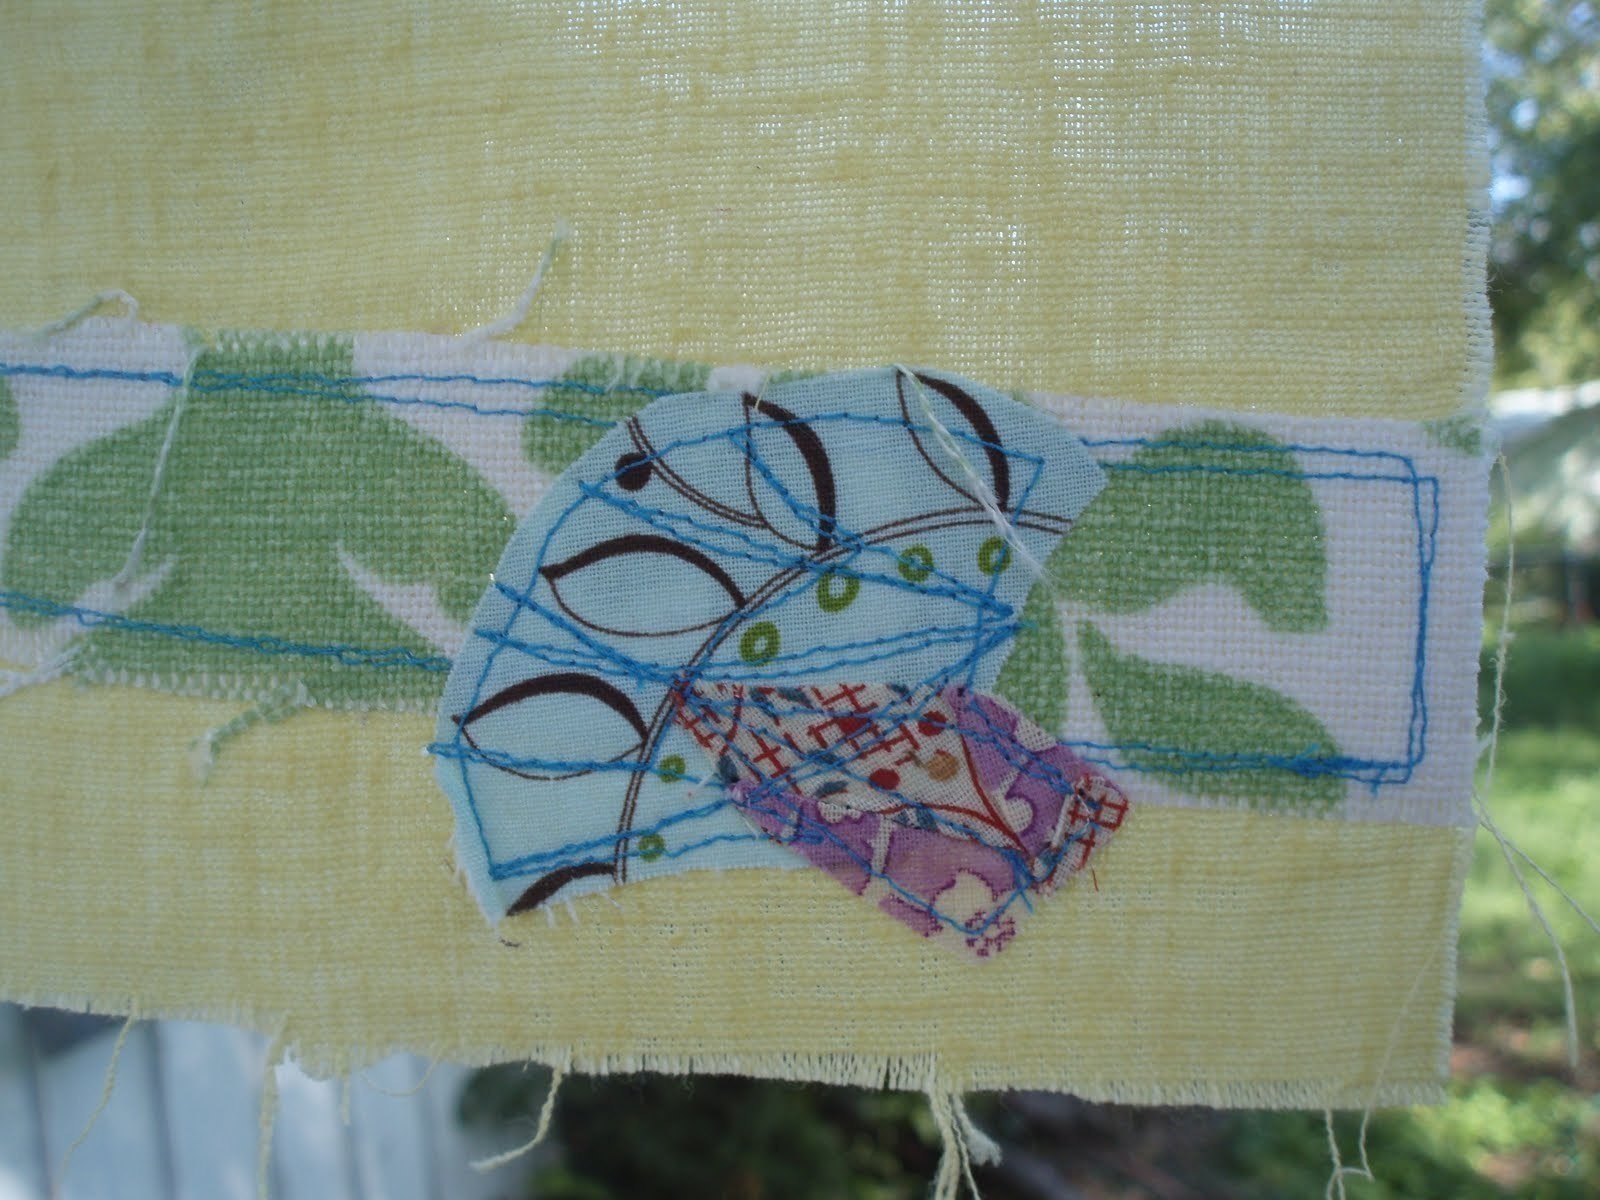
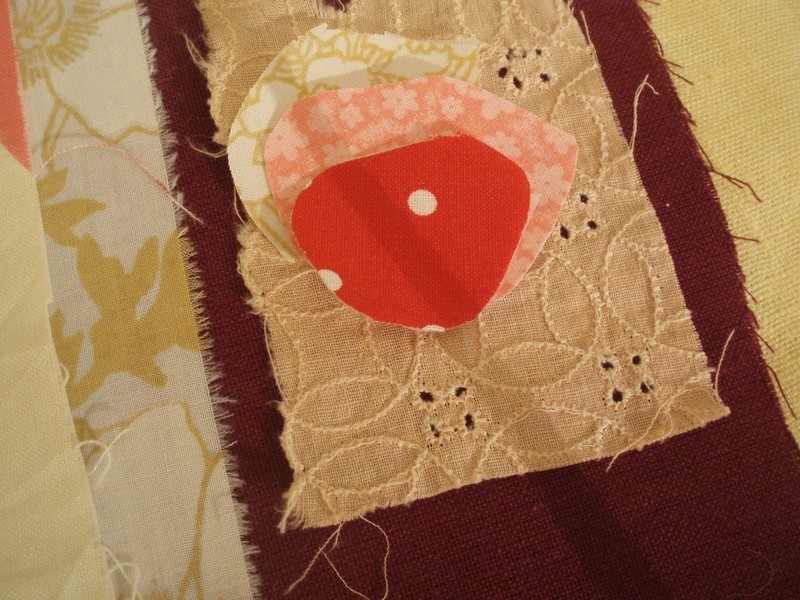
Create a focal point. Often times this is what inspires and dictates most of my art piece.I will really love one scrap of fabric and then work my colors and design around that scrap.
-
 Step 5
Adhere the wonderunder to your collage pieces. I usually pick a few pieces that I think will work into my design and put some wonder under on them (smallish).
-
 Step 6
(Make sure you follow the manufacturer's directions for your fusible backing. there are lots of double sided fusible webbing's out there. I just like working with the wonder under although honestly I have not tried too many brands.) Then I cut out my shapes with the wonder under attached. I don't take the paper backing off until it is time to iron the piece to the project. If you have scraps left just keep them in a small bag or box so when you need a small scrap it is ready to go.
-
 Step 7
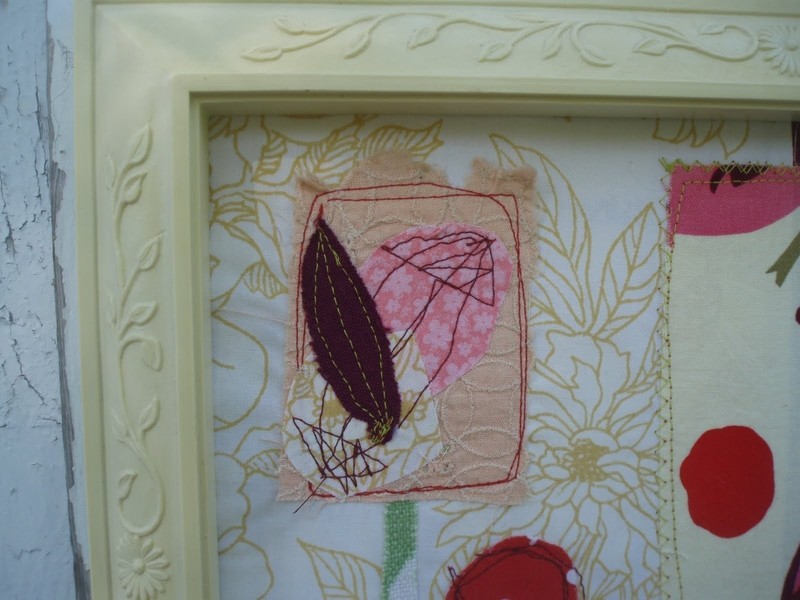
Stitch as you go. Again if this is a purely decorative art piece you do not need to stitch. I never know what I am going to attach a collage panel to so I like to stitch them and also As I said before, I love drawing with my sewing machine.
-
 Step 8
This a great way to get comfortable with your machine and learn all about the different stitches. You can use the stitch lines to create subtlety in your composition and help move the eye around your art piece.
-
Step 9
Iron and spray starch(optional)your final image . This makes it nice and smooth. I iron throughout the whole process. One helpful thing to think about when ironing is to lift and move your iron when you are pressing. Try not to push the fabric around just press and lift and move to the next area.
-
 Step 10
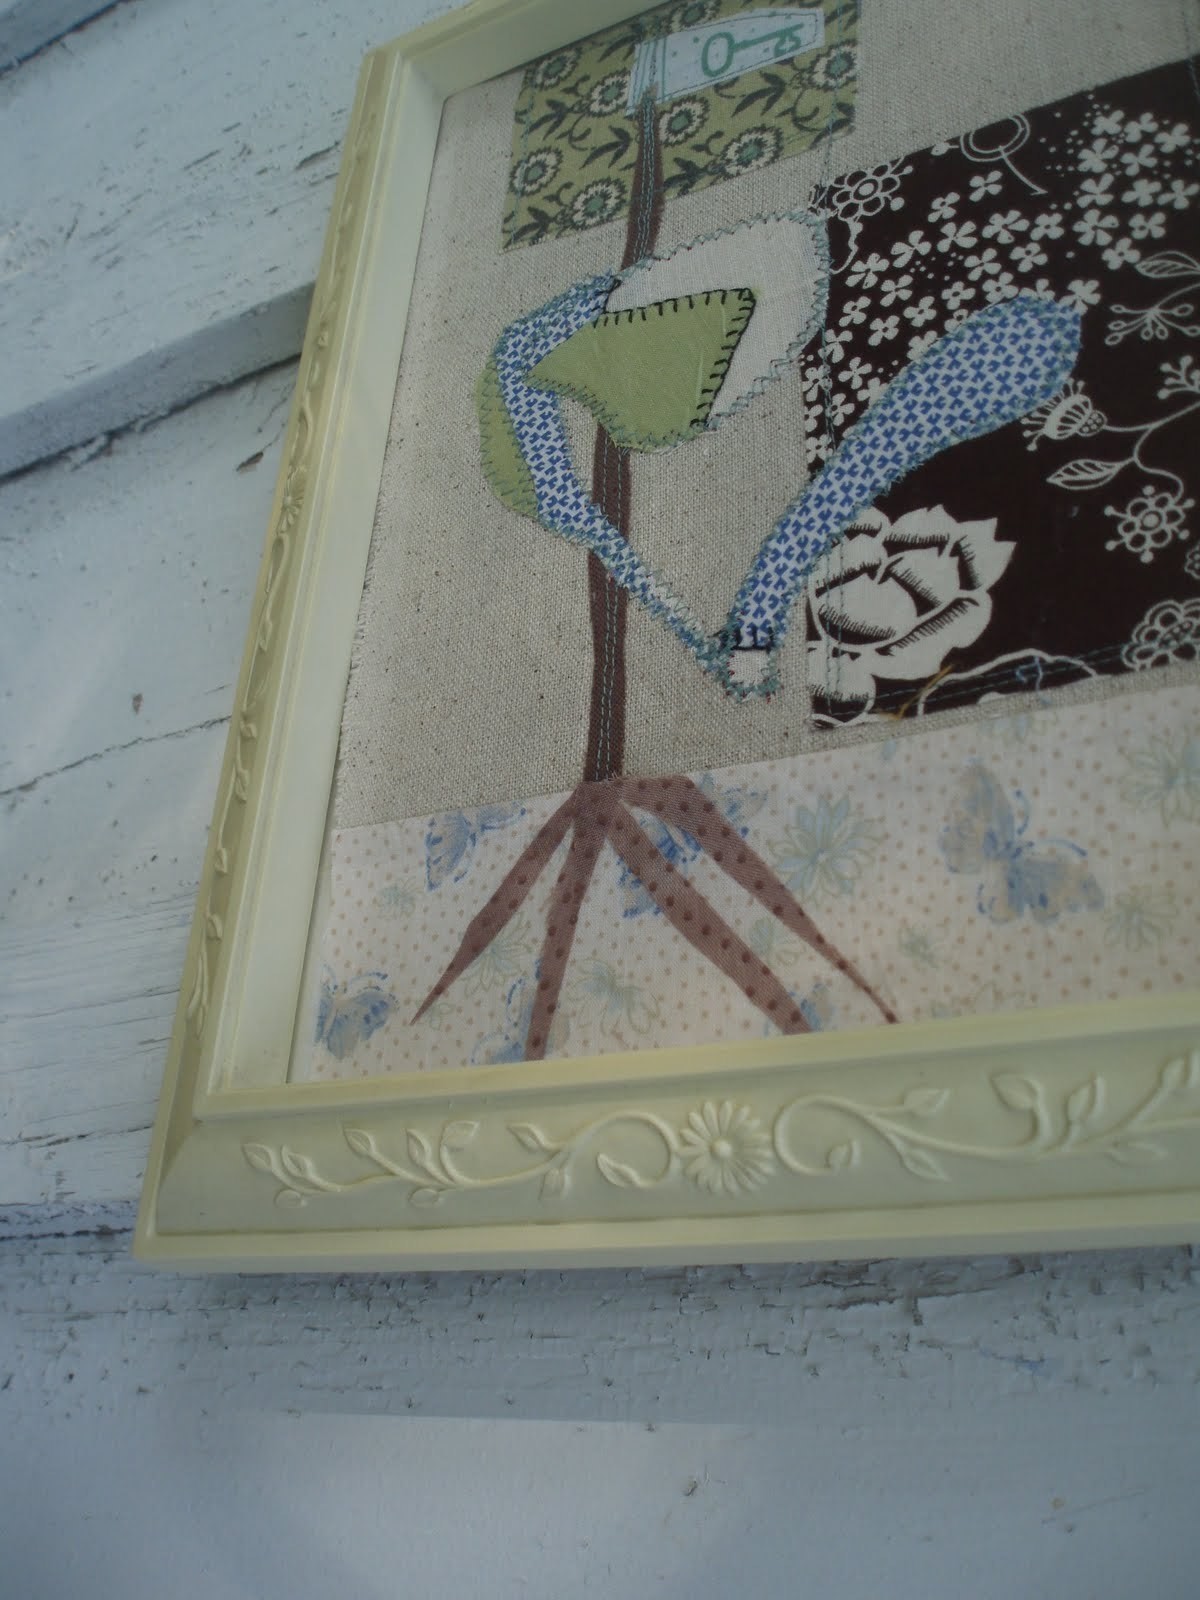
Frame and hang your art work. These hanging pieces make great gifts or it is an inexpensive and easy way to decorate a room.
-
 Step 11
Use leftover upholstery scraps to create pieces that will go with your furnishings. Use fun kid friendly prints to decorates the Lil' ones rooms. I pick up pretty and unusual frames from thrift stores and yard sales. I also buy frames from the dollar store or target when they are cheap and stash the away for gift giving.
-
 Step 12
I usually paint or modge podge some fabric to these plainer frames.


Versions

Comments

