


About
Cover those ugly notebooks
I loved this idea. and did a few for my kids, school notebooks.
you don't have to use fusible webbing, you can sew each square like a quilt, just remember to iron the seams so it lays flat.
You don;t even have to do a patch work, use one fabric.
Add a pocket or a pencil holder to the side/bind.
-
 HylianWriter534 favorited Fabric Notebook Cover
08 Jun 23:11
HylianWriter534 favorited Fabric Notebook Cover
08 Jun 23:11
-
 miraenna favorited Fabric Notebook Cover
01 Jul 16:51
miraenna favorited Fabric Notebook Cover
01 Jul 16:51
-
 Lowe . favorited Fabric Notebook Cover
01 Jul 05:47
Lowe . favorited Fabric Notebook Cover
01 Jul 05:47
-
 Maryann entered her project Fabric Notebook Cover to Mix Tape Zine
05 Aug 03:19
Maryann entered her project Fabric Notebook Cover to Mix Tape Zine
05 Aug 03:19
-
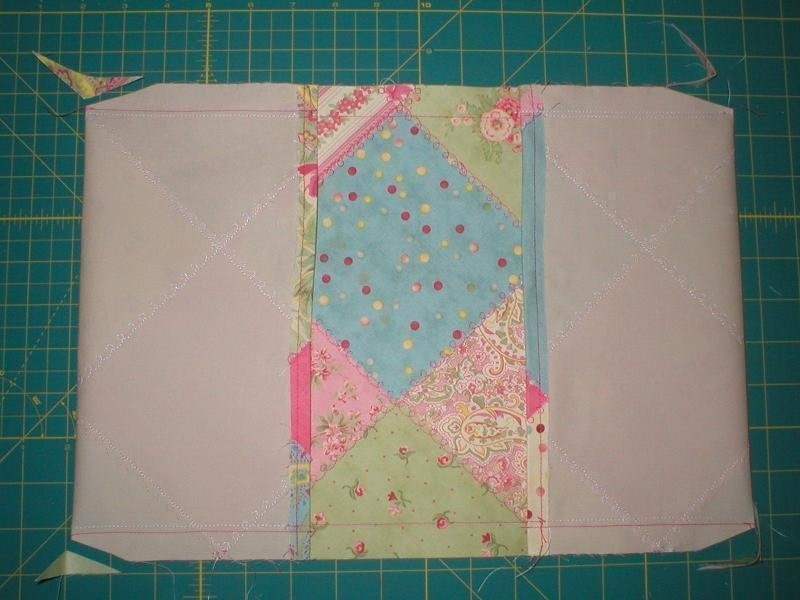
 Step 1
Fuse iron-on adhesive to 11×27″ fabric.
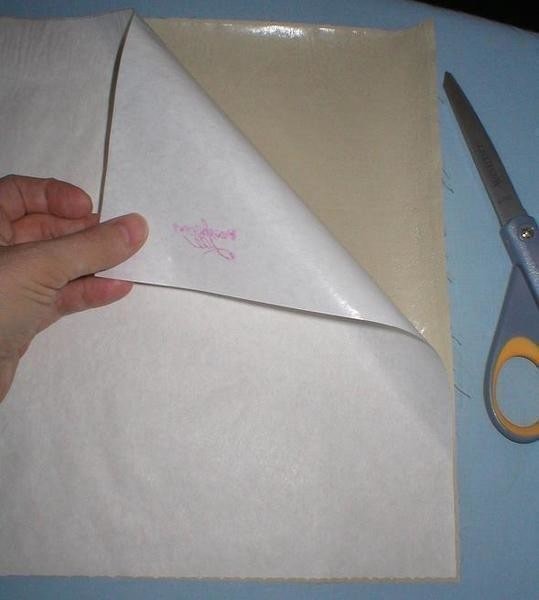
Cut iron-on adhesive to cover 11×27″ fabric. Several pieces might be needed to cover the entire area. Follow manufacturer’s instructions to fuse. After fabric cools, peel off paper backing.
-
 Step 2
Make patchwork cover fabric.
Arrange squares with wrong side to fusible webbing on top of cover fabric. Fuse a few squares at a time, being careful not to get glue on your iron.
Trim off excess and continue filling in until the entire piece of fabric is covered. Trim off all excess fabric around the outside and iron final piece one more time, making sure edges are adequately fused. From here on out, this will be referred to as your “cover fabric”
-
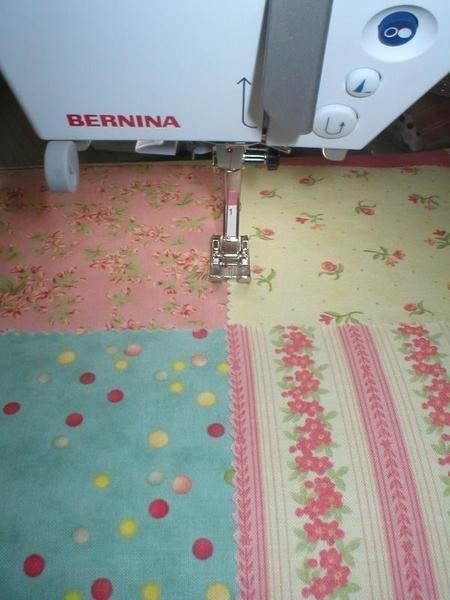
 Step 3
Sew decorative stitches over the “seams”
-
 Step 4
Sew ”seemingly useless but pretty border” straightstitch on top and bottom of cover fabric
Center the notebook on the cover fabric. Measure the top and bottom until even.
Add 1/4 of an inch to this number. In my case, the top and bottom measurements were 1/2 inch. Adding a 1/4 inch brings it to 3/4 inch. This is how far in you will sew your border straight stich.
-
 Step 5
Sew a line 3/4 inch (or your own calculated measurement) in across the top and bottom of the cover.
The reason for this line of stitching will become apparent in step 13.
-
 Step 6
Sew under sides of cover.
Iron a 1/2-inch crease into both short sides of fabric.
-
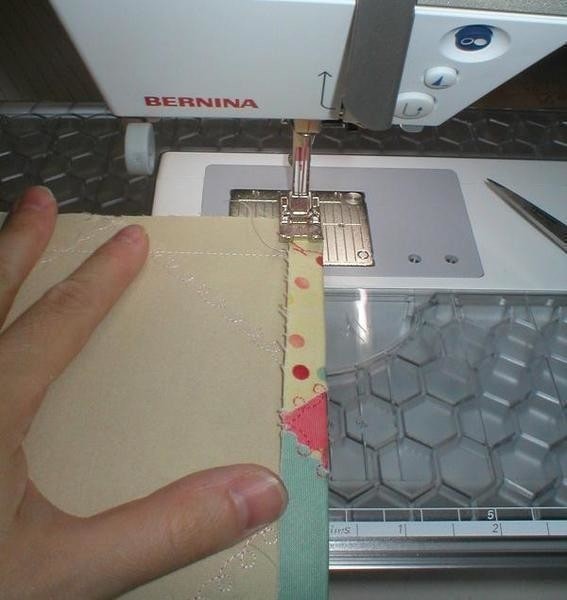
 Step 7
Secure the raw edge under with a straight stich 1/4 inch in from the edge.
-
 Step 8
Prepare side flaps
Center the notebook on the RIGHT side of the cover. Fold in flaps and measure both sides until they are even. In my case, this measurement is 5 1/2 inches. Pin the flap at the top and bottom and slide out the notebook.
-
 Step 9
Sew down the side flaps.
Determine the top and bottom seam for the side flaps. Lay the notebook back on the cover. Measure the top and bottom, moving the notebook until it is centered and both measurements are the same. Note this measurement and SUBTRACT 1/8 of an inch. This is your seam allowance for sewing down the flaps.
My measurement was 1/2 inch. Minus 1/8 and I have 3/8. Sew the flaps down with appropriate seam allowance, back stitching where the flap ends near the center.
-
 Step 10
Clip corners and turn cover right-side out.
-
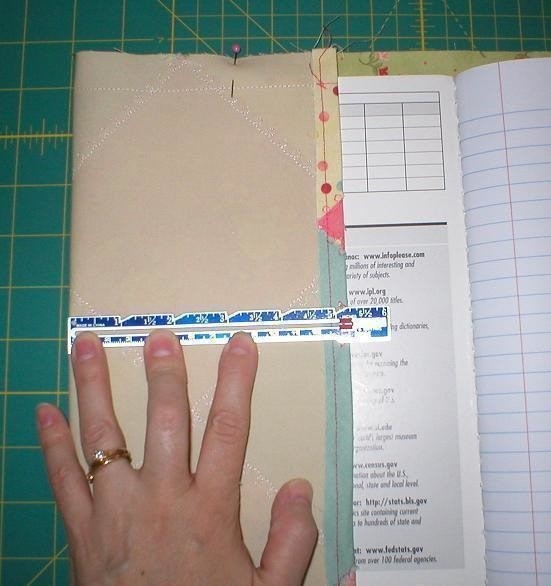
Step 11
Test fit the cover.
Gently ease your notebook into the sleeves, expecting to utilize some notebook contortionist. Remove the notebook. If it’s too tight of a squeeze, then I’m afraid there might be some seam ripping in your future.
-
 Step 12
Press and sew in raw edges on top and bottom.
Iron crisp edges and folds into the cover. Iron raw edges on top and bottom down and pin.
-
 Step 13
With raw side DOWN, sew at least 3 inches of raw edge down, lining up stitches on your previously “seemingly useless but pretty” border line of straight stiches.
-
 Step 14
Refit the Notebook in the cover and your finished!


Comments


