

About
Every designer needs a sketchbook. It's even better when your sketchbook is super pretty to look at.
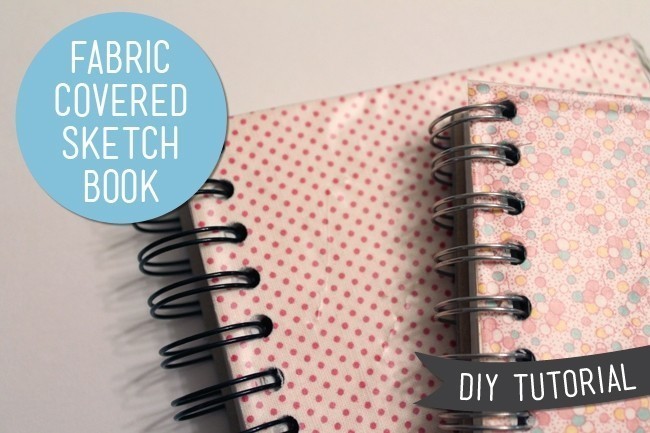
DIY Fabric Sketch Book Cover
DESIGN TIP
Before you cut your fabric, fold it into the finished size. Does your fabric look good in a swatch this size? Small print fabrics are better suited for a small sketch book while a large print fabric would work better on a large sketch book. If you have a border print fabric or a print with a lot of variation, you might want to "fussy cut" the fabric so that you are using the perfect section of fabric for your cover.
-
 forbunnie favorited Fabric Covered Sketchbook
03 Mar 17:06
forbunnie favorited Fabric Covered Sketchbook
03 Mar 17:06
-
 RareJewel favorited Fabric Covered Sketchbook
22 Jun 00:29
RareJewel favorited Fabric Covered Sketchbook
22 Jun 00:29
-
 Rachael H. added Fabric Covered Sketchbook to Books/Journals
30 Nov 19:00
Rachael H. added Fabric Covered Sketchbook to Books/Journals
30 Nov 19:00
-
Rachael H. favorited Fabric Covered Sketchbook
30 Nov 19:00
-
 Kelly Jade favorited Fabric Covered Sketchbook
10 Sep 04:38
Kelly Jade favorited Fabric Covered Sketchbook
10 Sep 04:38
-
 Marvelgirl .. added Fabric Covered Sketchbook to Easy (One day) Projects
30 Dec 22:12
Marvelgirl .. added Fabric Covered Sketchbook to Easy (One day) Projects
30 Dec 22:12
-
 Maxine M. added Fabric Covered Sketchbook to To-make list
30 Oct 13:26
Maxine M. added Fabric Covered Sketchbook to To-make list
30 Oct 13:26
-
 daire. the Cherry*Head_gamer added Fabric Covered Sketchbook to My To Dos
03 Oct 22:55
daire. the Cherry*Head_gamer added Fabric Covered Sketchbook to My To Dos
03 Oct 22:55
-
daire. the Cherry*Head_gamer favorited Fabric Covered Sketchbook
03 Oct 22:55
-
Alissa B. favorited Fabric Covered Sketchbook
31 Jul 09:17
You Will Need
-
 Step 1
Supplies:
Wire ring sketch book with removable cover (This is important if you want to replace the entire cover. A coil binding will not work.)
Light to Medium Weight Cotton Fabric, cut to same size as cover
Tag Board or Card Stock
Tacky Glue
Hole Punch
Rotary Cutter or Exacto
Clear Contact Paper -
 Step 2
Remove the cover from the sketchbook.
-
 Step 3
Cut a new cover from tag board and mark the holes for the binding using original cover as a guide. Use the hole punch to make holes where marked. (You can wait until later to punch the holes if your hole punch is particularly strong.)
-
 Step 4
Using Tacky glue thinned with a few drops of water, brush glue over tag board. Adhere fabric to tag board and set under heavy books overnight or until very dry and flat. (Don't forget to iron your fabric before gluing it down!)
-
 Step 5
Cut a piece of contact paper 1 inch larger than the cover on all sides. For example, if your notebook is 5 x 8 inches, cut your contact paper 7 x 10 inches. Cut away the corners of the contact paper and adhere to the fabric side of the sketchbook cover. Smooth with a bone folder.
-
 Step 6
Fold the excess edges of the contact paper over to the back side of the sketch book cover. Pull the contact paper taut with one hand and use the bone folder to smooth it onto the sketchbook cover starting at the edge and moving inward.
-
 Step 7
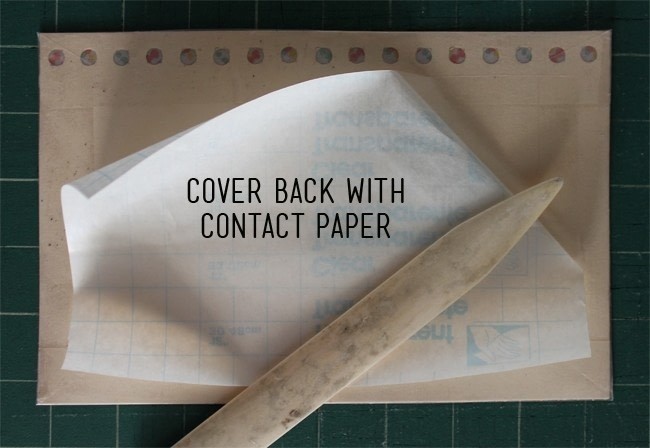
Cut a second piece of contact paper just large enough to cover the back area that is not already covered. Adhere and smooth with a bone folder.
-
 Step 8
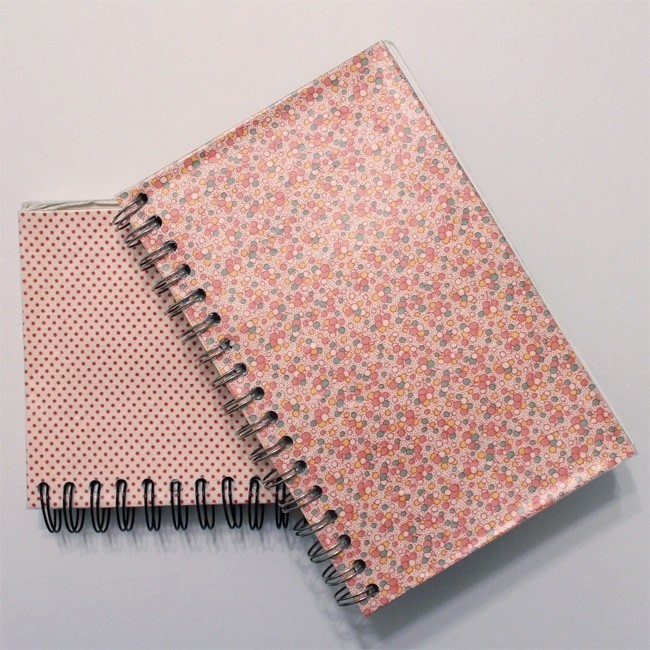
Using a hole punch, punch holes through contact paper and fabric where marked. You may need to trim a bit with scissors. Put the cover on your sketchbook and you're ready to go!


http://ccchinachic.com/products/home-products/wall-art/c-47/