


About
Personalised notebook for your thoughts xxx
A perfect gift - I made 6 as presents for christmas!
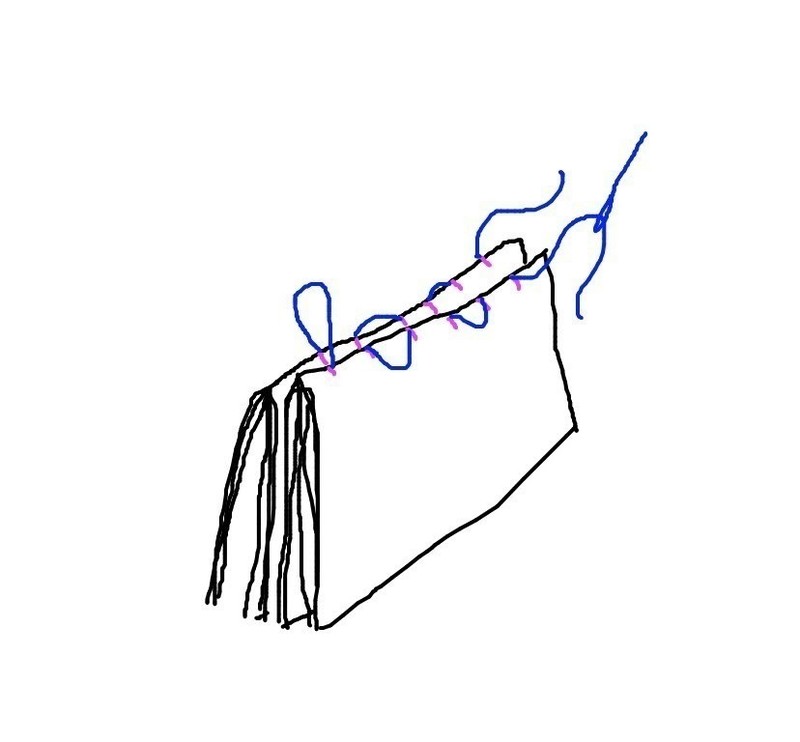
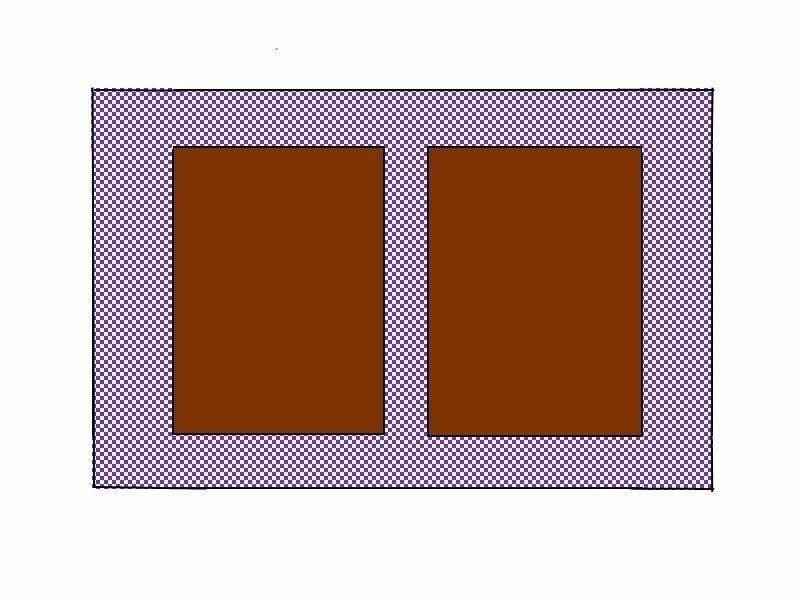
In the drawings below, pink = position of holes, blue = needle and thread, brown = mountboard/card, purple = fabric and the black is the outline of the pages.
Tips: Heavy upholestery fabrics work well as they don't wrinkle much when they get glued, and thicker papers are best for the end papers. Also, button twist is better than cotton, though both will work!
Have fun!
Tags
-
 HylianWriter534 added Fabric Covered Journal to To-Make List
08 Mar 20:02
HylianWriter534 added Fabric Covered Journal to To-Make List
08 Mar 20:02
-
HylianWriter534 favorited Fabric Covered Journal
08 Mar 20:01
-
 Kelly D. favorited Fabric Covered Journal
28 Oct 16:05
Kelly D. favorited Fabric Covered Journal
28 Oct 16:05
-
Step 1
Take your thin cardboard, and cut a strip width-ways. Measure 6 points at even intervals, and mark them with a line.
This is your hole guide, it can be re-used for hundreds of notebooks.
-
Step 2
Split your paper into groups of 3 sheets, and fold each group in half.
-
 Step 3
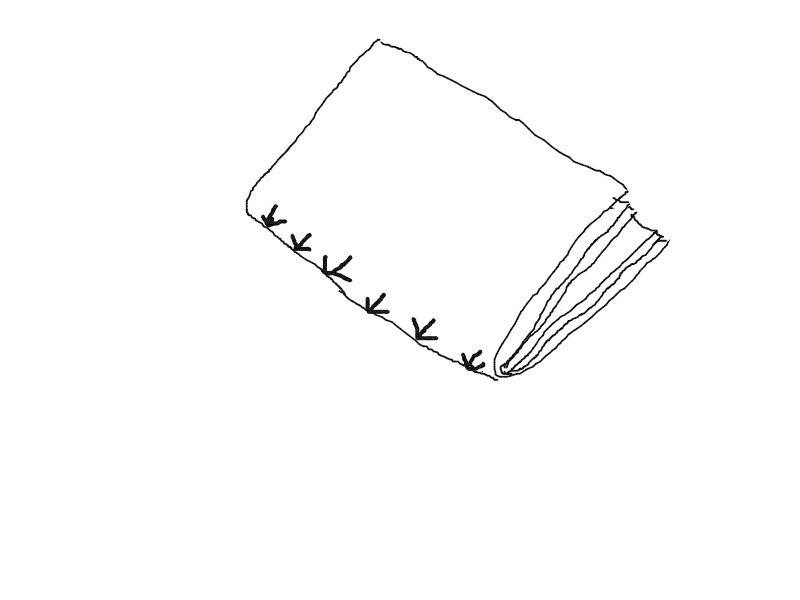
Now take each folded group, and put the guide you made in step one against the inside of the fold. Line the edges up and use the guide to mark the points onto the paper.
Push a needle or pin through each mark, on the fold, through all 3 sheets. In the picture the holes are where the arrows are.Repeat with all groups.
-
Step 4
Ok, if you've made holes in all your groups (Properly called signatures) your ready to start sewing.
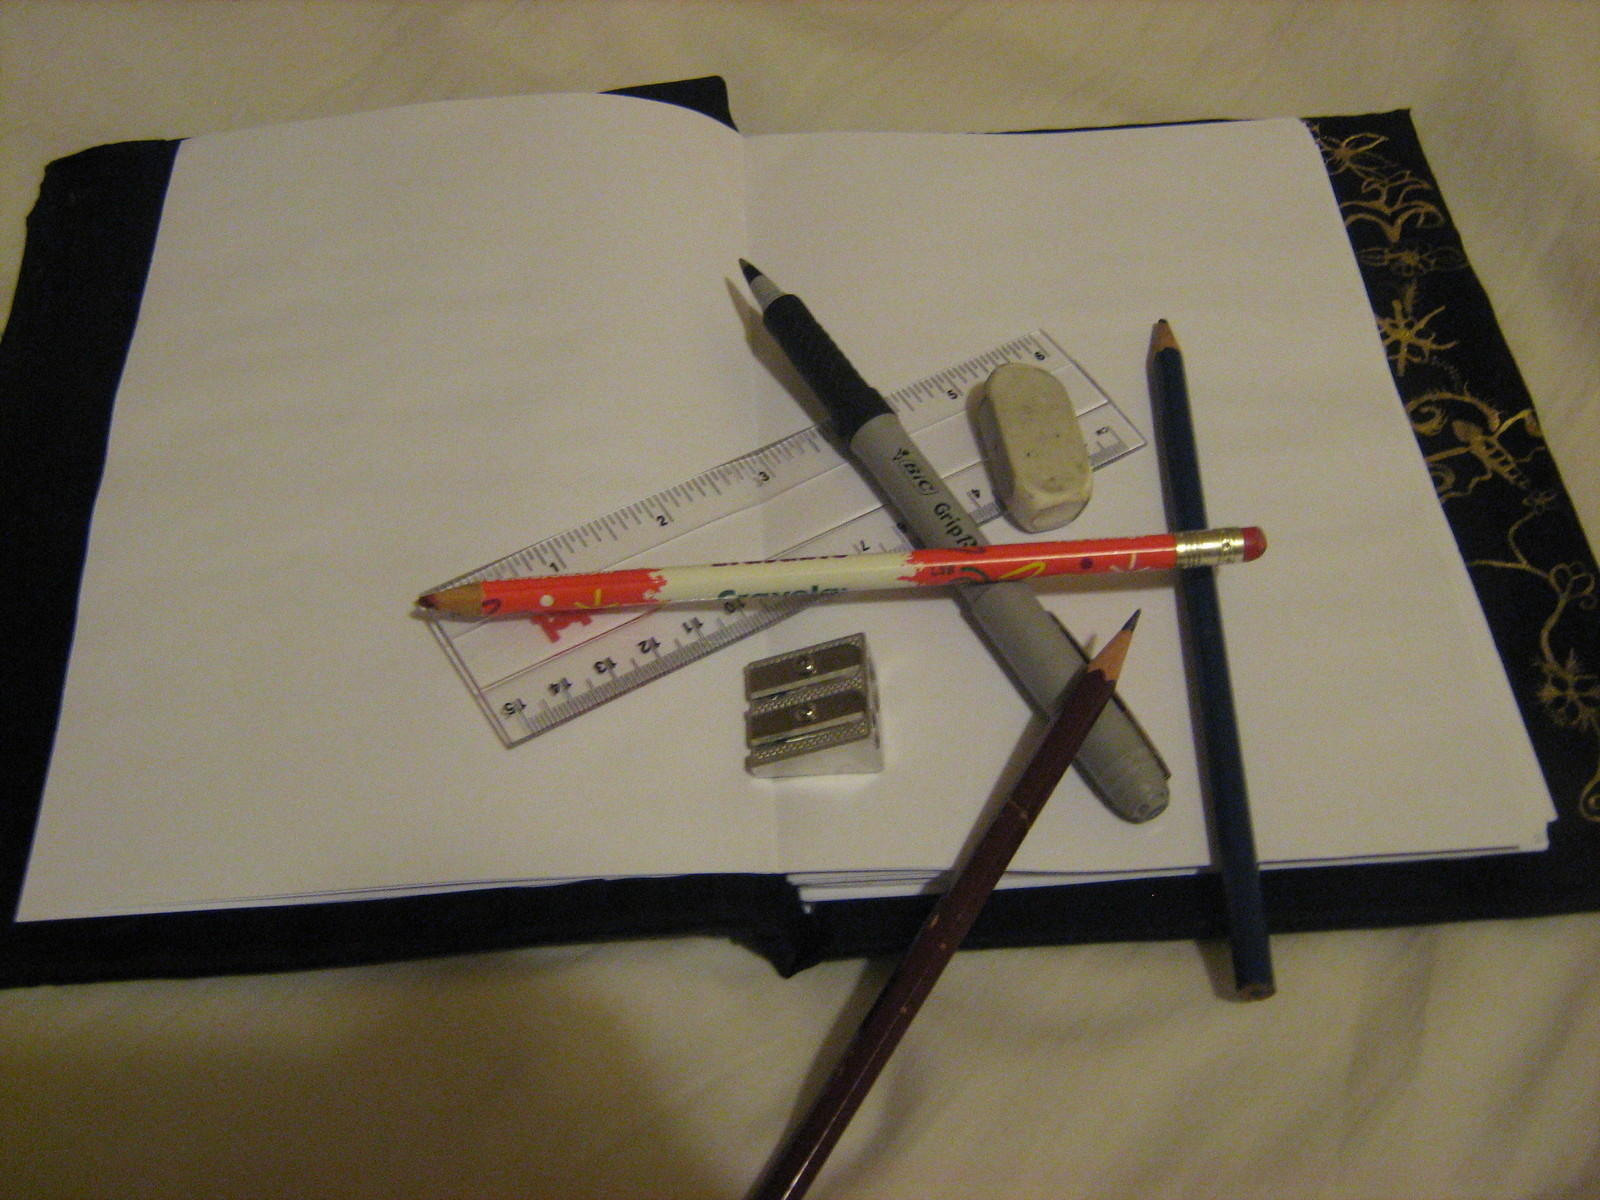
Measure out a piece of thread about 100- 120 cm long. I know that sounds like a lot of thread, but you'll need a bit at either end, and there is nothing worse than running out half way. -
 Step 5
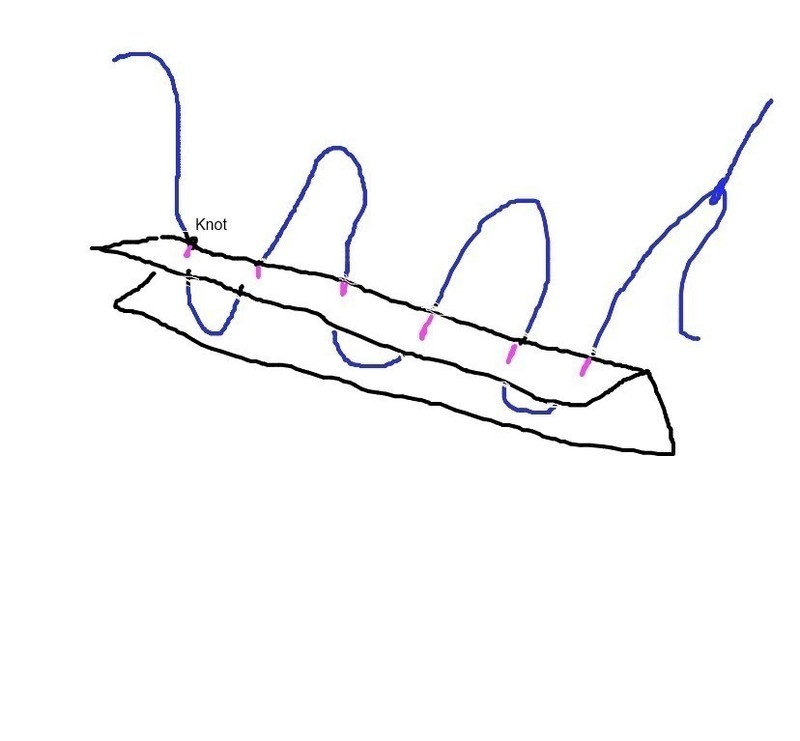
Awful picture I know...
Tie a double knot in your thread, about 5 cm from the trailing end. then take the thread down through the 1st hole, up through the second, then down, up, down, and up at the last hole. Pull it fairly, tight, but don't jerk it, you don't want to rip the paper.
-
 Step 6
With the thread still tight, take another signature and and hold it next to your first. You may want to paperclip them together or something. With them lined up, take the thread down into the hole next to where your thread is. Then, like you did for the first one stitch your way back up the signature.
-
Step 7
Without unthreading the needle, tie your thread onto the tail you left at the beginning. Then take another signature and start sewing it like you did last step.
Remember to knot it to another stitch or the tail at the ends. Use up all your signatures. -
Step 8
Once you've stitched all your signatures, tie your thread tightly onto a stitch or the loose end. Put the booklet you've made to one side.
-
 Step 9
Cut the mountboard into two rectangles, slightly bigger than a5. Lay these on the fabric, lined up with about 2 cm between them. Draw a rectangle around the outside, with about 5 cm margin from the card. Cut the fabric shape out.
-
 Step 10
With the mmountboard still on the fabric, mark little squares in the corners of the fabric, and cut them out.
-
 Step 11
Fold each of the sides over the mountboard and gap, glueing down firmly. You may need to put extra glue around the corners, if the raw edge is showing. The glue will stop it fraying if it is. This is your cover.
-
 Step 12
When you have all four sides glued down, take the booklet we made earlier. Separate the first page from the others, and cover it with glue. Glue the first page ONLY onto one side of the cover.
-
Step 13
Glue the last page onto the other side of the book. Take your two sheets of coloured/patterned paper, and fold them in half. Glue them over the the pages you just glued in, to give a pretty front and end to the book.
-
Step 14
Leave all the glue to dry before using it, but you're done!
**OPTIONAL BIT**
Take your ribbon, and cut about 25 cm of ribbon. Cut about 5 cm off your cardboard strip, and glue one end of the ribbon onto the strip.Now find the hole between the fabric and the back of your pages, where all your stitching is (inside the spine of the book).
Glue the little piece of card into the gap, with the glue against the fabric, to add a little bookmark to your notebook!Sorry it was a long tutorial xxx


Comments


