


About
Hand Embroidery Project Tote
This tote has pockets for your embroidery hoop, floss, and scissors, plus a nice little pad for needles. If you are a stitcher-on-the-go, this is the tote for you!
-
 Alex B. favorited Embroidery Project Tote
13 Dec 19:19
Alex B. favorited Embroidery Project Tote
13 Dec 19:19
-
 Chudames commented on Embroidery Project Tote
08 May 22:20
Chudames commented on Embroidery Project Tote
08 May 22:20
-
Chudames added Embroidery Project Tote to To-make list
08 May 22:18
-
Chudames added Embroidery Project Tote to Needlework
07 May 00:07
-
Chudames favorited Embroidery Project Tote
07 May 00:07
-
 Frances G. favorited Embroidery Project Tote
28 Apr 17:01
Frances G. favorited Embroidery Project Tote
28 Apr 17:01
-
Christine B. favorited Embroidery Project Tote
05 Apr 03:19
-
C G. favorited Embroidery Project Tote
22 Mar 18:03
-
 Sarah W. favorited Embroidery Project Tote
22 Mar 01:23
Sarah W. favorited Embroidery Project Tote
22 Mar 01:23
-
 erin f. favorited Embroidery Project Tote
20 Mar 18:12
erin f. favorited Embroidery Project Tote
20 Mar 18:12
-
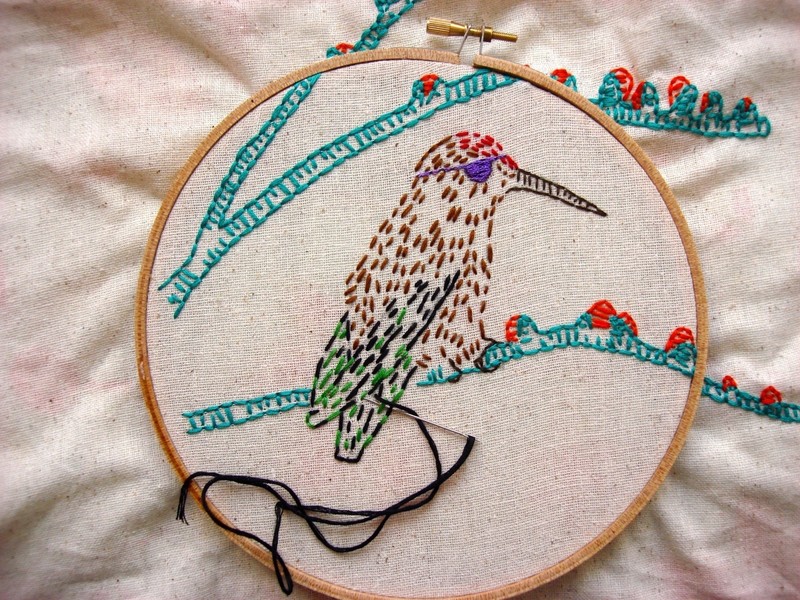
 Step 1
Transfer and stitch your embroidery pattern. I used the Reginald hummingbird pattern from the 2013 Feeling Stitchu Midsummer Stitchalong, designed by Megan Eckman of Studio M.M.E as the main exterior panel of this tote: http://www.feelingstitchy.com/2013/07/midsummer-stitchalong-with-studio-mme.html
-
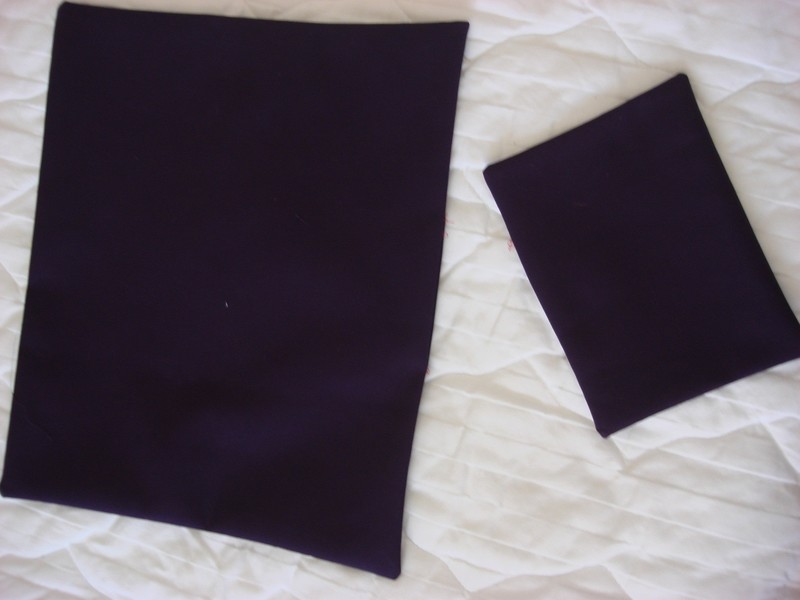
 Step 2
Cut all the fabric pieces for the tote. You'll need two exterior panels of fabric measuring 13-inches long by 18-inches wide; One interior panel of fabric 25-inches long by 18-inches wide; Batting a bit larger than 25x18-inches; Two pieces of fabric for the large pocket measuring 13x11-inches; Two pieces of fabric for the small pocket measuring 7x5.5-inches; One piece of felt 7x5.5-inches; Two pieces of fabric for the handles 18x4-inches
-
 Step 3
For both the large and small pockets, place the fabric right sides together and stitch around with a ¼-inch seam allowance. Leave a 2-inch space open in order to flip the pocket inside out.
-
 Step 4
Clip the corners of the pocket pieces and flip. Press the pocket pieces. Top stitch the edge of each pocket piece that had the opening used to flip. This will be the top edge of the pocket.
-
 Step 5
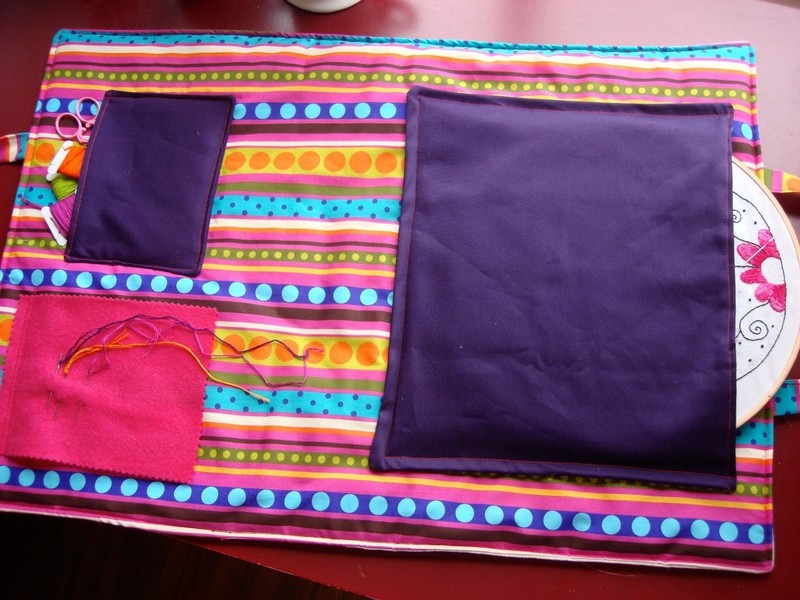
Take the interior 25x18-inch piece of fabric and place it on top of the batting. Arrange the pockets so the openings of the pockets are facing away from each other. Add the piece of felt next to the small pocket. Only one edge of the felt will be stitched to the panel of fabric. Pin in place. I pinned my pockets to show you where we will be sewing them to the interior panel. Once everything is pinned, stitch through the fabric and batting to attach all pieces together.
-
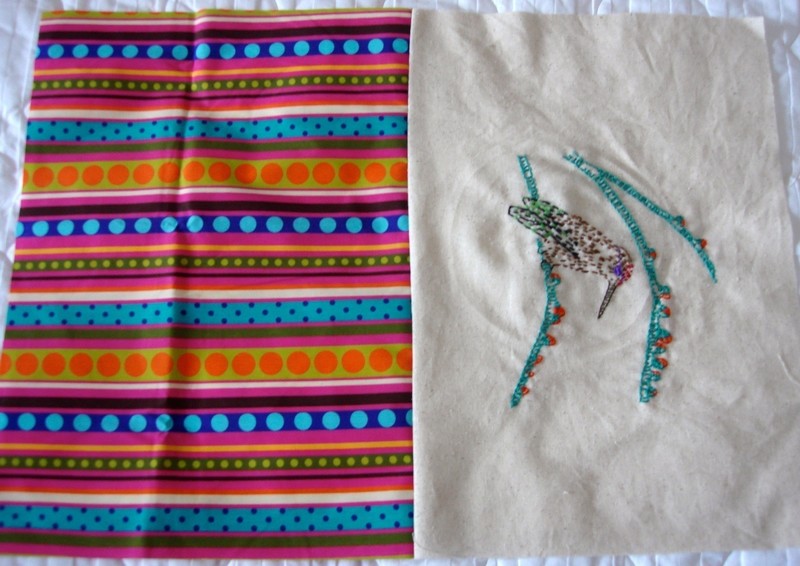
 Step 6
Take the two exterior pieces of fabric place right sides together and attach them using a 1/4-inch seam allowance. Make sure to stitch along the bottom edge and keep your embroidery right side up so it isn’t upside down when added to the rest of the tote. Press the seam open.
-
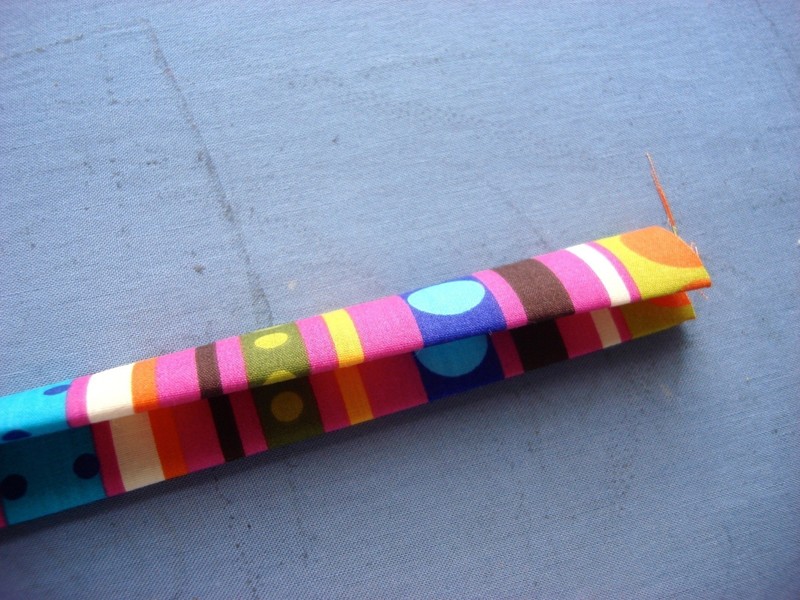
 Step 7
To make the straps of the tote, fold the fabric in half length-wise and press. Unfold and fold each long edge in toward the fold you just created. Press again. Fold in half using the initial fold you created, and stitch along the long edge. Repeat for the second strap.
-
 Step 8
Place the straps along the shorter edges of the tote. I placed each edge of the strap 5-inches away from each side. Pin in place.
-
 Step 9
With right sides together, place the exterior piece over the interior. Pin in place. Make sure to keep the straps sandwiched inside. Stitch along the outside edges of the whole tote with a 1/2 inch seam allowance. Leave a 2-inch space open for flipping the tote inside out. Trim the batting & fabric, clip the edges, and flip.
-
 Step 10
Press the whole tote, making sure to press around your embroidery, not directly on the stitches. Top stitch around the entire exterior edge of the tote with a 1/4 inch seam allowance or less. This will close up the space we used to flip the tote and reinforce our handles.
-
 Step 11
Place your needlework project in the large pocket and floss and scissors in the small pocket. Pin your needles to the felt.
-
 Step 12
Fold the tote in half, and you are set to go!


Comments

