About
A super simple way to add a bit of handmade stitchiness to a wooden frame!
Add some personality to a basic frame (the one shown is from IKEA), by adding some embroidery! Not only does it add some cuteness, but it also shows off your stitching!
Tags
-
 Emily d. favorited Embroidery Embellished Photo Frame
14 Feb 15:10
Emily d. favorited Embroidery Embellished Photo Frame
14 Feb 15:10
-
 Nancy! commented on Embroidery Embellished Photo Frame
25 Mar 00:51
Nancy! commented on Embroidery Embellished Photo Frame
25 Mar 00:51
-
 Alex B. favorited Embroidery Embellished Photo Frame
25 Dec 22:46
Alex B. favorited Embroidery Embellished Photo Frame
25 Dec 22:46
You Will Need
-
 Step 1
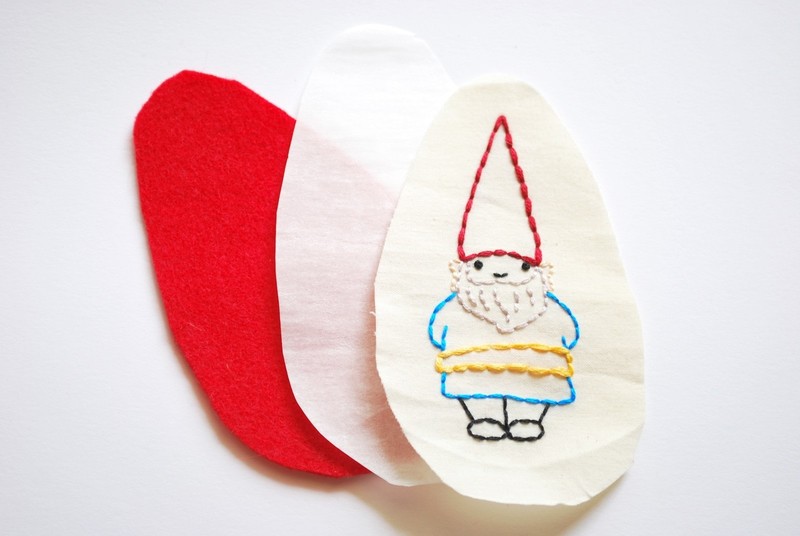
Embroider a motif of your choosing, then cut around the outside of the design. Leave a bit of extra room; you'll trim it down in a later step.
Cut a matching piece of interfacing and felt.
-
 Step 2
Iron the three layers together, making sure they fuse completely. Be careful though! You don't want to mess up the stitches!
-
 Step 3
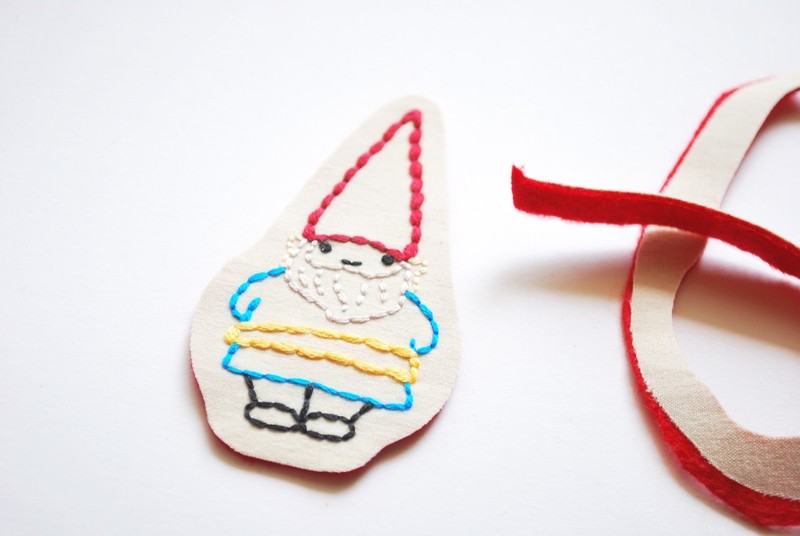
Trim around the embroidery so that it is closer to the actual shape of the stitching.
-
 Step 4
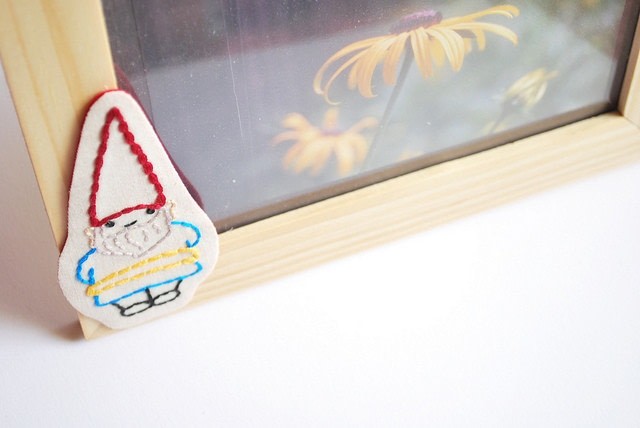
Decide where you'll place the embroidered embellishment, then add some craft glue to the frame. Don't add too much, because it's easier to add more glue than it is to wipe off any excess.
-
 Step 5
Stick down the embroidery, and allow it to dry.
Enjoy your newly embellished frame!