

About
Beautiful and personalized cards!
Create beautiful hand embroidered cards. A fun project that can be as simple or complicated as you want to make it! Labels from The Dutch Label Shop easily add a personalized message to your cards that are stylish and clear to read!
-
 Kimberly published their project Embroidered Cards Using Woven Labels
02 May 09:00
Kimberly published their project Embroidered Cards Using Woven Labels
02 May 09:00
You Will Need
-
 Step 1
Gather all of your supplies:
- Woven labels (Mine were from The Dutch Label Shop)
- Cards with matching envelopes (I used size A2)
- Embroidery floss in various colors
- Push pin
- Needle
- Foam mat
- Pencil
- Ruler -
 Step 2
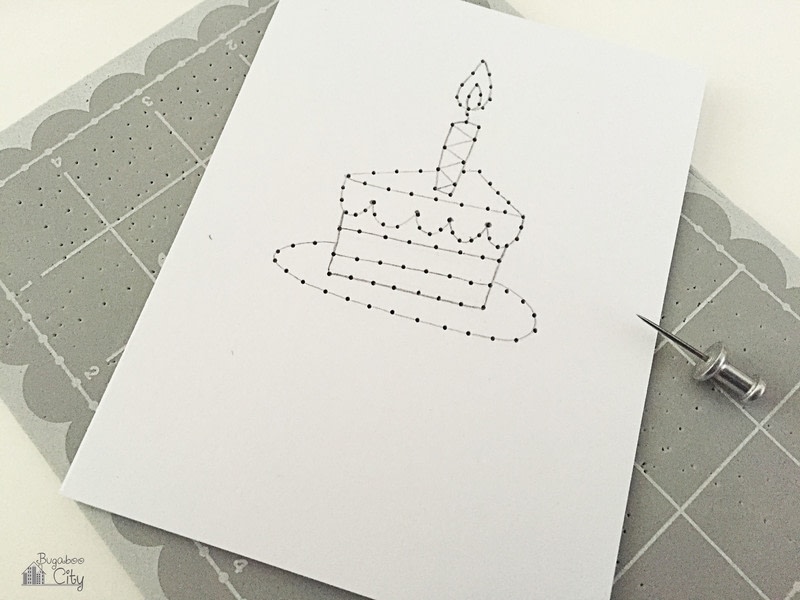
Draw your design on the front of the card with pencil. Then using a push pin, or something similar, poke holes along your design about 1/4" apart. You may need to punch the holes closer together around curves or smaller parts. I started by placing a hole at all corners and all the places two lines met, then I filled in from there. Use a foam mat underneath your card and make sure to open the card so you don't accidentally punch through the back!
-
 Step 3
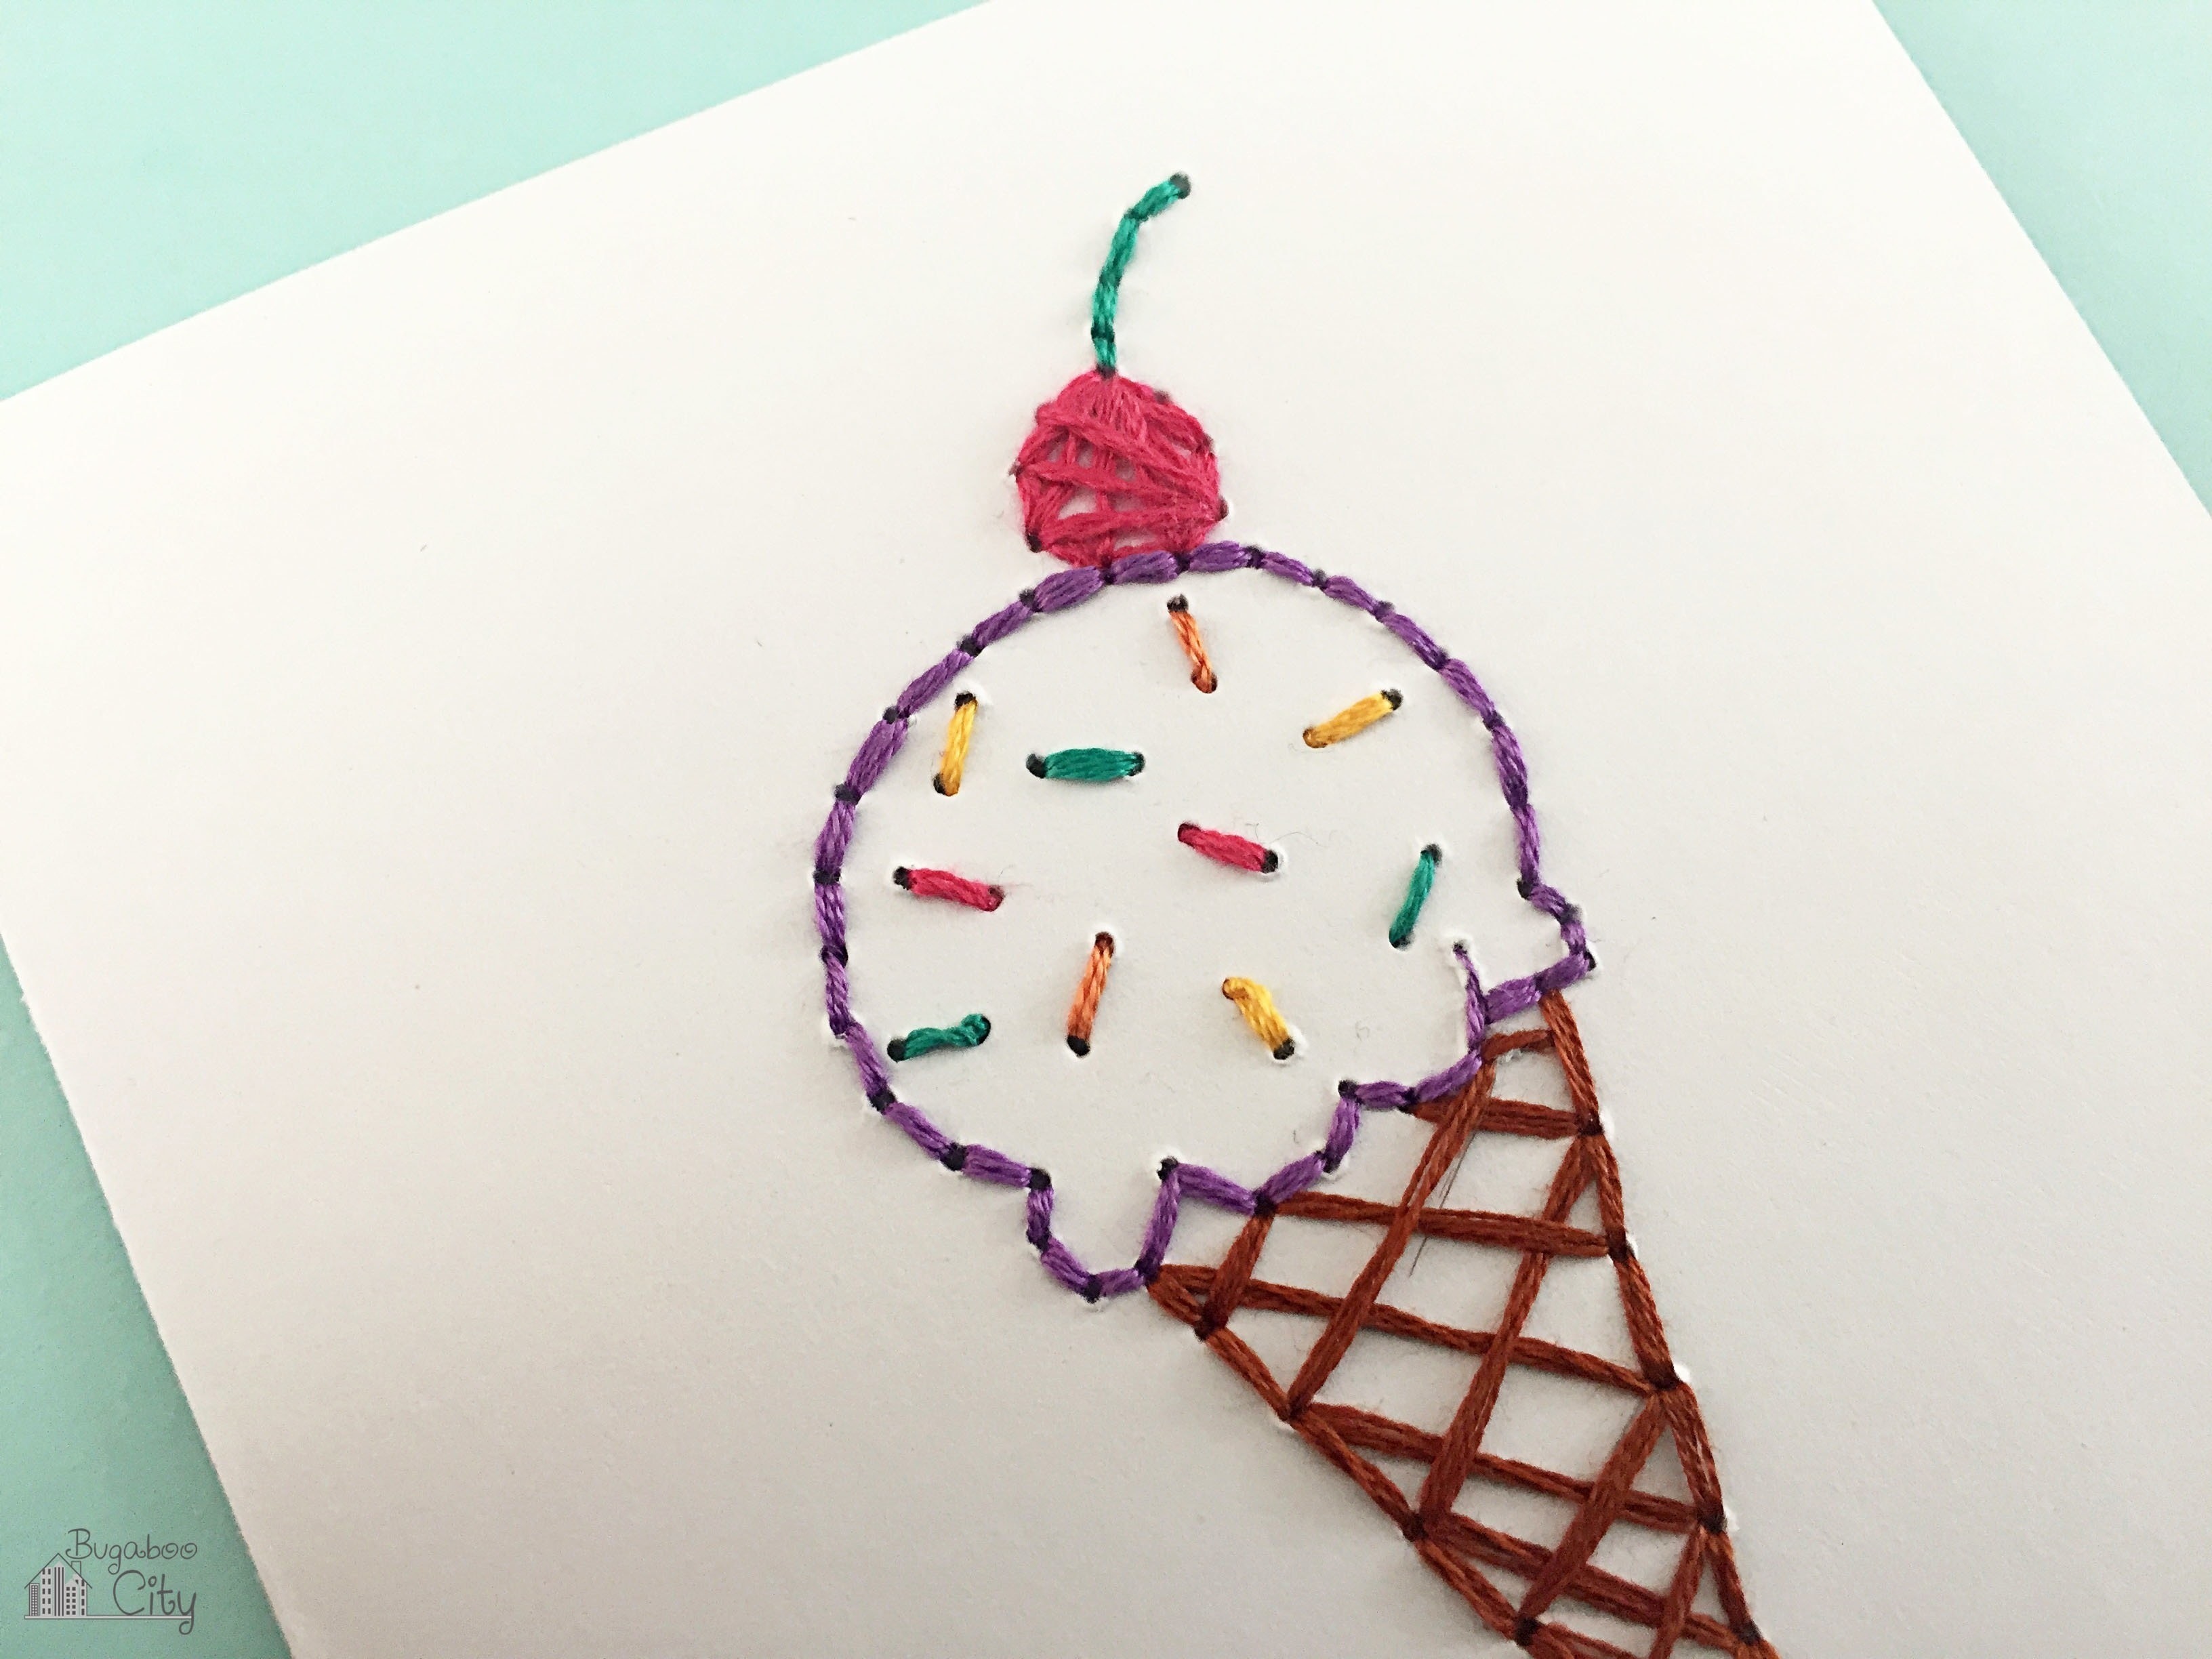
Stitch your design using embroidery floss. I separated the strands into groups of 2. I threaded my needle so I had a loop at the end so I was actually sewing with 4 strands. I chose to not create any knots on the back of my card so it would close and lay smoother. To do this, I brought my needle up from the back of the design but didn't pull the thread all the way through, leaving a loop on the back. I brought my needle back down through the next hole and pulled my needle through the loop. This created a flat "knot".
-
 Step 4
Hand stitch the design being careful to keep the back of the card looking nice. You will want the back of the design to look nice since it will be visible, unless you choose to cover it up with a piece of paper.
-
 Step 5
Finish stitching the design.
-
 Step 6
Add the woven label underneath your design. I stitched it on with a couple stitches on each side. I love how completed the card looks once the label has been added!
-
 Step 7
The cards are all finished!
-
 Step 8
You can create matching gift tags following the same steps!
-
 Step 9
I made eight cards all with different designs. I bundled them together with their matching envelopes making a sweet little gift!