About
Tutorial Monday :: Embroidered Buttons
Hi, it's Amy here. I'm going to show you how to make your own embroidered buttons.
-
 Toni T. favorited Embroidered Buttons
17 Jan 22:22
Toni T. favorited Embroidered Buttons
17 Jan 22:22
-
 Millie H. added Embroidered Buttons to Make
25 Mar 23:35
Millie H. added Embroidered Buttons to Make
25 Mar 23:35
-
 Step 1
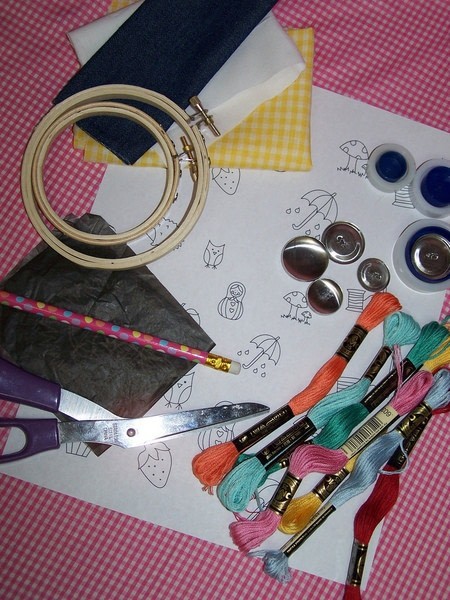
For starters, gather your supplies:
Small patterns (or draw your own freehand)
Something to transfer the design onto fabric. I used transfer paper. You can also freehand the design with a pencil.
Embroidery supplies: Scissors, floss, needle, etc.
Small embroidery hoop
Fabric scraps
Fabric button kit (can be found at any fabric or craft store and fairly inexpensive) -
 Step 2
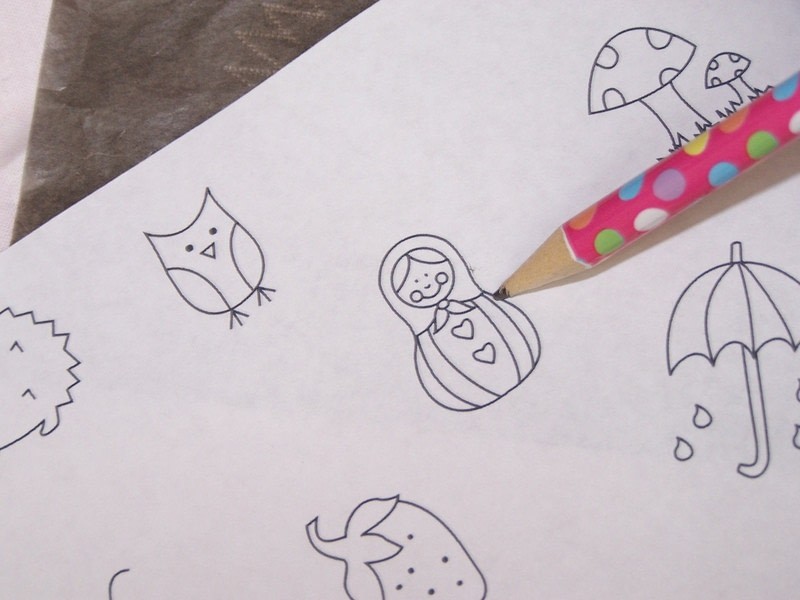
Next, get ready to transfer your pattern to one of your fabric scraps.
-
 Step 3
If using transfer paper, layer the fabric, transfer paper, and image in that order. Trace the pattern with a pencil.
Then, place your fabric inside a small embroidery hoop, centering your design.
-
 Step 4
You probably won't want to use more than 2 strands of floss, since your pattern is so small. I choose to use only one strand in most places. After cutting your piece of floss (an arm's length or shorter), separate one or two stands of floss and then thread onto a needle. Now you're ready to get stitchin'!
-
 Step 5
Once you are done stitching, remove the fabric from the hoop. Cut a circle around your stitched design. Be sure to leave plenty of room around the design, the circle should be at least an inch larger than the button you are going to use.
-
 Step 6
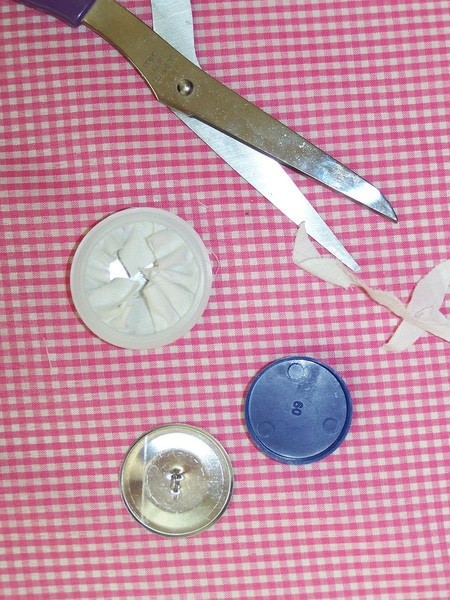
Place the circle of fabric inside the larger plastic cup. Center the design and push it into the cup.
-
 Step 7
Push the domed piece of metal down into the cup with the fabric underneath. It will be a tight fit. Push it all the way down.
-
 Step 8
Here's what it will look like after you push the domed piece of metal down into the cup.
-
 Step 9
Cut away any excess fabric around the edges. You want it so that you can tuck in the ends of the fabric. Too long is better than too short, you can always trim the fabric if it's too bulky.
-
 Step 10
Place the back of the metal button inside the cup, shank side up.
Place the smaller cup (open side down) inside of the larger cup, on top of the back of the button.
-
 Step 11
Push down with a little bit of pressure til you hear the back piece pop into place.
Remove the finished button from the cup. Your done!
-
 Step 12
Sew the buttons onto a jacket or tote. You can also cut the shank off the buttons with pliers and glue on a pin backing to make a brooch or try sewing it to a fabric yo-yo. See page 139 of N.E.E.T. Magazine (or the Naughty Secretary Club book) for a tutorial by Jennifer Perkins on how to create a bracelet with your new fabric-covered buttons!
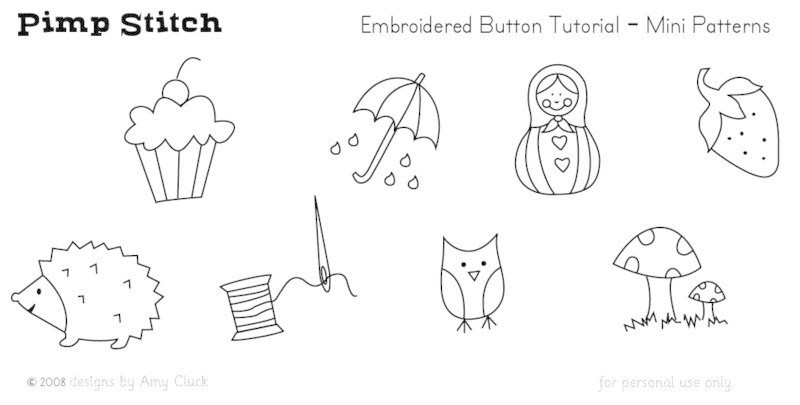
Lastly, I wouldn't leave you hanging without a few mini patterns to try. Click on the image to open it in a new window and print. Use a copy machine to reduce the size of the images, if needed.