About
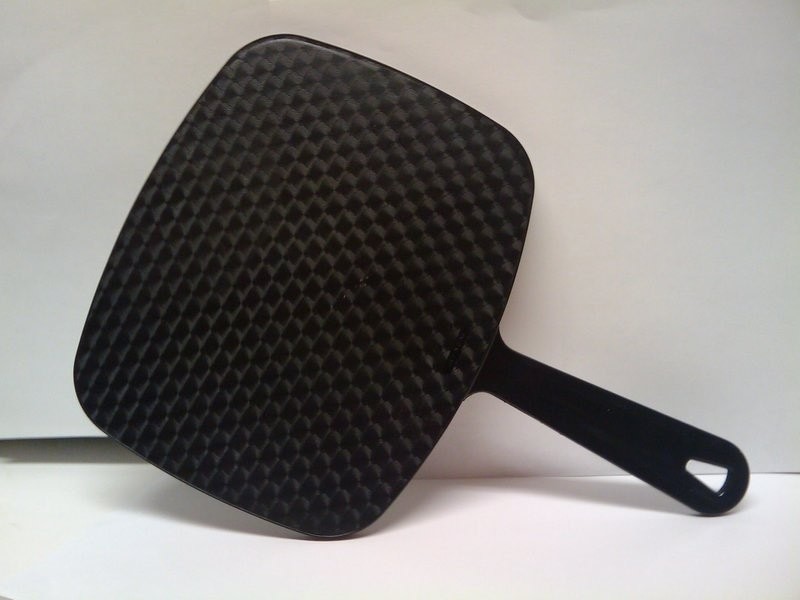
A lovely decorated hand mirror for yourself or a friend
Here I go again with the embellishing rampage! This time it's a handheld mirror that I decorated for my friend Shelly.
*Yes, they are the same basic steps as the compact and lunchbox tin. :)
-
 Tiffany W. favorited Embellished Hand Mirror
13 Apr 18:01
Tiffany W. favorited Embellished Hand Mirror
13 Apr 18:01
-
 Nagore favorited Embellished Hand Mirror
10 Oct 21:45
Nagore favorited Embellished Hand Mirror
10 Oct 21:45
-
 Step 1
Materials:
+ Hand mirror, any size. Can find them fairly cheap at drug stores or dollar stores.
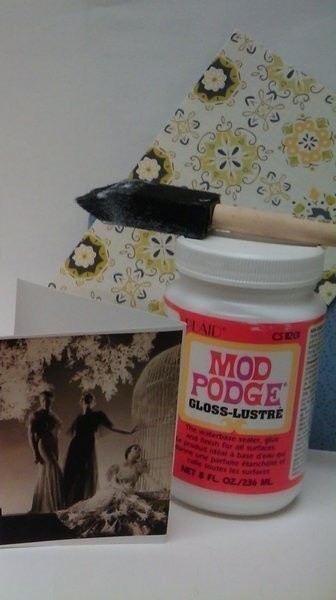
+Mod Podge or other decoupage glue
+Sharp, precise scissors (like Honey Bee)
+Sponge applicator and container for glue
+Magazine cutouts, wrapping paper, tissue paper, ribbons, scrapbook paper, stickers, jewels, rickrack, acrylic paint and brushes, spray paint, etc.
-
 Step 2
(Psst...I just cropped the picture from the lunchbox tin tutorial.)
I used some photos of 1930s fashion photography printed on matte cardstock. The background paper, stickers, and jewels are from a scrapbook kit. Those are so nifty.
-
Step 3
Cut out images and lay them out so you know how you want the final product to look.
Glue the images to where you want with decoupage glue.
Make sure you get the air bubbles out by smoothing out the picture.
-
Step 4
Wait for the decoupage glue to try for a bit (minimum of half an hour) before applying a coat all over.
Wait an hour for it to dry, then apply another coat. It should dry within an hour.
If you want to add any jewels or ribbons, wait for the initial overcoat to dry then add them.
Put another coat of the decoupage glue all over, including the jewels.