


About
taking jewelry to a whole new level of luxurious
because I was asked to make a tutorial, and I needed to make a tutorial for my photography class, I made one for my Apple jewelry box
(link here: http://www.cutoutandkeep.net/projects/apple-jewelry-box )
it's my first tut, I hope it makes sense!
Tags
-
 RareJewel favorited Elephant Box
08 May 23:58
RareJewel favorited Elephant Box
08 May 23:58
-
 Lara L. favorited Elephant Box
27 Feb 21:38
Lara L. favorited Elephant Box
27 Feb 21:38
-
 dalekordancer favorited Elephant Box
10 Apr 00:22
dalekordancer favorited Elephant Box
10 Apr 00:22
-
 x_niccadee favorited Elephant Box
29 Nov 05:54
x_niccadee favorited Elephant Box
29 Nov 05:54
-
 Heather H. favorited Elephant Box
21 Nov 00:13
Heather H. favorited Elephant Box
21 Nov 00:13
-
Amanda T. favorited Elephant Box
30 Aug 22:22
-
 Birgit added Elephant Box to Organising
06 Apr 17:00
Birgit added Elephant Box to Organising
06 Apr 17:00
-
Zeida B. added Elephant Box to hacer
16 Mar 03:14
-
Zeida B. favorited Elephant Box
16 Mar 03:14
-
 Margherita F. favorited Elephant Box
09 Jan 19:09
Margherita F. favorited Elephant Box
09 Jan 19:09
You Will Need
-
 Step 1
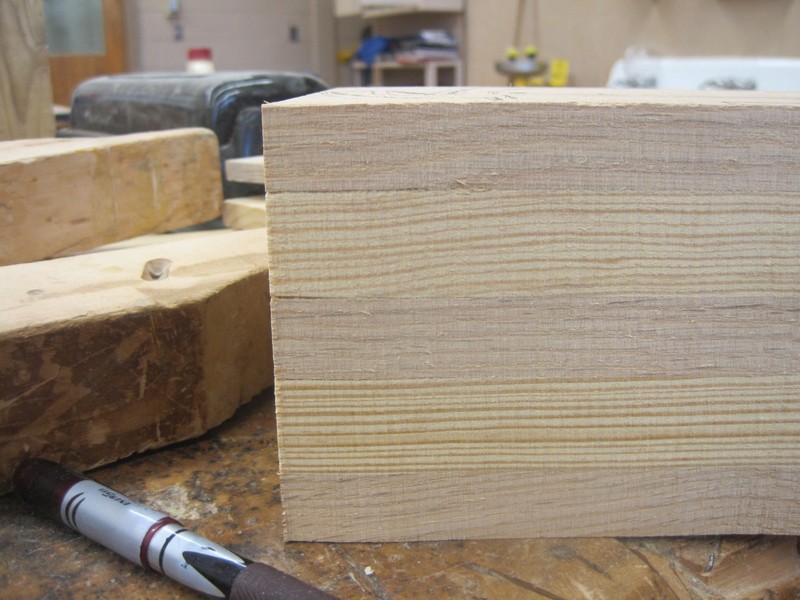
get your wood. for my apple box, I used a scrap block that was 4"x6"x10"
alternative is to glue several pieces together**be sure to put glue EVERYWHERE (OVERFLOWING is better than having your project break in the middle of cutting) and CLAMP IT at least 24 hours before cutting**
-
 Step 2
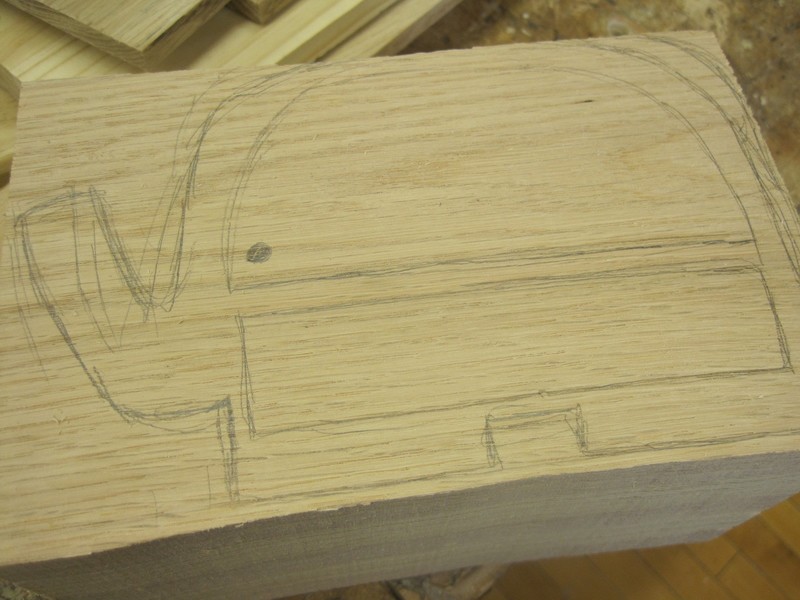
draw your desired shape out
mark where you want your drawers, be sure not to make the borders too thin or the project will collapse on you
-
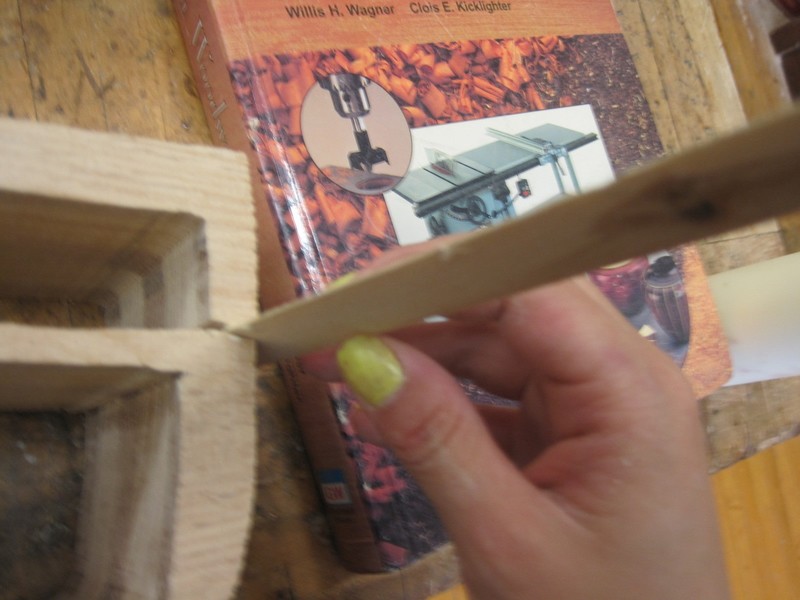
 Step 3
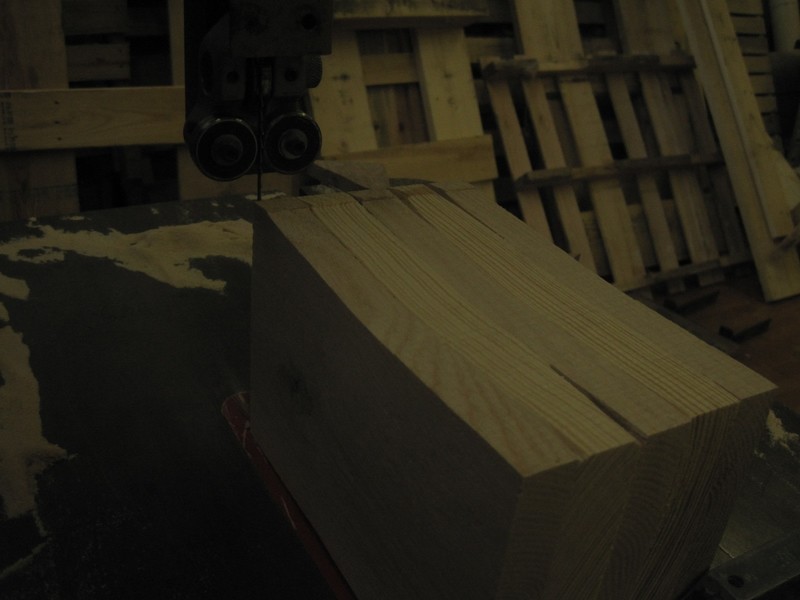
(optional if you have another piece of wood big enough to cover your design)
cut off roughly 1/2" of the wood*sorry for poor lighting
-
 Step 4
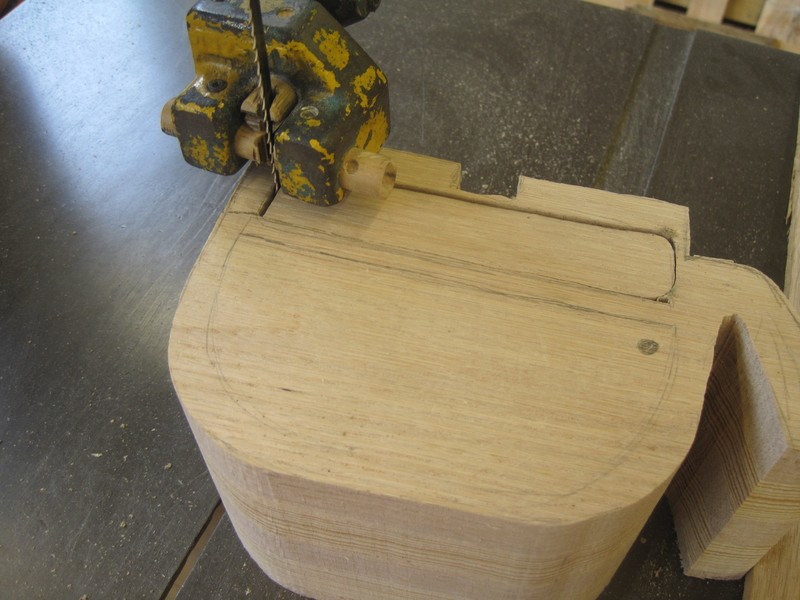
cut as close as possible to your lines, it's better to have to sand a little more off than have an awkward hole in the entire project
-
 Step 5
cut the drawers out, it's better to have smaller drawers than a weak border
-
 Step 6
I guess I forgot to take a picture here, but you basically cut the front and back off the drawers, then cut the sides, and lastly the bottom
-
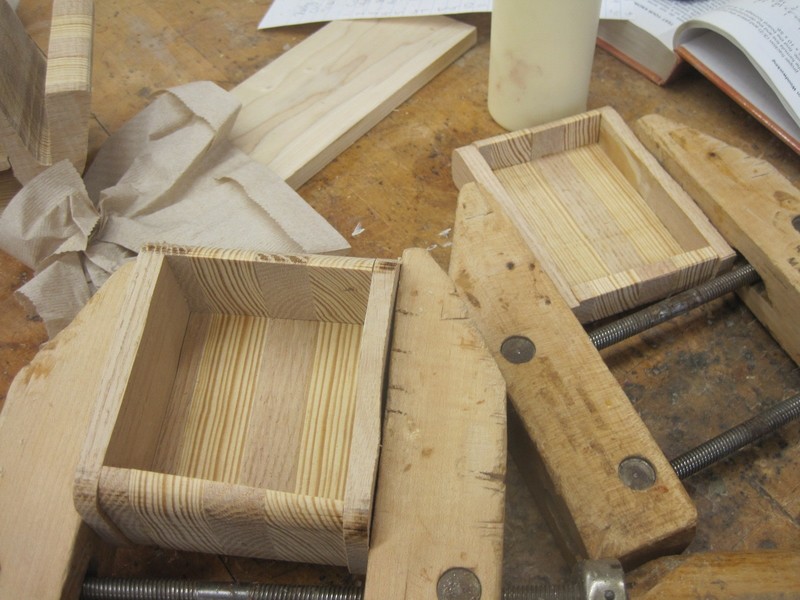
 Step 7
piece, glue and clamp overnight
-
 Step 8
while you're waiting, glue the entrance you made when cutting for the shelves (there's no way around it, a jigsaw's blade isn't long enough, and a bandsaw can't make internal holes)
-
Step 9
clamp that baby up
-
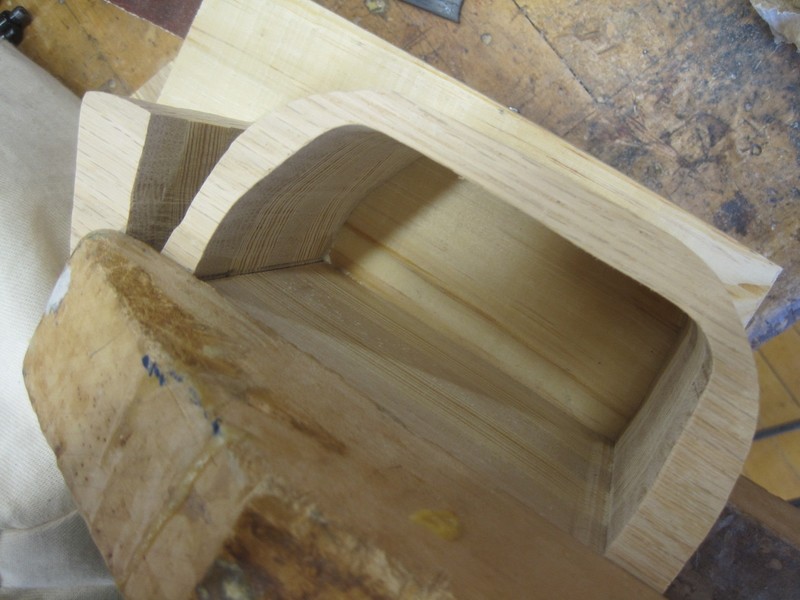
 Step 10
when the shelves have dried, sand the misfits off
don't sand the fronts (if you don't want to) or you'll have massive holes between the border and drawers
-
 Step 11
sand small details
-
 Step 12
glue the piece of wood from step 3 (as you can see I lost mine so I ended up using a scrap piece of wood)
clamp
-
 Step 13
when dry, cut your shape out
-
 Step 14
sand down to size
-
 Step 15
cut/sand (I made mine from scrap pieces), glue, and clamp handles on
-
 Step 16
sand for a nice, smooth finish
-
 Step 17
paint or stain your box
-
 Step 18
spray with a clear shellac coating
-
 Step 19
super cute!


haha great idea =)
and with the right power tools :x