


About
Hippity, hoppity Easter's on its way!
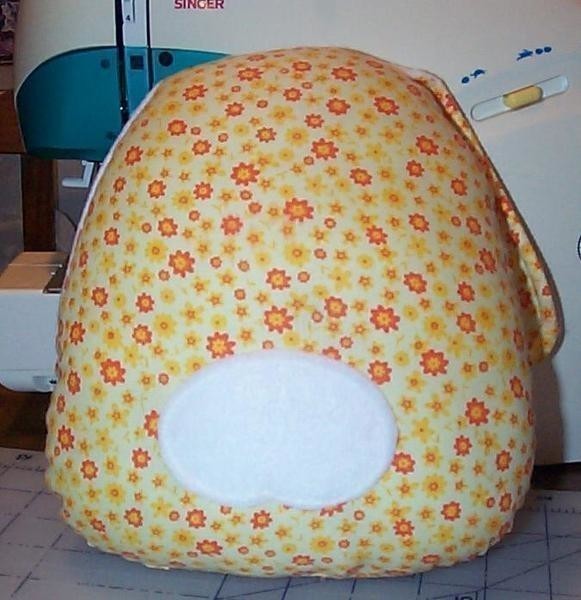
I made this stuffed bunny for a 4 year old girl. She's already received it and really seems to enjoy it. I made up the pattern as I went along. It measures approx. 10" tall x 8" wide. I hope you enjoy it too.
Tags
-
 VeganSprinkles added Egg Bunny to Vegan Easter
25 Feb 04:27
VeganSprinkles added Egg Bunny to Vegan Easter
25 Feb 04:27
-
 Neko-San K. favorited Egg Bunny
31 May 20:33
Neko-San K. favorited Egg Bunny
31 May 20:33
-
 hannah g. favorited Egg Bunny
13 May 20:25
hannah g. favorited Egg Bunny
13 May 20:25
-
 duckduckpancake added Egg Bunny to Plush Toys
10 Dec 19:54
duckduckpancake added Egg Bunny to Plush Toys
10 Dec 19:54
-
 Kay T. favorited Egg Bunny
11 Nov 08:59
Kay T. favorited Egg Bunny
11 Nov 08:59
-
 Verda S. favorited Egg Bunny
11 Aug 10:50
Verda S. favorited Egg Bunny
11 Aug 10:50
-
 Ellen G. favorited Egg Bunny
27 Apr 11:25
Ellen G. favorited Egg Bunny
27 Apr 11:25
-
 Katy M. favorited Egg Bunny
21 Mar 13:19
Katy M. favorited Egg Bunny
21 Mar 13:19
-
 Georgia M favorited Egg Bunny
23 Jun 07:33
Georgia M favorited Egg Bunny
23 Jun 07:33
-
 Ana.Loli favorited Egg Bunny
30 Mar 07:43
Ana.Loli favorited Egg Bunny
30 Mar 07:43
You Will Need
-
Step 1
Basically you just draw an egg shape on a piece of paper and cut it out. Whatever size you would like.
-
Step 2
Pin or trace your pattern to some fabric. Cut out two.
-
Step 3
Decide what shape and size you would like the ears to be and draw one on a piece of paper to make your pattern. Pin or trace your pattern to the fabric and Cut 4.
-
Step 4
Cut the face out of a piece of felt (I just eyeballed it), then embroider the nose and mouth onto it.
-
Step 5
Position the wrong side of the face to the right side of one of the egg shaped pieces of fabric and pin in place. Then stitch to secure.
-
Step 6
Mark the placement for the bunnies eyes, make a small cut through the layers of fabric for each safety eye to go through, then secure the eyes.(I used 9mm eyes)
-
Step 7
Next, with wrong sides together sew each set of ears. Turn ears right side out and stitch around each ear.
-
Step 8
Cut out a piece of felt for the tail, pin and stitch to the right side of the back egg shaped piece.
-
Step 9
Lay the back piece of fabric right side up on your work surface. Then lay the ears on top, position carefully so that the rounded part of the ears are pointing towards the bunnies bottom, pin in place. Next, lay the face piece right side down on top and pin together. Sew leaving a 1/4" seam all around. Be sure to leave an opening just large enough to stuff the bunny.
-
Step 10
Turn the bunny right side out and fill with stuffing. Finish by closing the opening with a whip stitch.
Versions
See all 8 »


Comments


