
About
Crochet flowers with pearl beads
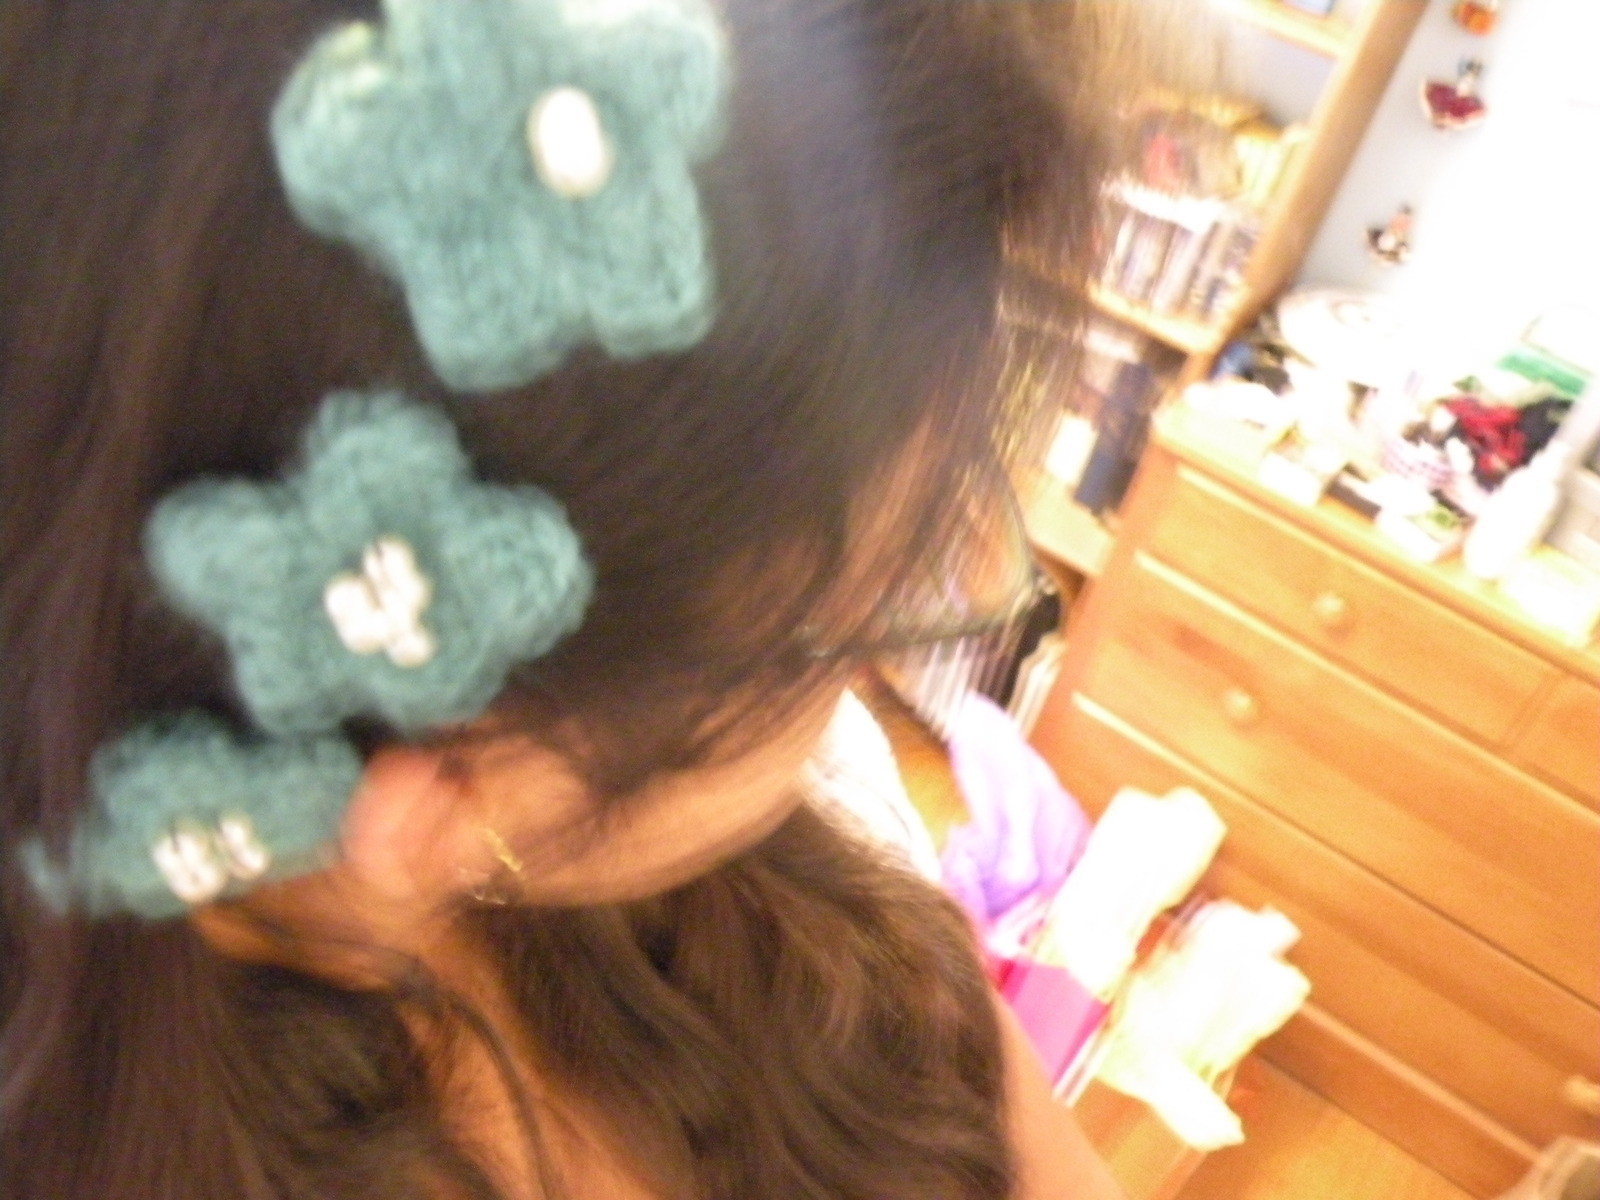
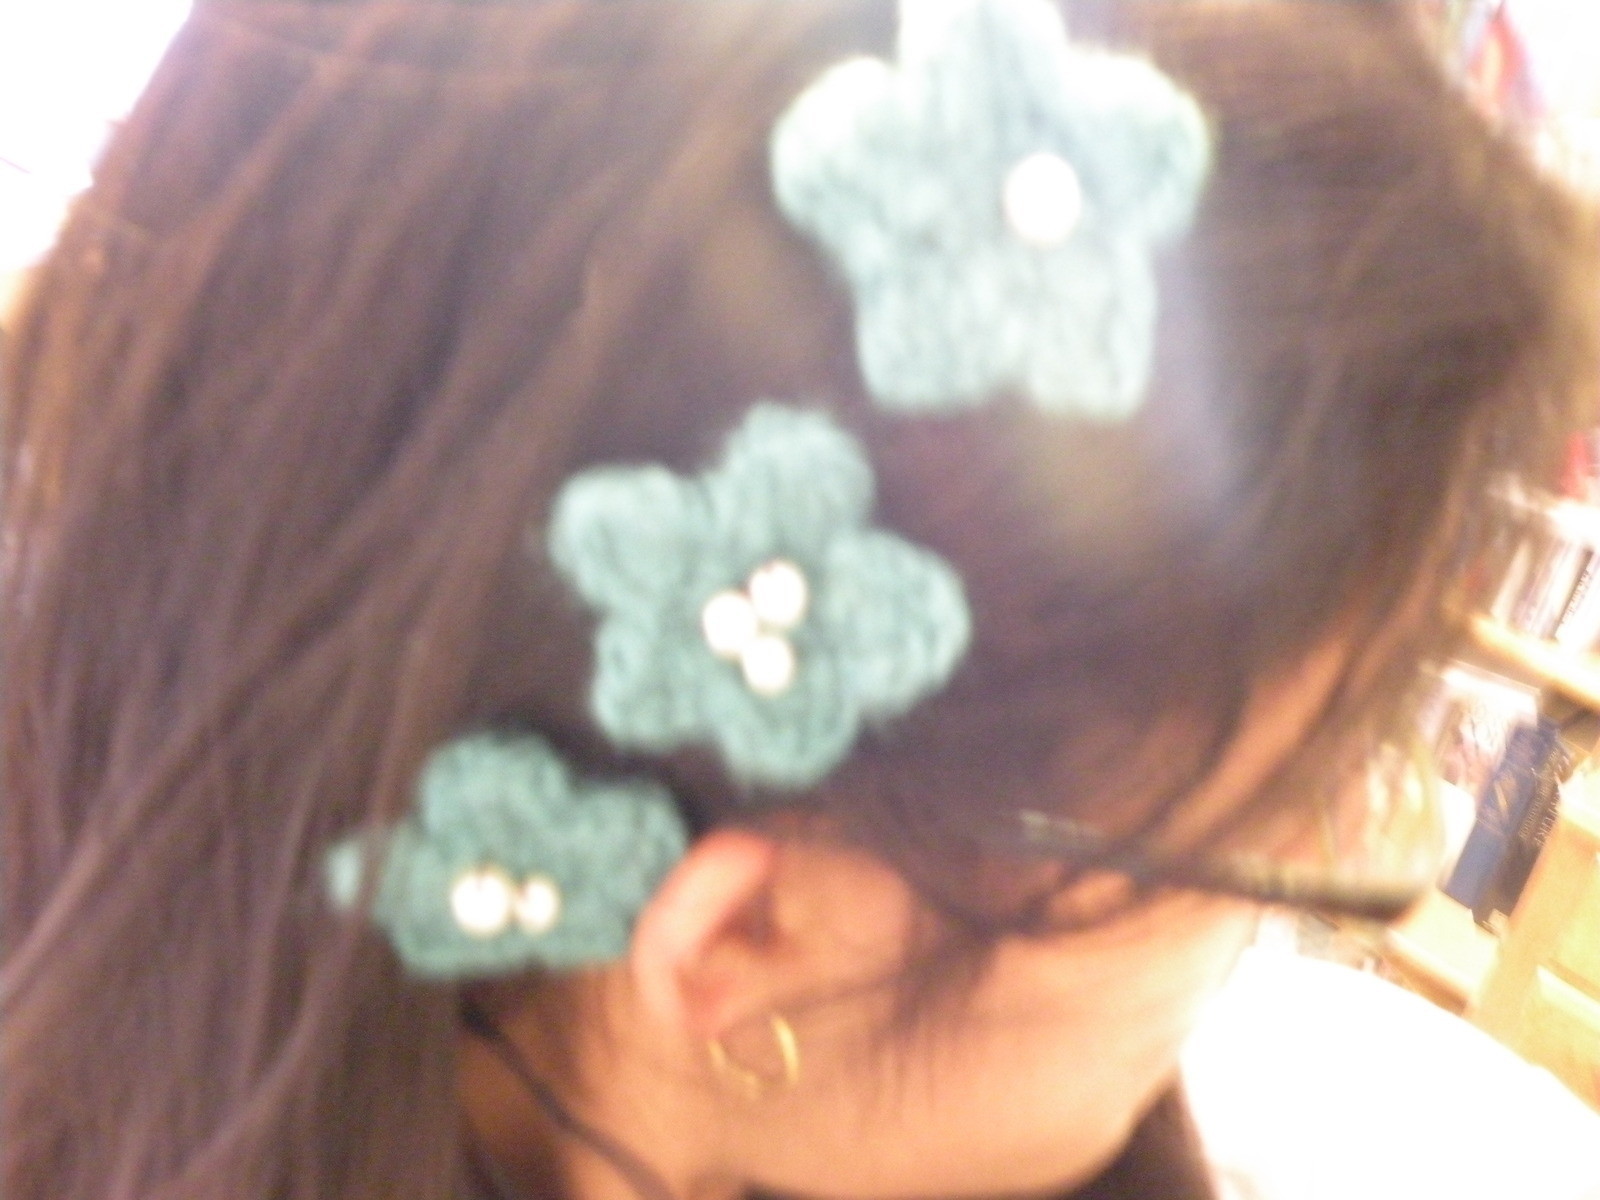
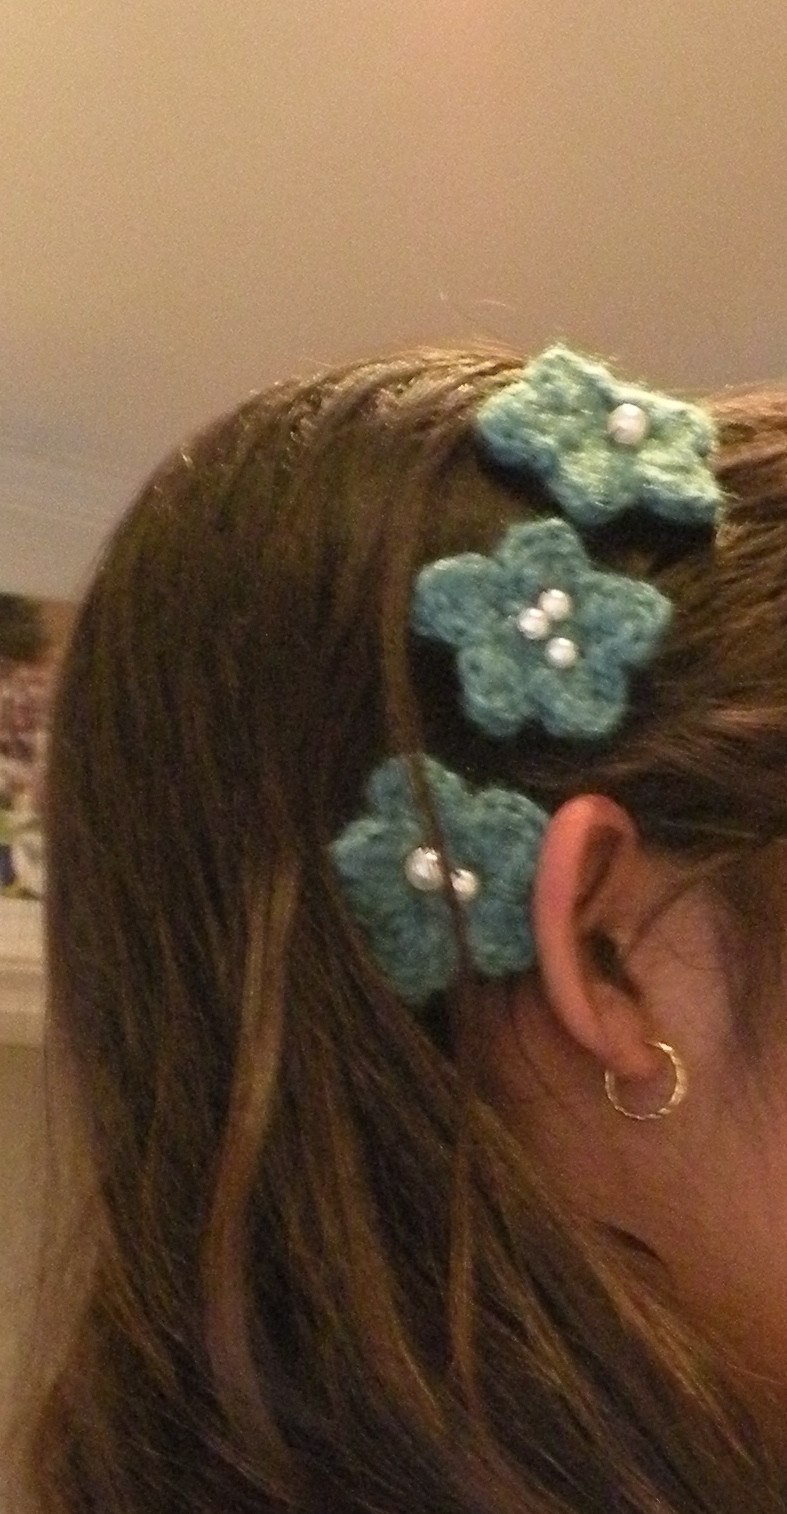
I'm currently running on a crocheted flower high while I'm sick (just because they're so easy and turn out so pretty). I have a bunch just stacked up with sequin, bead, and button centers. This little headband adds color in the cutest, chicest way.
Sorry about the horrible pictures.
Tags
-
 OllyOlly entered their project Easy Vintage Headband to Kanzashi In Bloom Contest
02 Sep 00:38
OllyOlly entered their project Easy Vintage Headband to Kanzashi In Bloom Contest
02 Sep 00:38
-
 Step 1
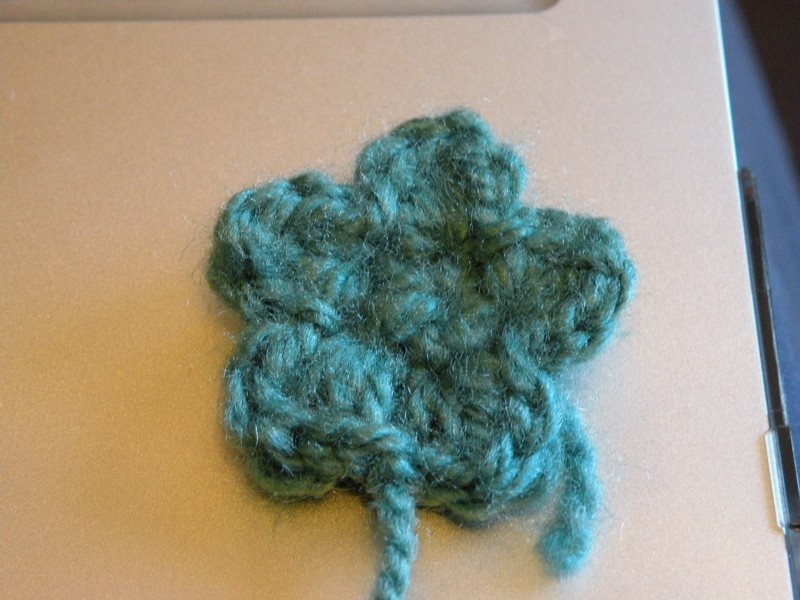
The headband consists of three flowers in two different sizes. Make 1 large flower and 2 small ones.
Large Flower (make 1): rnd 1 - Ch2, 5 sc in first st, join with slip st to form round.
rnd 2 - Ch 1, 2 sc in each st, join with slip st to form round.
rnd 3 - Ch 1, *slip st in next st, (1 sc, 2 hdc, 1 dc, 2 hdc, and 1 sc) in next st.* Repeat from * to *. Join with slip st.
Fasten off and weave in ends.Small Flower (make 2): rnd 1 - Ch2, 9 sc in first st, join with slip st to form round.
rnd 2 - Ch 1, *slip st in next st, (1 sc, 2 hdc, 1 dc, 2 hdc, and 1 sc) in next st.* Repeat from * to *. Join with slip st.
Fasten off and weave in ends. -
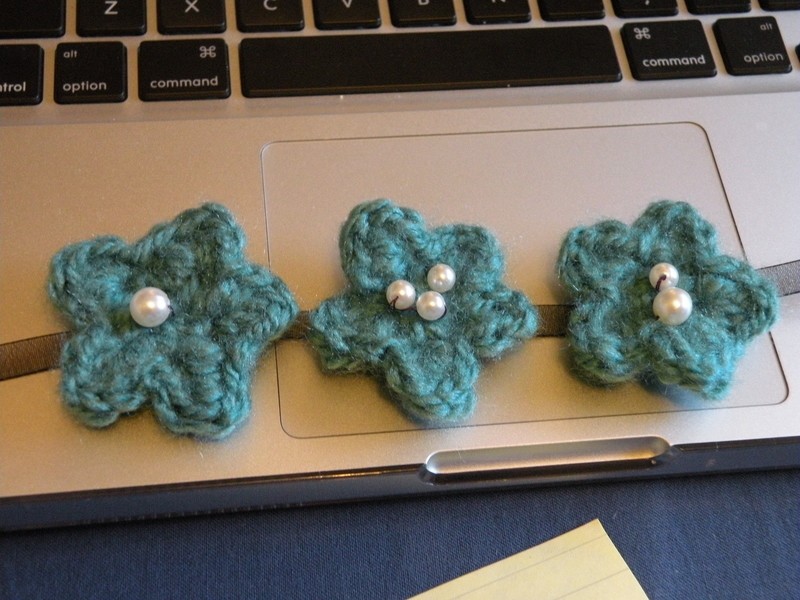
 Step 2
Sew pearl beads on however you want. I sewed 1 large pearl bead to the center of my large flower, 3 small pearl beads to the center of one of my smaller flowers, and 1 large and 1 small pearl bead to the center of the other small flower.
-
 Step 3
Measure out 45-50 inches of the ribbon you're using (I used black organza ribbon). About 15 inches up one side, separate using pins or tape a 6 inch section.
-
 Step 4
Sew the flowers on to the ribbon. Place them within the 6 inch area and leave about half an inch between the edges of the petals so they are evenly spaced.
-
Step 5
Finally, tie and wear.
You can add a clasp to the back if you wish (tying and untying wears out the ribbon).