
About
Here's how I made them using stuff I had in my studio.
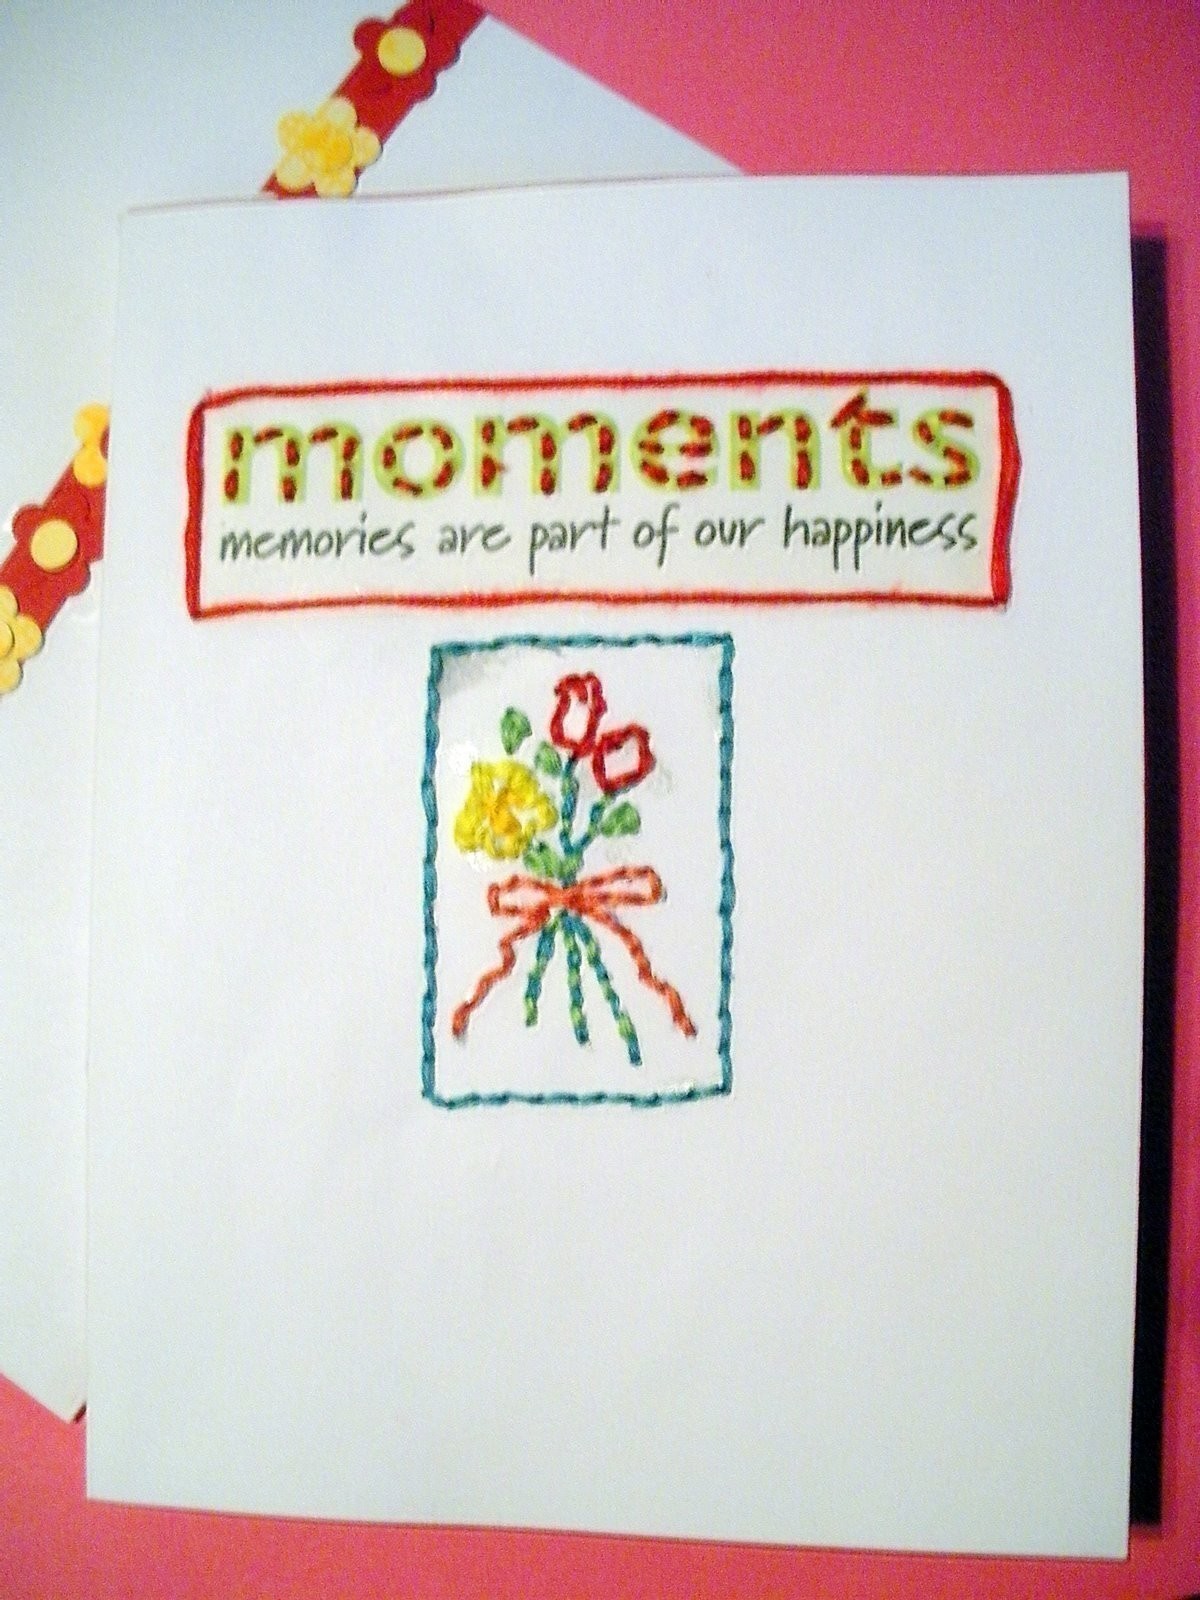
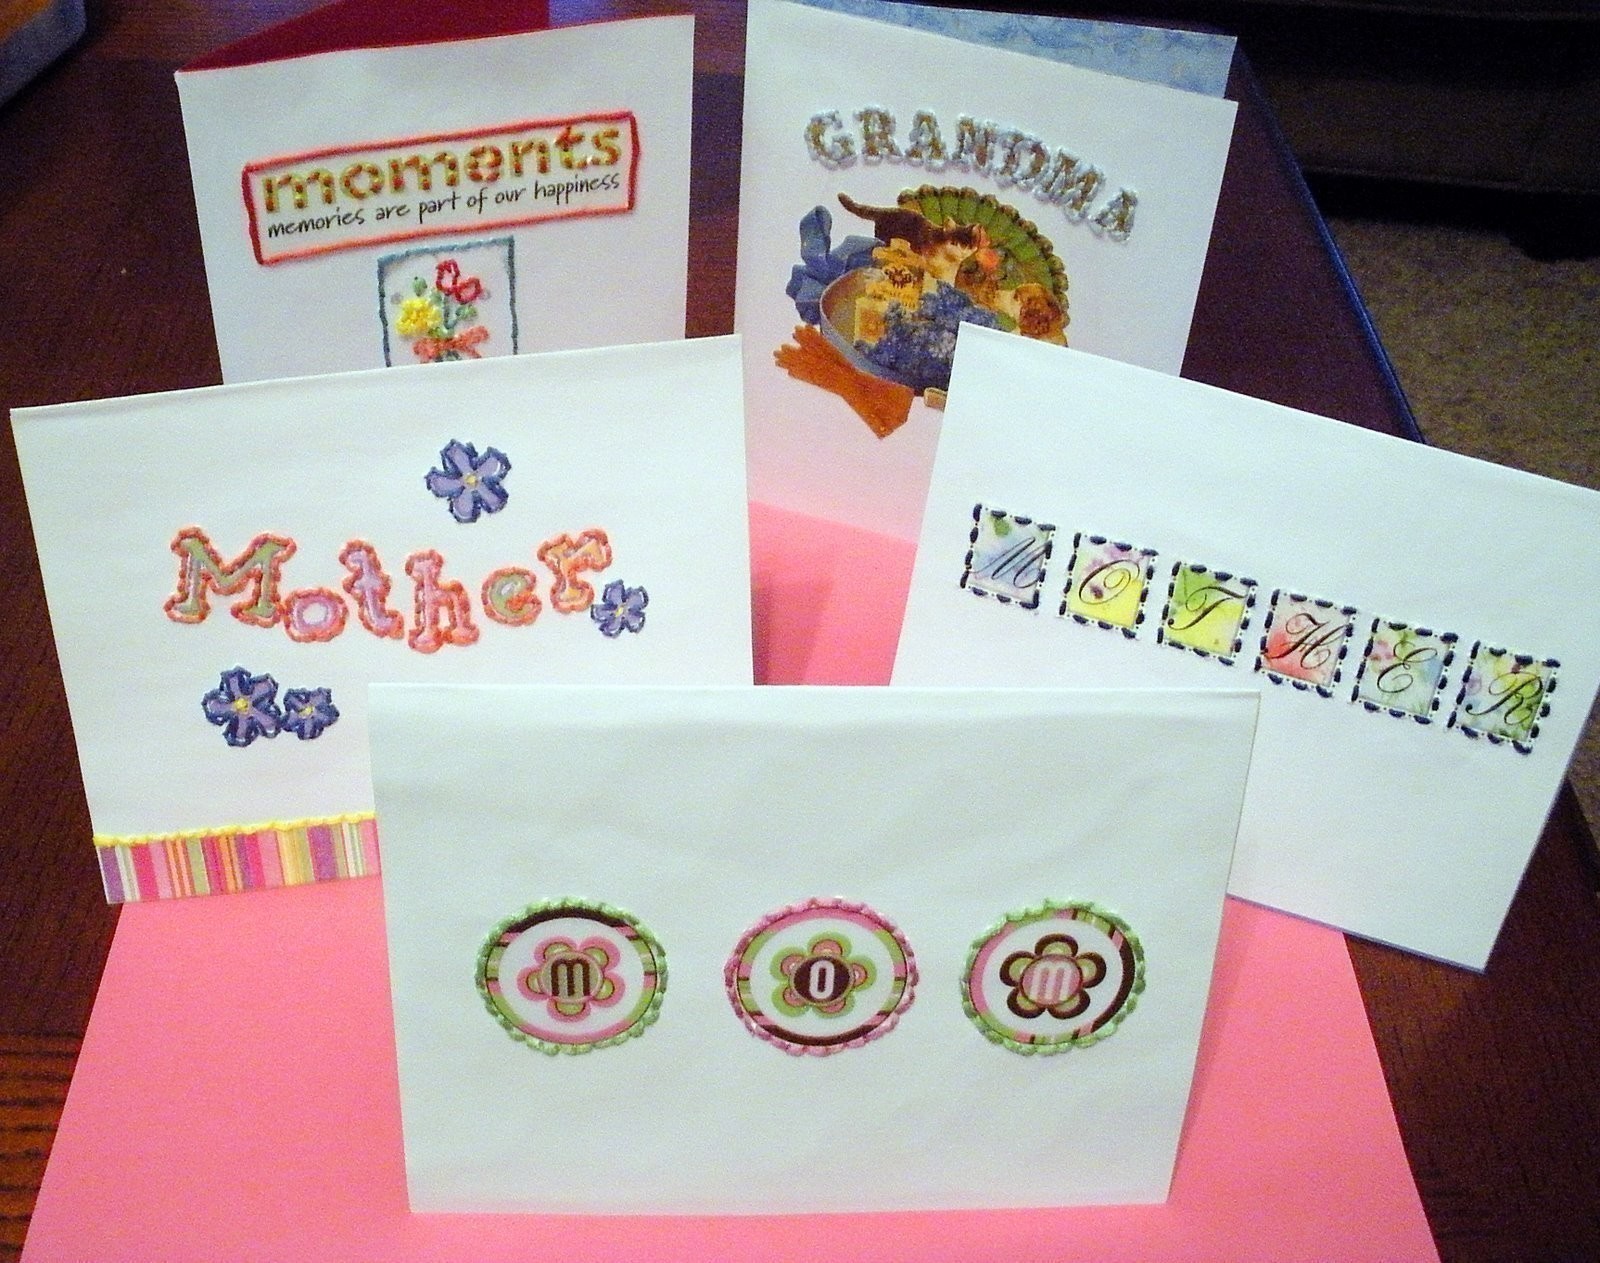
Boy what a week! Our school district was completely shut down due to the H1N1 (swine flu) scare. But everyone went back to school yesterday. Whew! Thankfully, I was able to work from home while the kids were out, but staving off cabin fever was an even bigger challenge. I think we rented about 6 movies from Redbox in 4 days! Of course, I didn't want the kids to spend all their time watching TV and playing video games, so I got them busy in a few crafty activities, one of them being making Mother's Day cards for their grandmothers and great-grandmothers. When I wasn't busy helping Abigail with her cards or chasing after her (once she got a hold of scissors, she wanted to cut everything in sight including her own hair and her dolls' hair), I managed to get a few cards done of my own. Here's what I came up with:
Here's how I made them using stuff I had in my studio.
Tags
-
 Sue S. favorited Easy Embroidered Mother's Day Cards
24 Jul 07:36
Sue S. favorited Easy Embroidered Mother's Day Cards
24 Jul 07:36
-
 Miss_Fit added Easy Embroidered Mother's Day Cards to Greeting Cards
10 May 17:33
Miss_Fit added Easy Embroidered Mother's Day Cards to Greeting Cards
10 May 17:33
-
 Stephanie H. entered their project Easy Embroidered Mother's Day Cards to Sublime Stitching Contest
18 May 22:00
Stephanie H. entered their project Easy Embroidered Mother's Day Cards to Sublime Stitching Contest
18 May 22:00
You Will Need
-
 Step 1
I dug out my big stash of scrapbook papers, stickers and stamps that I've been hoarding over the years. I had bought some blank white greeting cards and envelopes in a value pack from my local thrift store a while back. They also come in colors if you don't want white or you can cover them with decorative papers.
After I thumbed through my stack of scrapbook supplies and found the elements I wanted to use, I designed my cards. Most of my elements were just peel and stick but some required some extra cutting and gluing to get the effect I wanted. You can also hand draw your embroidery designs or use transfers but I wanted something super quick since I had so many cards to make, so I used the stickers.
With my designs were placed where I wanted them, I used a paper piercer to create holes around the designs where I wanted to embroider.
-
 Step 2
After all of my holes were punched, I started stitching with embroidery thread. I didn't have a paper needle so I just used a small yarn darner needle which fit through the holes perfectly.
-
 Step 3
Sewing up my designs with embroidery thread.
-
 Step 4
Once I finished embroidering my cards, I coated the insides with glue and covered the thread backing with coordinating scrapbook papers.
-
 Step 5
Covering the inside with coordinating paper.
-
 Step 6
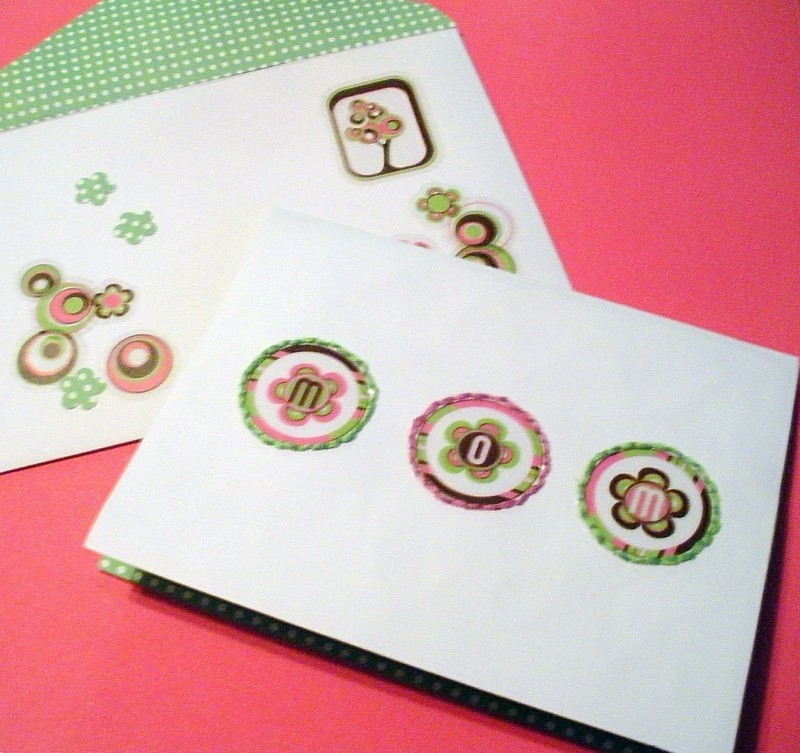
Here's a view of how adding coordinating paper punches it up a notch.
-
 Step 7
I varied my style of card to match the elements I used. Clean and mod, bright and girly, classic and traditional, etc.
Here are my finished cards. I also decorated the white envelopes to match each card using more paper scraps, stamps and punches.
-
 Step 8
I'm printing out some Mother's Day poems and greetings to attach to the insides of my cards, but I could also hand write a note or glue in a photo as other options.


Comments