


About
I think I'm dyeing!
I'm just starting this dyeing journey, using food coloring.
There are many, many, more useful blogs that might give you better instructions should you need them.
try: www.knitty.com
(the time includes actual stove-top dyeing time, but add the overnight soak, and yarn drying time after your dye baths..which could take a couple days.)
-
 Lunchboxx favorited Dyeing Adventures!
04 Mar 20:23
Lunchboxx favorited Dyeing Adventures!
04 Mar 20:23
-
 Len favorited Dyeing Adventures!
18 Jul 03:28
Len favorited Dyeing Adventures!
18 Jul 03:28
-
 Griselda C. favorited Dyeing Adventures!
30 Jun 23:36
Griselda C. favorited Dyeing Adventures!
30 Jun 23:36
-
 GothicYolita favorited Dyeing Adventures!
21 Jun 15:02
GothicYolita favorited Dyeing Adventures!
21 Jun 15:02
-
 Step 1
The first step is to wrap your yarn using a niddy noddy, or 2-chairs (if your yarn is in a ball). If your yarn is in a hank, just undo the hank & tie off sections using cotton or acrylic yarn every 6"-8" or so (this is to keep the yarn from becomming tangled).
Next you'll need to soak your yarn in a water & vinegar bath overnight. The water can be cool, and I added 3/4 c. vinegar to mine. (*Note: adding vinegar is the acid that will make your color hold. You can also add vinegar to the dye bath instead of soaking it.)
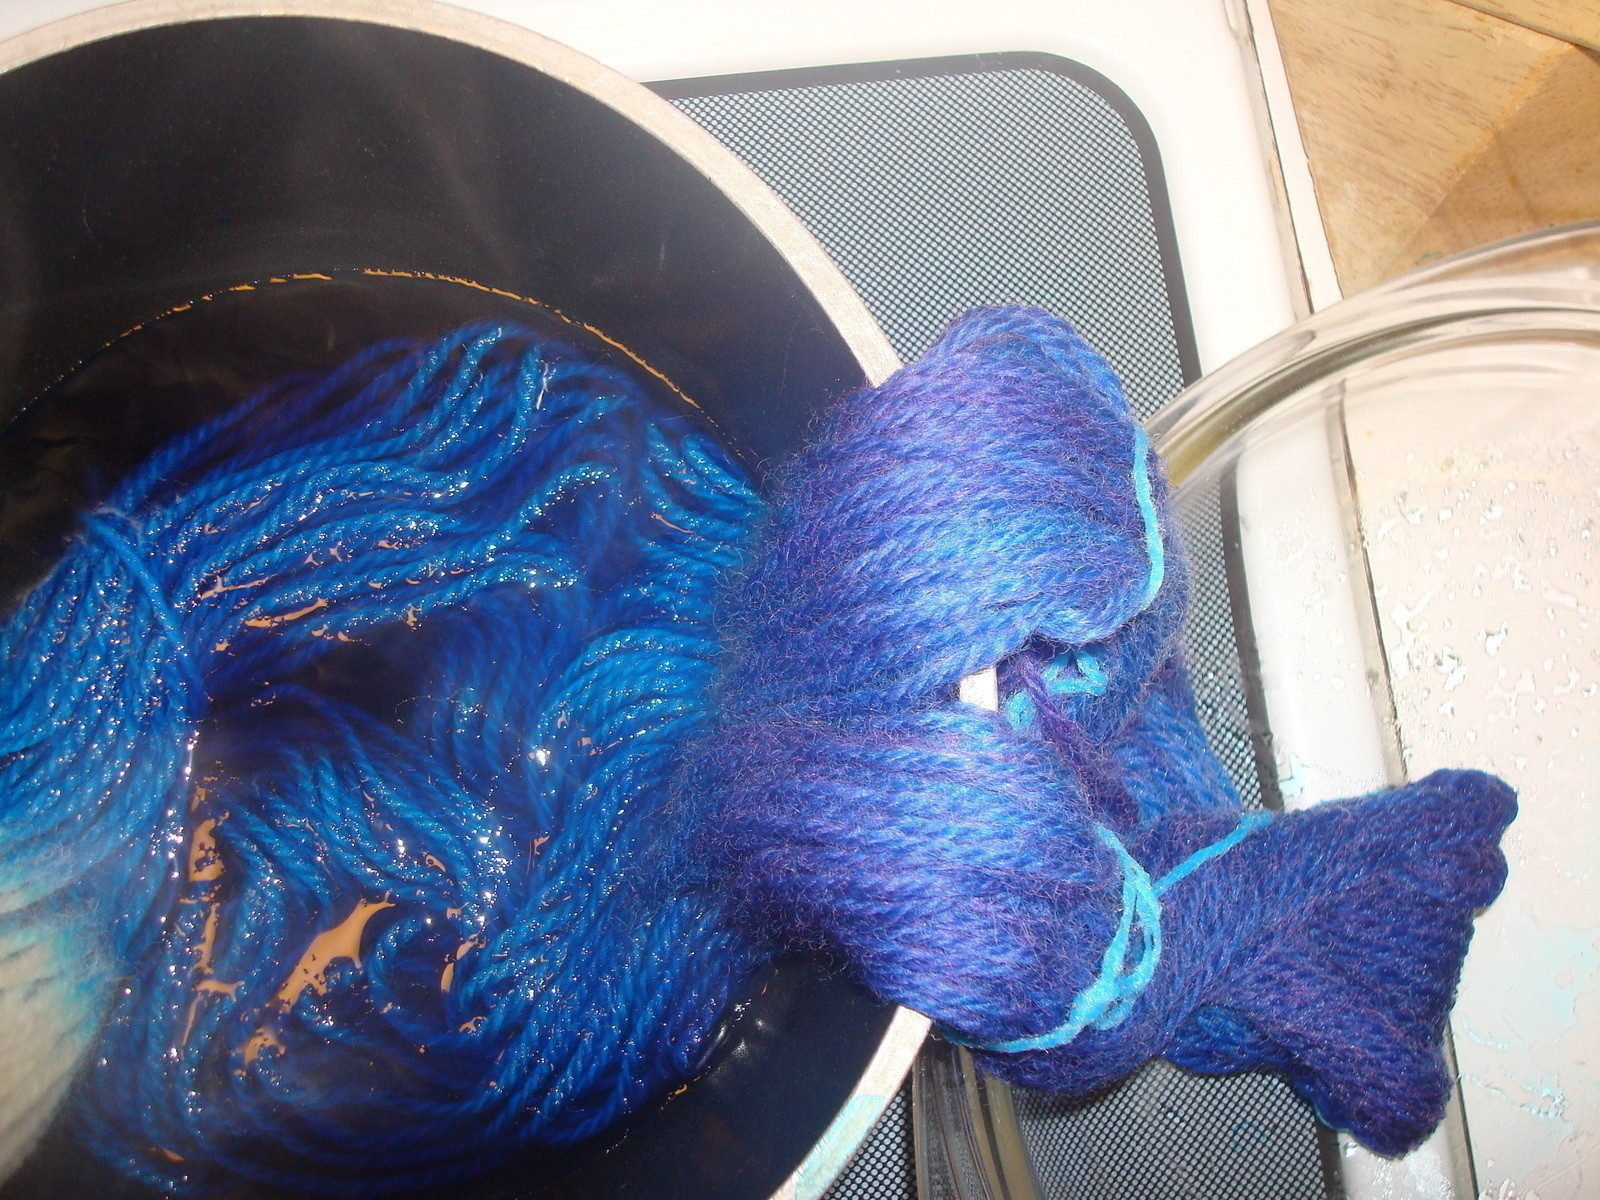
I then dissolved the required amount of gel food coloring in enough water to cover the yarn. I brought the water to almost a boil, and then turned it down to simmer..leaving the yarn in the dye bath for 15 minutes.
(this is the royal blue w/ 2 drops of neon blue added) Give it a slight stir to make sure the color has penetrated all the yarn, but do this lightly, as you don't want to felt your wool. -
 Step 2
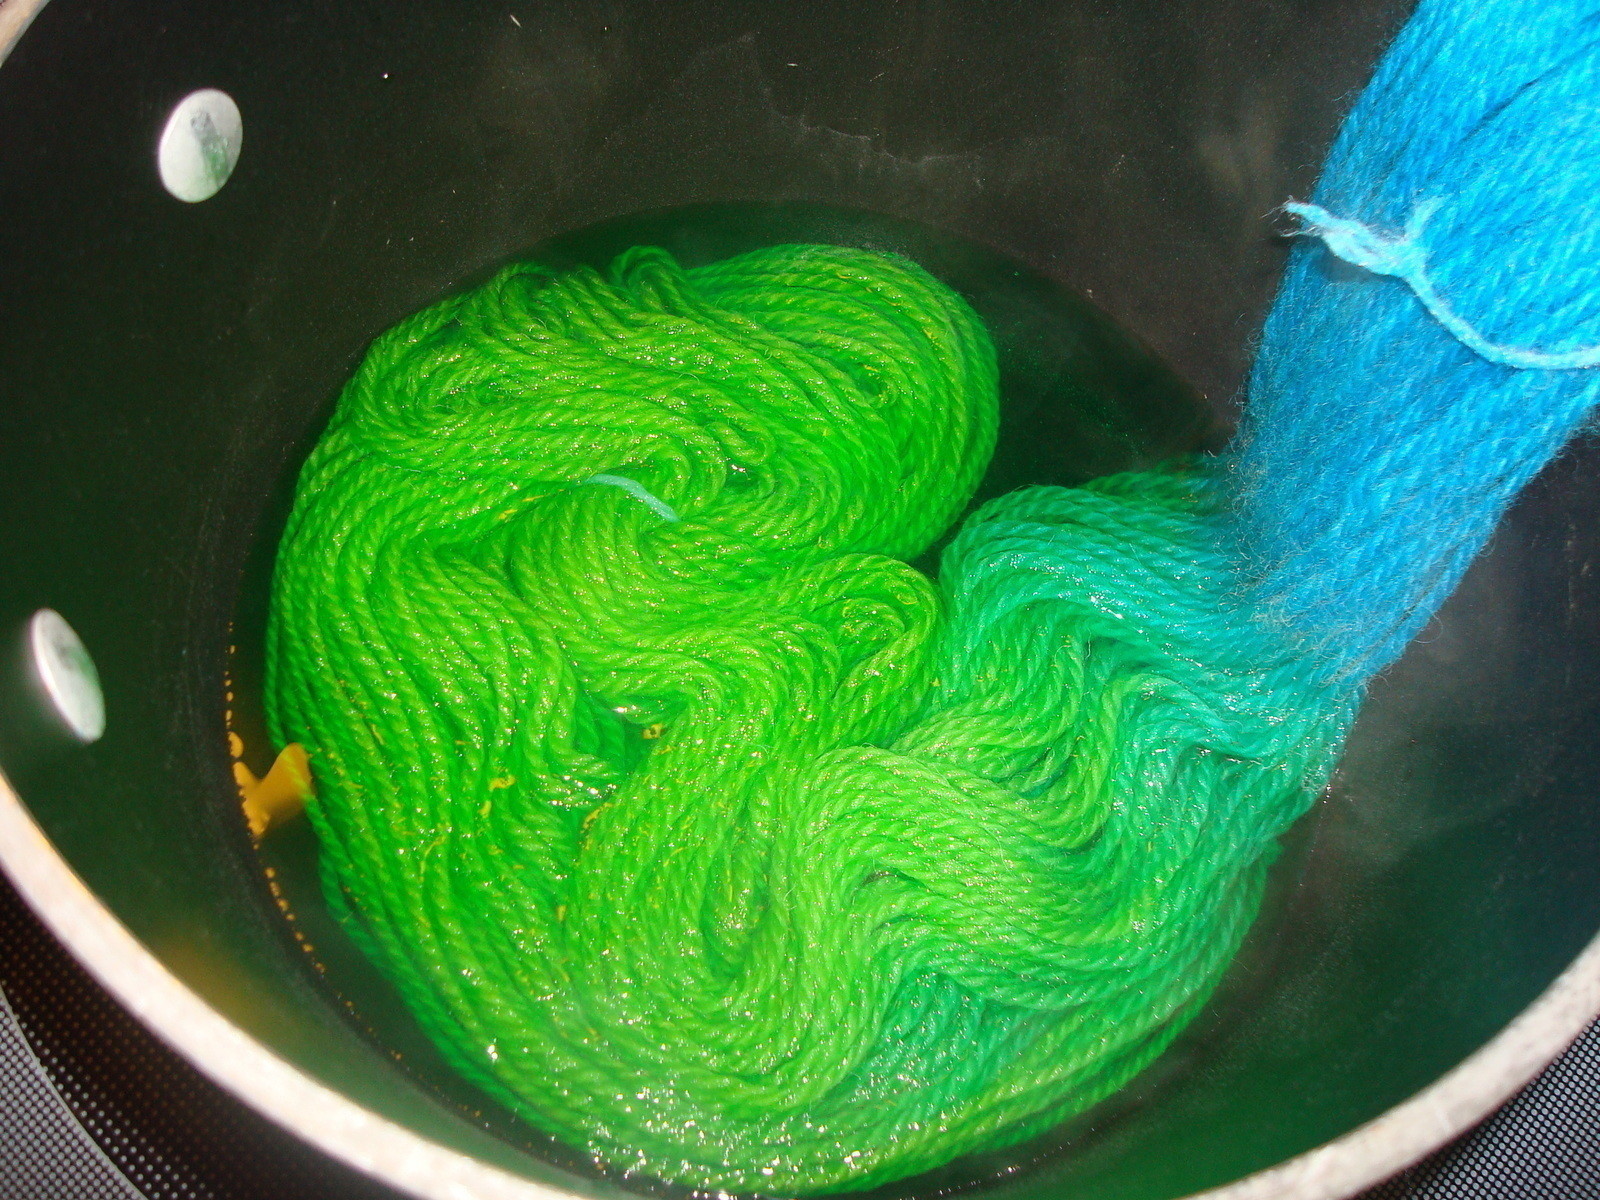
As you can see from the picture, I have the portion that I want dyed blue, in the pot, with the rest of my un-dyed yarn hanging out of the pot.
*What I should've done was to do my lightest color first (green in this case), and the darkest color last, so that the darker color wouldn't bleed into the lighter one. I did this backwards this time, but am still pleased w/ the result.You will soak each section of your yarn in your chosen dye bath for 15 minutes. Make sure to wear rubber gloves, pull the yarn out and lightly press the yarn to help "ring" out the water & dye. Then place that section on some foil or plastic wrap, or a dish, lying next to your next dye bath.
-
 Step 3
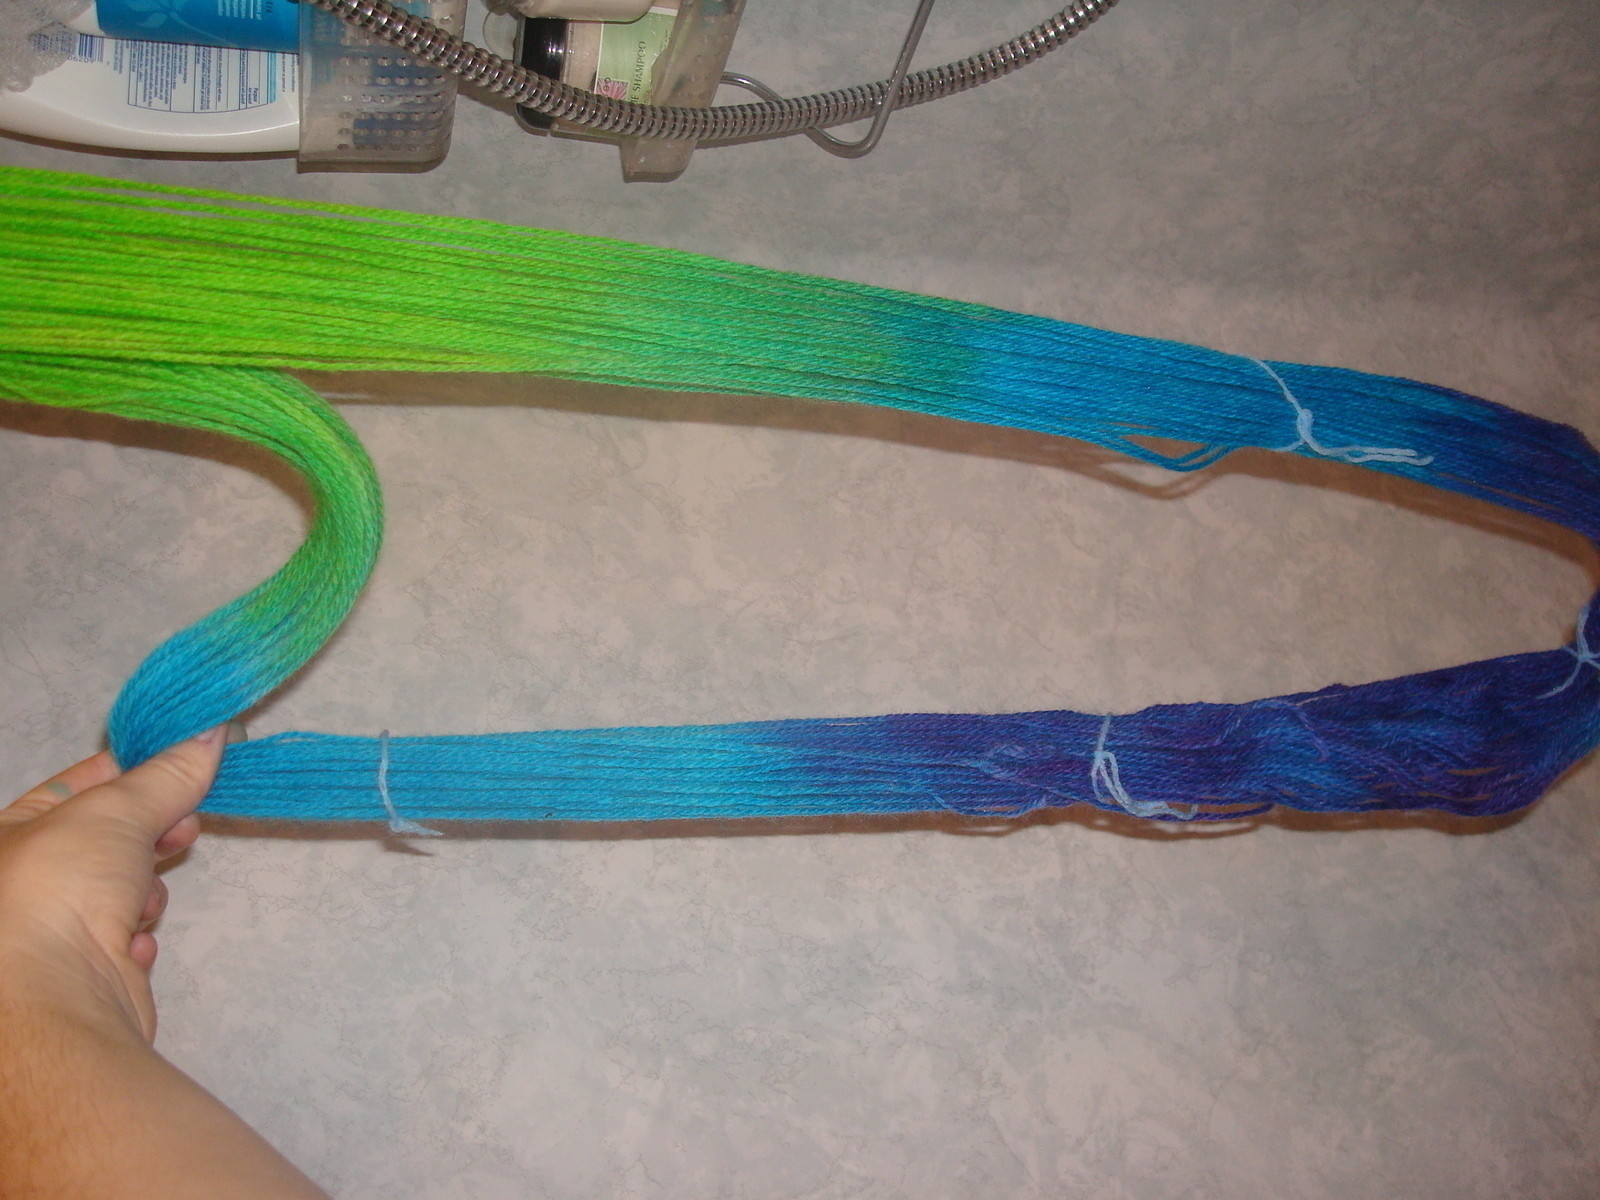
Next, hold your yarn by the lightest color at the top, and then rinse under running water until it runs clear. The water should be luke warm and not cold, so as to not "shock" your yarn.
When the water runs clear, give it another light squeeze to get the excess water out, and then hang it somewhere to dry. I'm hanging mine with the lightest color at the top, so that the dark color doesn't bleed all over my light colors.
-
 Step 4
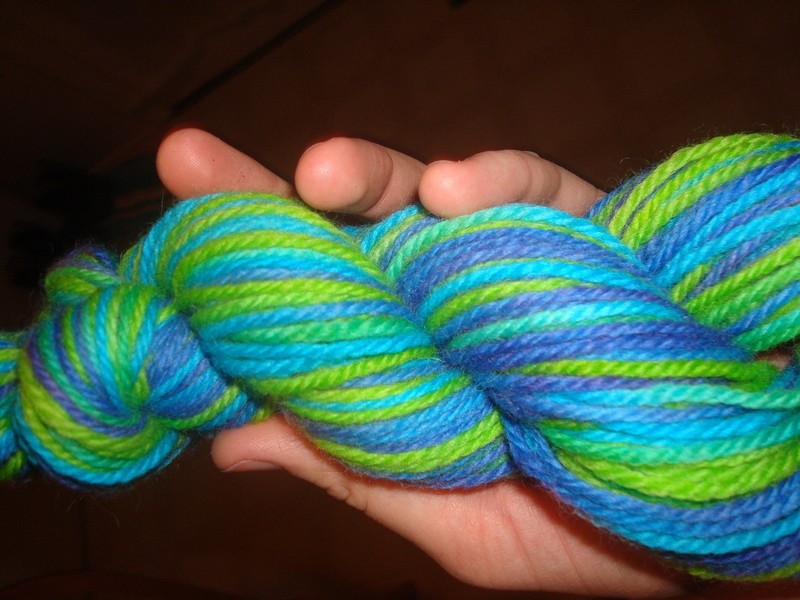
This is the really fun part!
Knit something up for yourself or someone else. this was fun for me, because I didn't know what kind of pattern would emerge from my dyeing. I think this headband turned out very nicely. To view the pattern go here: http://www.knitty.com/ISSUEwinter06/PATTcalorimetry.html