
About
who knew what you could do with an old card and a bit of tape :D
i got this off a cool card wallet i found. but i added a little extra things to make it just that bit better.
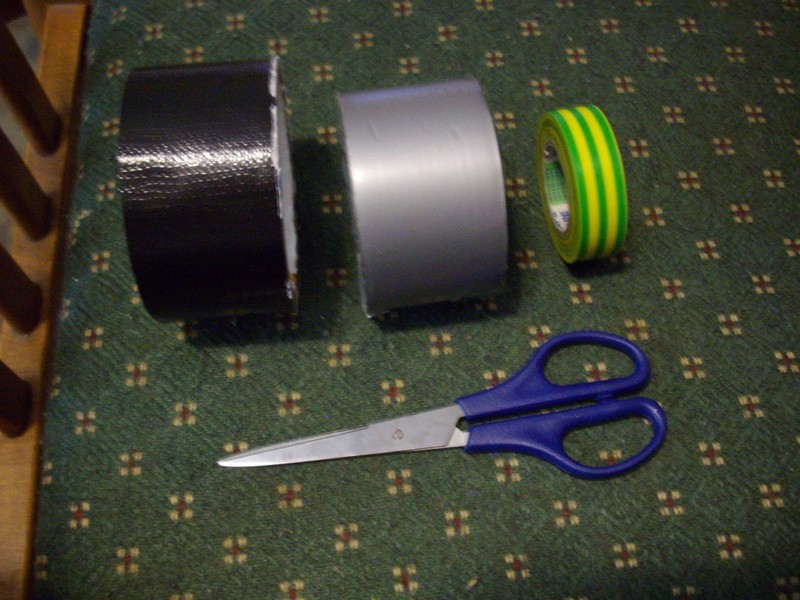
duct tape and electrical tape all you ever need in life they make everything!!!! enjoy :D
-
 PsychoticWeirdo favorited Duct Tape Wallet
09 Sep 21:38
PsychoticWeirdo favorited Duct Tape Wallet
09 Sep 21:38
-
 Ness H. favorited Duct Tape Wallet
14 Aug 04:26
Ness H. favorited Duct Tape Wallet
14 Aug 04:26
-
 Step 1
first you need a greeting card you don't want or need. And cut the card to the hight you want you wallet to be.
-
 Step 2
now cover the outside of the card with duct tape or electrical tape, i also used some random yellow and green striped tape for a more effective look. but keep in mind it's easier to do desings on the outside once you've finish the rest of your card.
-
 Step 3
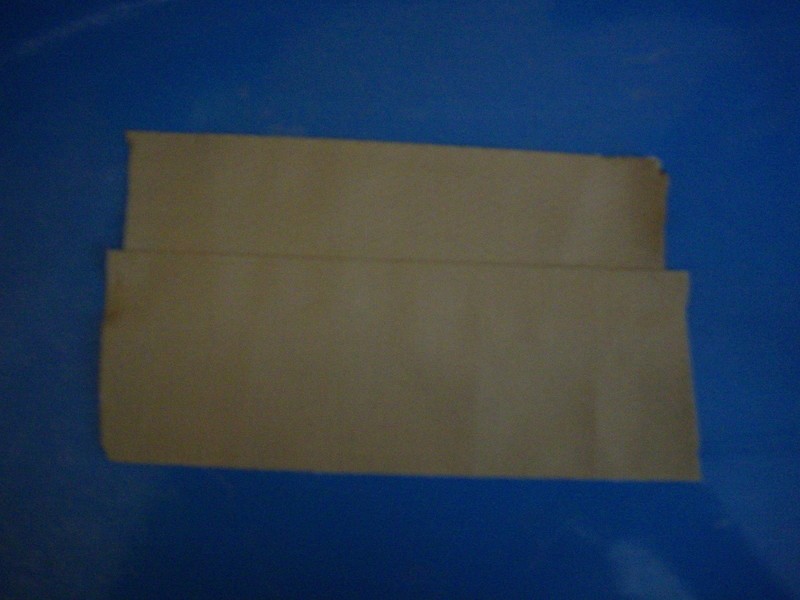
to make the note pocket you put one pice of tape on top of another righ across the cards width so that both sides are not sticky if you need it to be higher just attach more tape to the bottom the same way then cut to shape of card then tape the bottom and the side of the pocket to the card using the same colour tape as the front.
-
 Step 4
i made a "pocket" or "flap" for the card holder (this isn't a very good picture) and just copy step three but a smaller version. i made two card pockets but you can have however many you want.
-
 Step 5
this is just another pictuer to show how i did the flaps.
-
 Step 6
for the clear I.D. pocket i used the clear tape and put two clare pieces of tape together like i did with the card and note flap. (this is the best picture i could get)Then i put some black electrical tape around the sides and bottom of the clear bit leaving the top open to change pictures. if you want you can have the i.d. section on the right and the card pockets on the left.
-
 Step 7
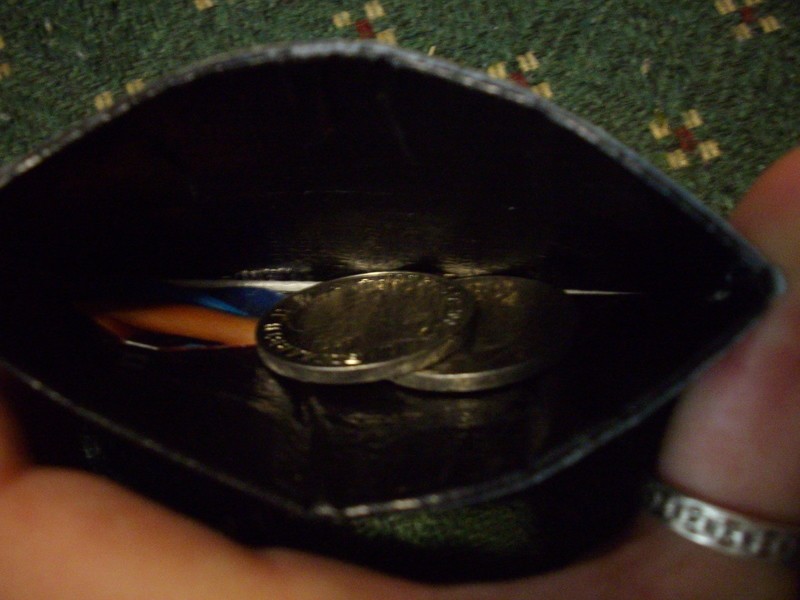
then i made a big pocket for the coins to go in using the same method but making two sides and adding the together. (if that makes any sense the picture might help explain what i mean). that goes from the top of the note flap down to almost the bottom of the wallet then after the wallets finished you place it in the note pocket and stick it to the tape side with velcro
-
 Step 8
next you put your velcro pieces on the wallet you can
A. put two bits on the outside of the wallet on the edge in the middle and then make one long strip go from the back to the frount so it sticks to both the frount and back velcro tabs or
B. put two velcro tabs in the inside of the wallet on the edge in the middle so they can stick to each other. -
 Step 9
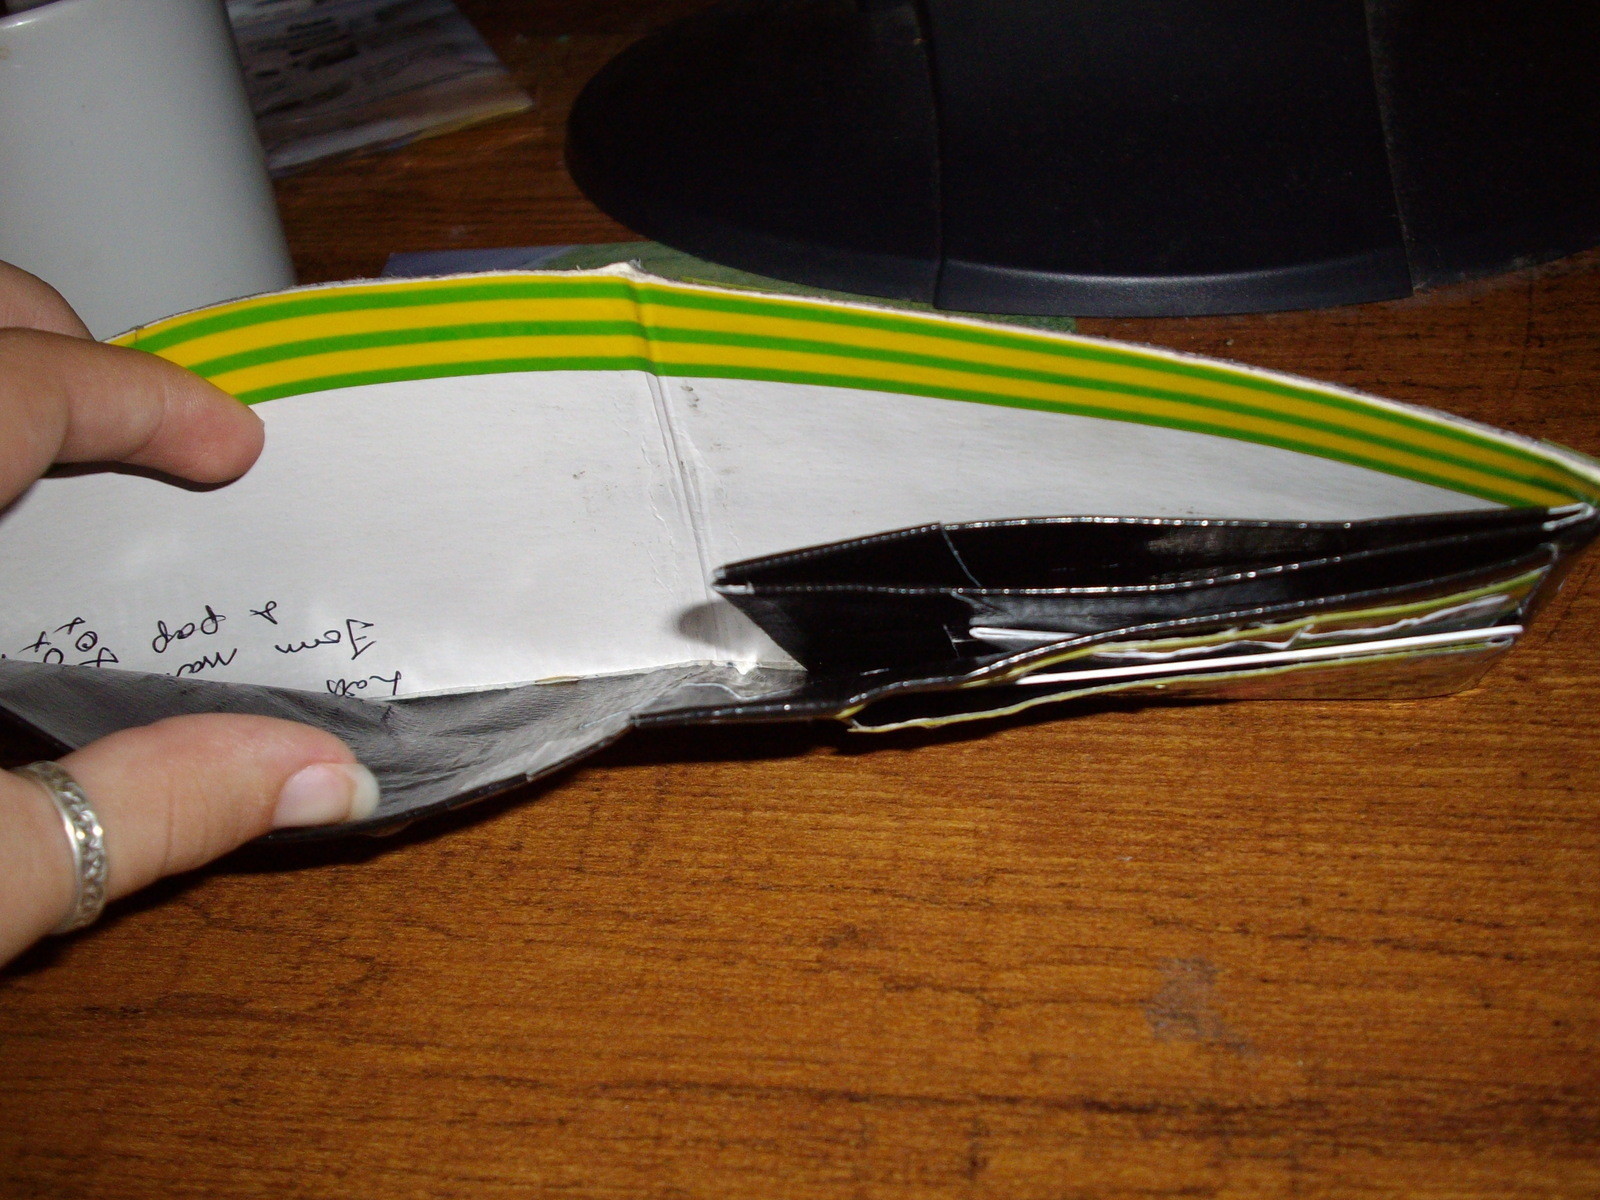
after all the tecnical stuff is finished you can now decorate you wallet. I used some pictures from magazines for my wallet and a few i found on the internet. Than i cut out the pictures i liked and stuck them down with more clear tape. for the picture in the i.d. slip i just placed it in.
-
 Step 10
then i made some more i.d. slips and taped them to the front and back of my wallet so i could put pictures in them as well i left the top open so i can change the picters later on. after i did that i decorated the out side of the wallet with yellow and green striped tape. now yor finished i hope you enjoy just put in you cards and money and your off to the shops :D