


About
Sweater Refashion: 80's Oversized Crew Neck to Drape Front Cardigan
Every once in a while, I complete a sewing project from start to finish without a single problem. No ripping out seams, no crying, no screaming, no mumbled death threats at the sewing machine (of course, there was no sewing machine involved here, which may explain a lot).
This was one of those lovely projects that just happened. It started out to be a shrug and morphed into a cardigan. No, it's not absolutely perfect (that little woo-hoo in the back, for example) but, I'm still terribly pleased with the outcome. My last refashion was a bit disappointing, so I'm happy for a successful one.
-
 Slavica V. commented on Drape Front Cardigan
09 Jan 08:47
Slavica V. commented on Drape Front Cardigan
09 Jan 08:47
-
 Will P. favorited Drape Front Cardigan
22 Oct 15:05
Will P. favorited Drape Front Cardigan
22 Oct 15:05
-
 brenda.l.shepard favorited Drape Front Cardigan
27 Aug 04:33
brenda.l.shepard favorited Drape Front Cardigan
27 Aug 04:33
-
 Kitsuné favorited Drape Front Cardigan
01 Jun 09:30
Kitsuné favorited Drape Front Cardigan
01 Jun 09:30
-
 Zombie Babe added Drape Front Cardigan to new wardrobe
01 Oct 02:17
Zombie Babe added Drape Front Cardigan to new wardrobe
01 Oct 02:17
-
 Love_Sun favorited Drape Front Cardigan
23 Sep 05:11
Love_Sun favorited Drape Front Cardigan
23 Sep 05:11
-
 Tristin C. favorited Drape Front Cardigan
15 Sep 23:50
Tristin C. favorited Drape Front Cardigan
15 Sep 23:50
-
 knottybits favorited Drape Front Cardigan
15 Mar 05:28
knottybits favorited Drape Front Cardigan
15 Mar 05:28
-
 Recycled Miracles favorited Drape Front Cardigan
29 Jan 17:32
Recycled Miracles favorited Drape Front Cardigan
29 Jan 17:32
-
Kaiulani W. favorited Drape Front Cardigan
15 Jan 02:07
You Will Need
-
 Step 1
Before! This was rejected by a local thrift store as unsaleable. It was completely shapeless and extremely unflattering. It also had a stain on the front (now hidden by the draping).
-
 Step 2
Revamp How-to:
For this project you will need a sweater at least one size too large with sewn (not serged) seams and box-cut sleeves (ones that will have a straight edge after being removed from the sweater). A light or medium weight knit would work.
Begin by removing the sleeves from the sweater by carefully picking out the stitching at the seam.
-
 Step 3
Lay the bodice of the sweater out flat and cut a straight line through both front and back just below the collar. The thin collar/shoulder piece you have just removed will be the only part of the sweater you discard.
Carefully pick out the stitching on ONE of the side seams. At this point you will have a large rectangle. The opened side seam edges will be slightly irregular and the closed side with have the armhole. This is not a problem.
-
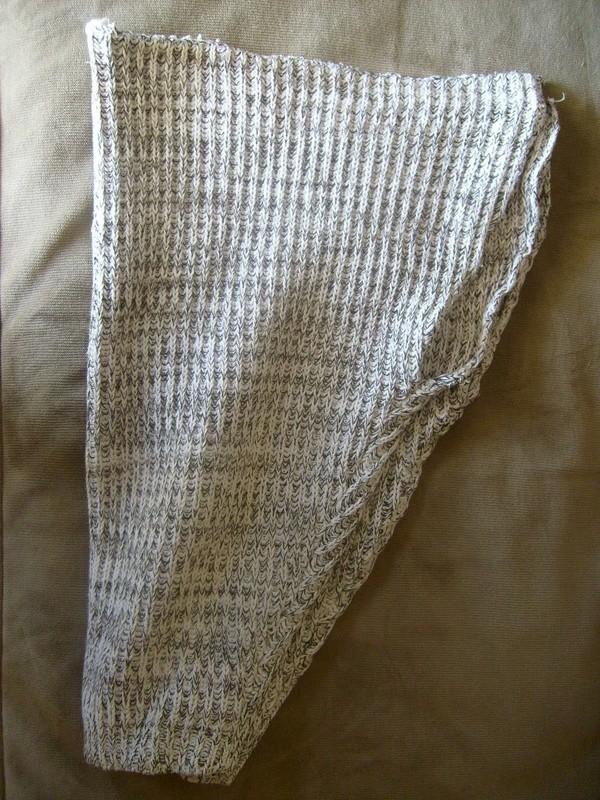
 Step 4
Try on the sleeves and determine how long you want them to be (you will need to allow enough "sleeve" fabric to meet at the back, between your shoulder blades. Begin ripping out the under arm seam of the sleeve until you are happy with the sleeve length and have enough to meet in the back.
-
 Step 5
Lay out the sleeves end to end (as if you were going to make a shrug) and baste* together the back-side as shown).
*Use a contrasting color for basting to make it easier to remove later.
-
 Step 6
Take your large rectangular piece (the one that used to be the bodice) and lay it out centered with each side of the existing arm hole (on the side you did not rip apart) matched up to the portion of the lower sleeve seam you ripped apart earlier). Baste.
-
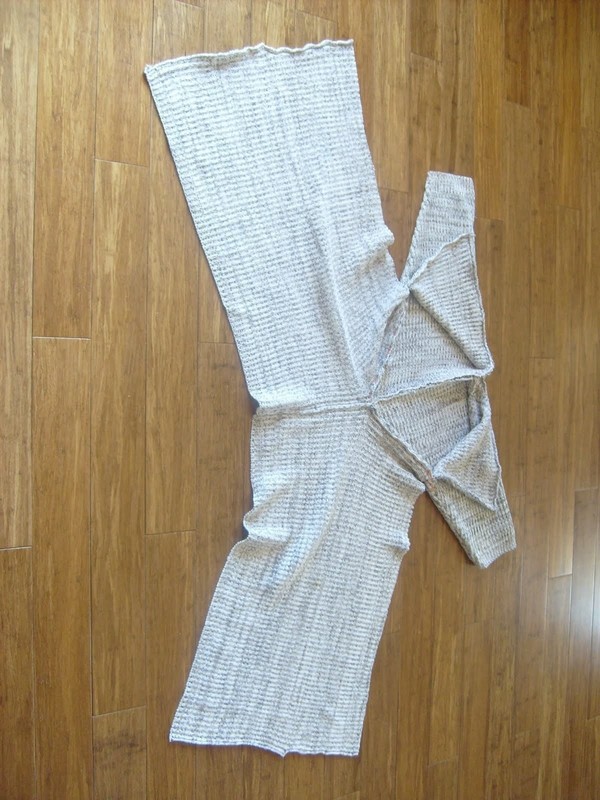
 Step 7
At this point, it should look like this.
-
 Step 8
This is your last seam. Baste together the remaining edge of sleeve material to a portion of the long edge of the rectangle. The new seam and the seam you just made will form a right angle.
Try it one. If you are happy with it, proceed to hand sewing
the basted seams. Make sure any raw edges are sewn in a way to prevent later raveling out of the knit.I chose to roll and hem some of the edges (the neckline and along the front). This is not strictly necessary. This particular knit just looked better that way.
-
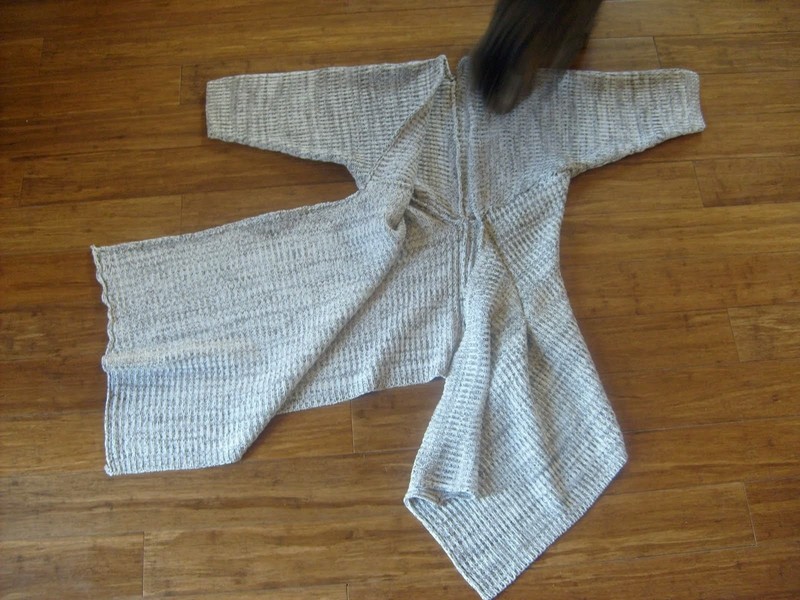
 Step 9
Finally, while wearing the sweater, pin (or baste) where you want the front draping to be. Hand tack it down.
This picture shows the right side only with the draping tacked down. -
 Step 10
Closer view of the front draping secured with hand tacking.


thats amazing !
those are so in right now too