


About
Use your grandma's old doilies, make these as holiday gifts... endless possibilities!
I've seen pictures of these around the internet, and I loved the idea of using a hole in the doily as part of the closure. I finally got around to making one for myself so here's how I did it.
These would be perfect little presents for the holidays, and you could even use one of your grandmother's old doilies to make this gift for her.
-
 Jeanie M. favorited Doily Flap Pouch
27 Jul 13:31
Jeanie M. favorited Doily Flap Pouch
27 Jul 13:31
-
 Kimya J. favorited Doily Flap Pouch
03 May 04:58
Kimya J. favorited Doily Flap Pouch
03 May 04:58
-
 Libby W. favorited Doily Flap Pouch
11 Oct 20:31
Libby W. favorited Doily Flap Pouch
11 Oct 20:31
-
 Susan D added Doily Flap Pouch to Pretty in Pink
26 Jul 14:56
Susan D added Doily Flap Pouch to Pretty in Pink
26 Jul 14:56
-
 Miss_Fit favorited Doily Flap Pouch
09 Jul 03:00
Miss_Fit favorited Doily Flap Pouch
09 Jul 03:00
-
 Conn entered her project Doily Flap Pouch to Yarn Crush
18 Dec 07:20
Conn entered her project Doily Flap Pouch to Yarn Crush
18 Dec 07:20
-
 Pimke added Doily Flap Pouch to Nähmuster
27 Jan 11:05
Pimke added Doily Flap Pouch to Nähmuster
27 Jan 11:05
-
 Brielle J. favorited Doily Flap Pouch
07 Aug 19:35
Brielle J. favorited Doily Flap Pouch
07 Aug 19:35
-
 02jhseaby added Doily Flap Pouch to Try
08 Jun 20:51
02jhseaby added Doily Flap Pouch to Try
08 Jun 20:51
-
02jhseaby favorited Doily Flap Pouch
08 Jun 20:51
-
 Step 1
I followed a pattern from a book that I borrowed from the local public library so I can't post the pattern I used. You could also search online for doily patterns; try http://www.crochetpatterncentral.com/directory/doilies.php, for example. Of course, there is the other option of buying one from a craft store or using your grandmother's doilies. But even if you don't know how to crochet, doily-making is fairly easy; just search for a tutorial online and try it out!
Regarding the doily:
-- The diameter should be the same as the width you want for your pouch.
-- If you plan on using the pouch for small, thin objects such as buttons or pens, choose a doily that doesn't have relatively big, lacy holes.
-- Make sure at least one hole is big enough for your button to go through. This will be part of the closure.
-- I suggest you make the last round using double stitches to add strength to the flap. If you look at my doily, the outer round is just double stitch after double stitch. -
 Step 2
On a piece of paper, cut out a rectangle, its width being the same as your desired pouch's (plus 0.5" as seam allowance) and the length being twice the height of the finished pouch's (plus 0.5" for seam allowance). Mine was 7.5" by 5", and the final dimensions of my pouch were 3.5" x 4.25".
-
 Step 3
Put the rectangle on the fabric you'll be using as the lining and cut out a rectangle of fabric. Repeat for the exterior fabric as well.
-
 Step 4
Fold the rectangle of fabric you're using as the exterior with the patterned side in and sew along two cut edges to make a little pocket (see image for a visual guide of what I mean). Do the same thing (again, patterned side in) with the lining fabric, but leave a small hole (about 1 inch long) for turning the pouch inside out later.
-
 Step 5
When you're done with the exterior fabric, flip it inside out and sew the doily (along the diameter) to the top part of the pocket.
-
 Step 6
Cut half of the doily off so that half remains attached to your pocket.
-
 Step 7
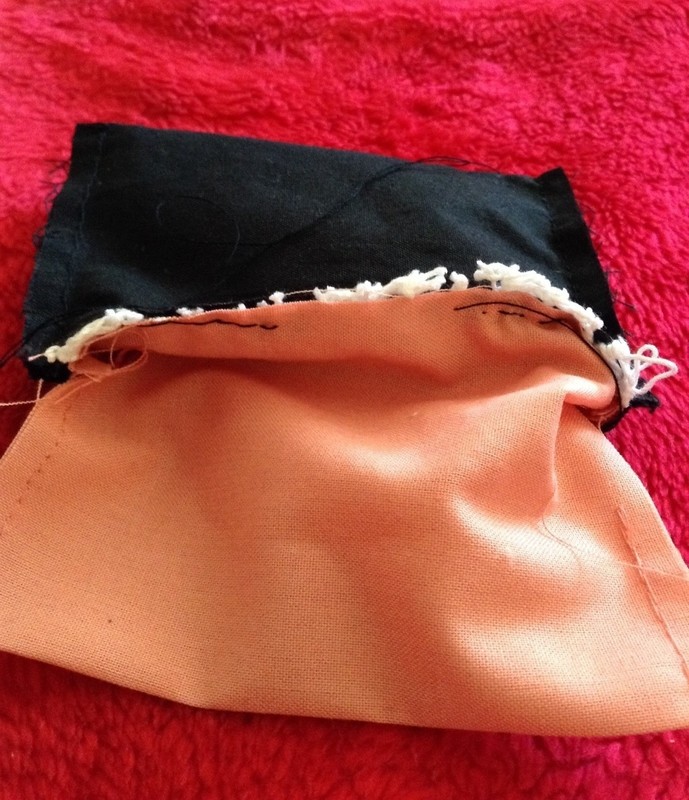
Flip the exterior fabric back again and line up the edges of the lining fabric and the exterior fabric as shown. Sew all along the edge of the mouth.
-
 Step 8
Sew like so. (hehe)
-
 Step 9
You should have something like this by now.
-
 Step 10
Now turn the soon-to-be-pouch inside out: slowly pull fabric out of the hole you left in the lining until the fabric is completely flipped.
-
 Step 11
Gently pull!
-
 Step 12
Afterward, close the hole however you prefer; I would suggest the ladder stitch, but you could also just pinch the two sides together, making sure the raw edges are folded inward, and push your needle through the layers along the hole (the ever-simple whip stitch).
-
 Step 13
Push the lining fabric into the pocket of the exterior fabric before sewing around the edge of the pouch's mouth so that the two parts (exterior and lining) don't come apart.
-
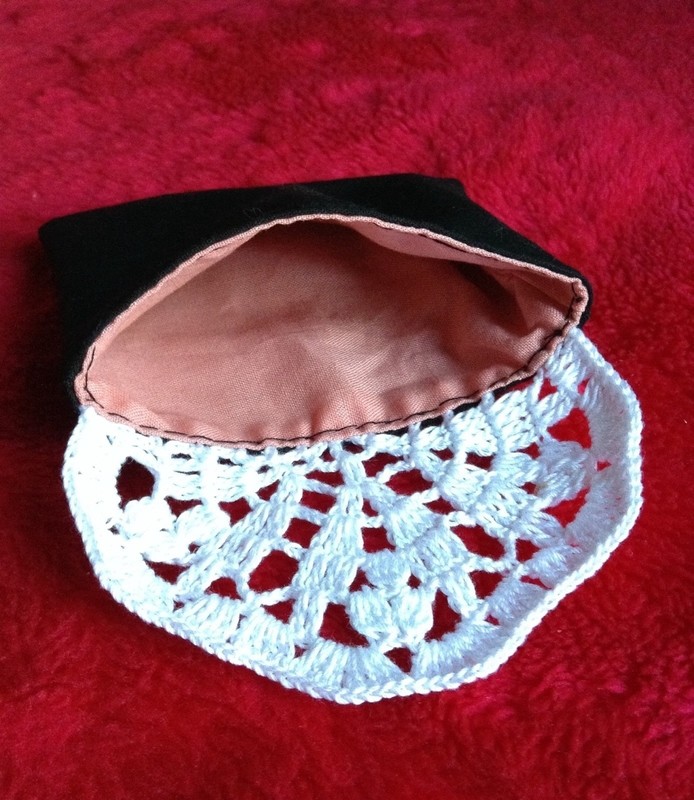
 Step 14
After that last sewing part, you should have something like this:
-
 Step 15
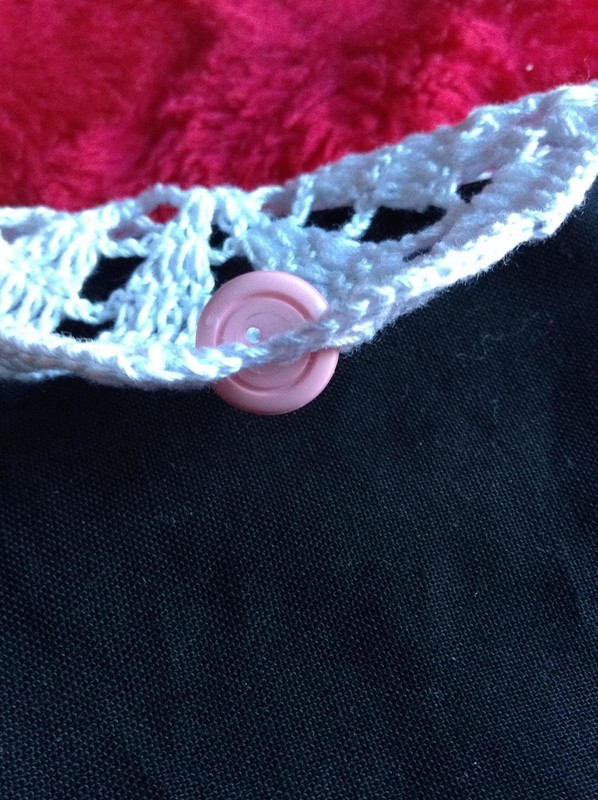
Then grab your button and position it where a hole in your doily would make the perfect closure. Make sure the doily's hole can fit around the button so that the closure will work.
-
 Step 16
Sew the button to your pouch, and YOU'RE DONE!
-
 Step 17
Time to show off your new pouch!
What will you put inside? ;)


I like the pouch!