Log in or Sign up to remove sponsor

You Will Need

30 minutes
Pretty Easy

Diy Patch

  • Completed Project: Diy Patch Picture #1
  • Completed Project: Diy Patch Picture #2

supa easy!
 <  Image 1 of 2  > 

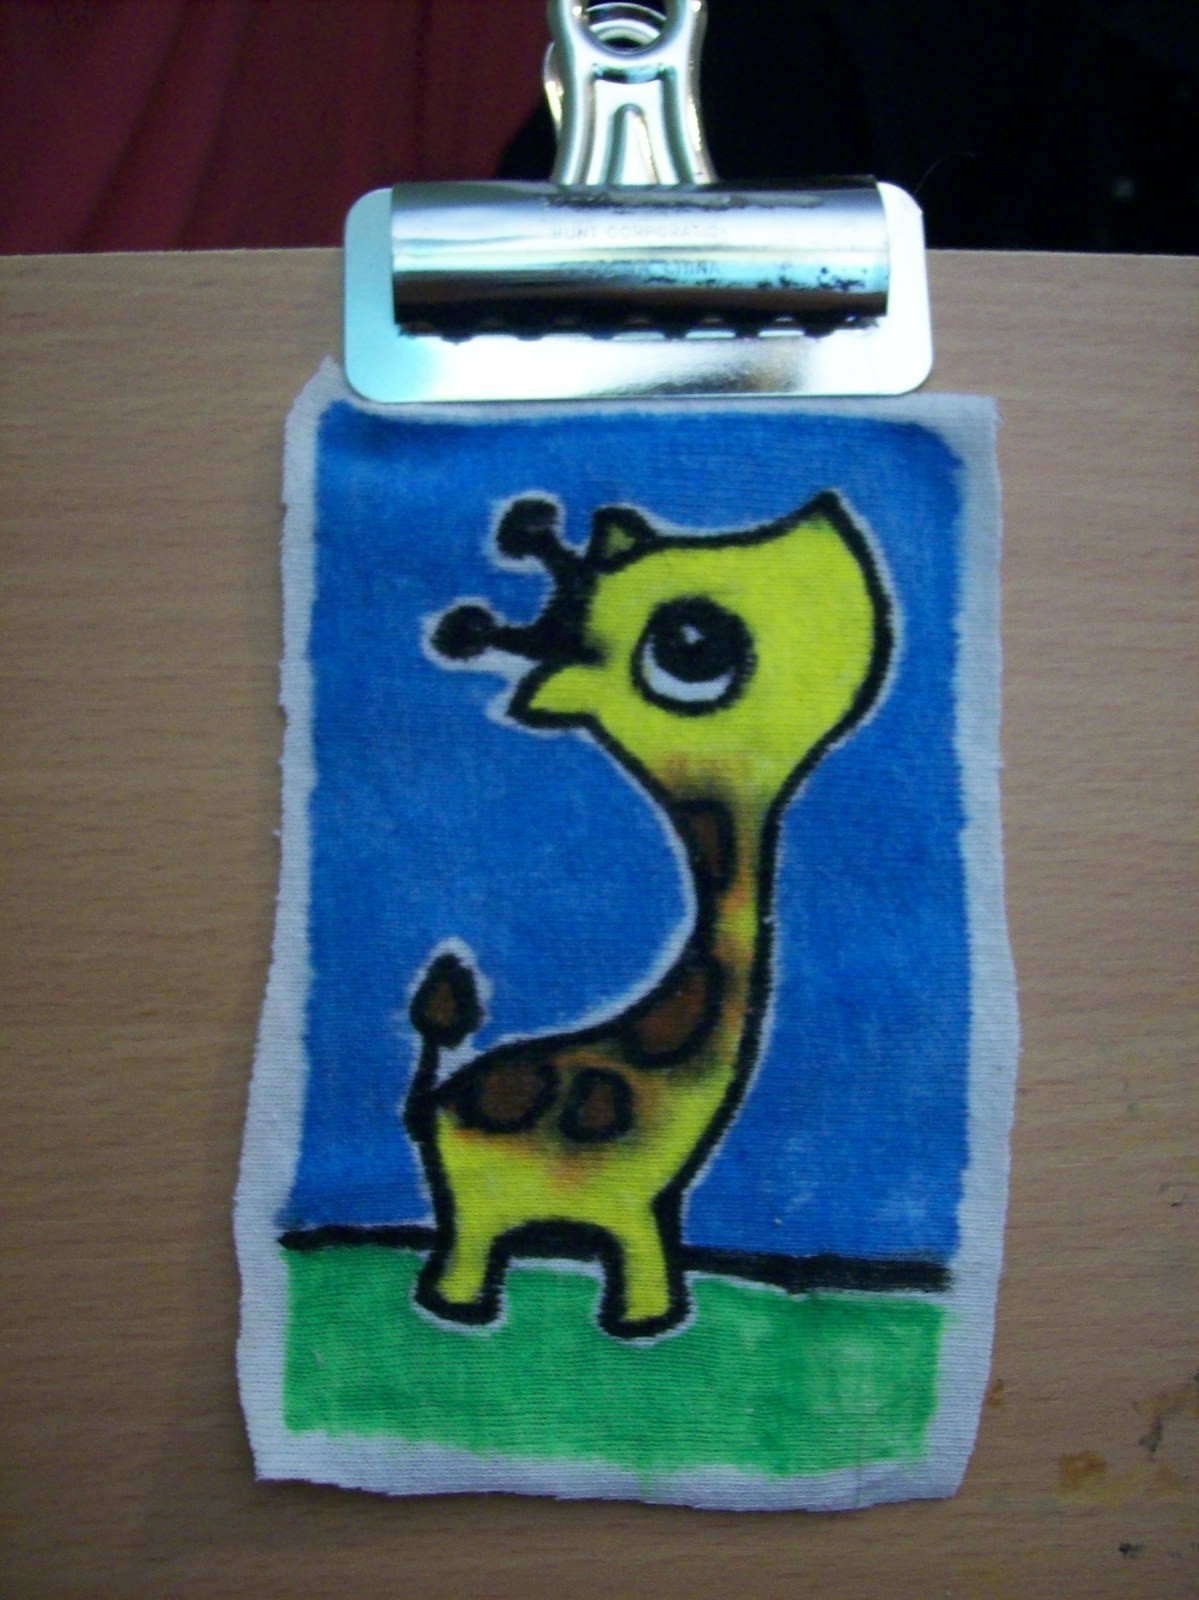
i decided one night to make patches for some purses i'm working on, so here they are!

Share on: Facebook | Twitter | StumbleUpon

Add to a List Add to Favorites Add Your Version


  1. Step 1

    Step 1

    to draw the pattern head over to a craft store and grab yourself some fabric markers

  2. Step 2

    Step 2

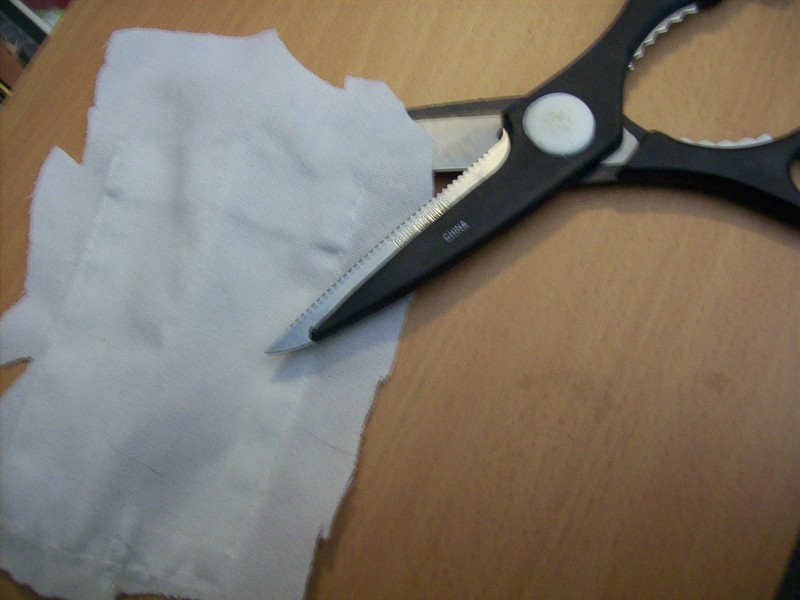
    Estimate how big you want the patch and cut a piece of scrap fabric that is that size


  3. Step 3

    Step 3

    When using the markers, be sure to keep the fabric flat! wrinkles can be a pain in the butt!

  4. Step 4

    Step 4

    Be sure to follow the directions on how to set the markers. Mine said either to iron the image or throw it in the dryer and viola! a new awesome patch to use!


More from PatchesSee All »
  • Sunny Buick Day Of The Dead Portraite
  • Everyone Has Dem Patches Are Sooo Lame!!!How To
  • Queen Elizabeth Embroidery
  • Embroidered PanelHow To
  • Swallow Patch
  • Hogwarts Felt CrestHow To
  • Illusion CrochetHow To
  • Skull Embroidery
  • Random Felted BroochesHow To
  • True Love Embroidery

See more Decorating

People who love this project (18)See All »

Leave a Comment

Sorry...

You need to Sign Up and log in to leave comments


Pumpkinniki

Pumpkinniki

12 Feb 04:09

That is so cute!

Carin

Carin

17 Feb 16:54

What a fab idea! I will try it, thanks!

spooky little girl Posted By:
spooky little girl »
February 11, 2009 02:56
Hr

See the projects A-Z »


Advertise here

Hr

Hr

Popular tags: Dressmaking / Tailoring, Beadwork, Decorating, Revamping, Christmas, Painting & Decorating, Halloween, and Clothing & Fabric

Hr

Get the latest projects!
Fbpage Become a Fan on Facebook
or
Follow us on Twitter