


About
charging station for my new phone and iPod
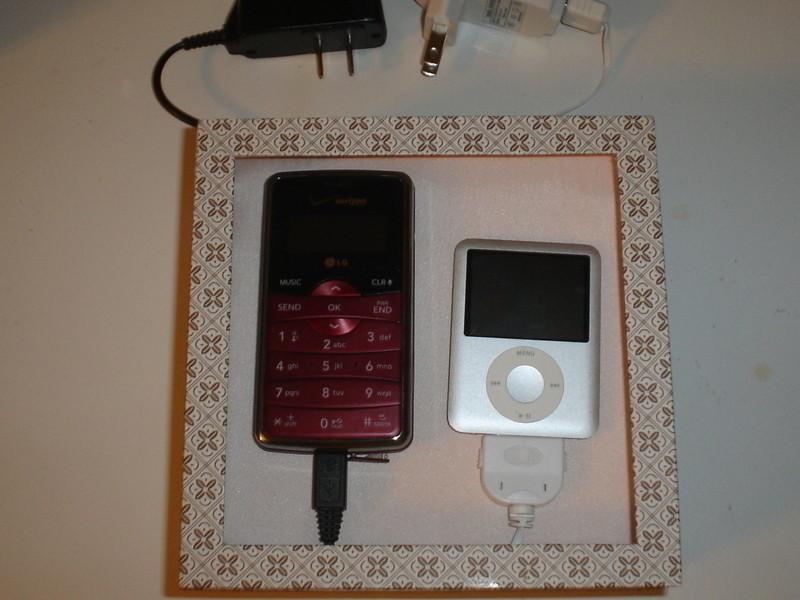
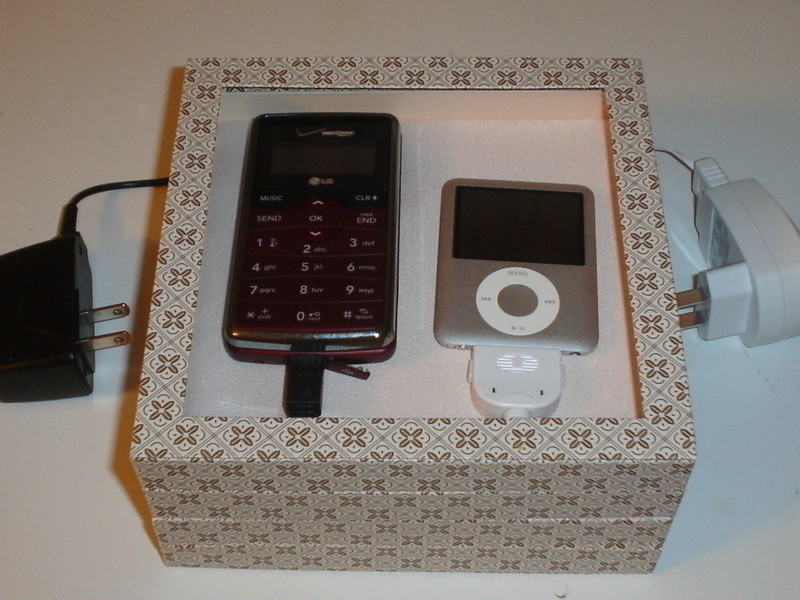
Last night I got the creative bug, and whipped together this pink and brown padded charging station for my new phone and iPod. I got the idea to use a pre-made box from this tutorial and was just waiting to find the right box to use.
I made it from two of these
Martha Stewart Coffee Bean Specimen Boxes. The are originally $9.99, but I found them at my local Michael's store for only $2 each!
-
 Carrie Alice added DIY Charging Station to Crafty
12 Aug 11:08
Carrie Alice added DIY Charging Station to Crafty
12 Aug 11:08
-
 Emma H. added DIY Charging Station to Maurice Moss's IT Crowd Room
27 Jun 20:28
Emma H. added DIY Charging Station to Maurice Moss's IT Crowd Room
27 Jun 20:28
-
 Nikia N. favorited DIY Charging Station
22 Nov 03:14
Nikia N. favorited DIY Charging Station
22 Nov 03:14
-
mc s. favorited DIY Charging Station
07 May 04:04
-
beth l. favorited DIY Charging Station
25 Nov 07:50
-
 water and fire fairy favorited DIY Charging Station
11 Jul 16:33
water and fire fairy favorited DIY Charging Station
11 Jul 16:33
You Will Need
-
 Step 1
HOW I DID IT:
The boxes have a thick plastic covering the opening, so I first removed the plastic from only one of the boxes. I slid my blade just in between the plastic and the box along all sides to loosen the glue, and it popped right out.
-
 Step 2
Then I pulled out the padding inside, turned it over and cut a long narrow opening, wide enough for the adaptor ends of my cords to fit through.
-
 Step 3
I also removed the pink ribbon on the back. That is my top box.
-
 Step 4
The bottom box I also ripped out the padding and removed the ribbon from the back.
I cut a matching opening in the bottomAnd on the opposite side of the bottom box, I punched 3 holes for my cords to run through. After punching the holes, I made a slit from the hole to the edge of the lid with a razor blade, so that the cord can be pushed through the slit into the hole, and it will only look as if the cord is running through the hole itself.
-
 Step 5
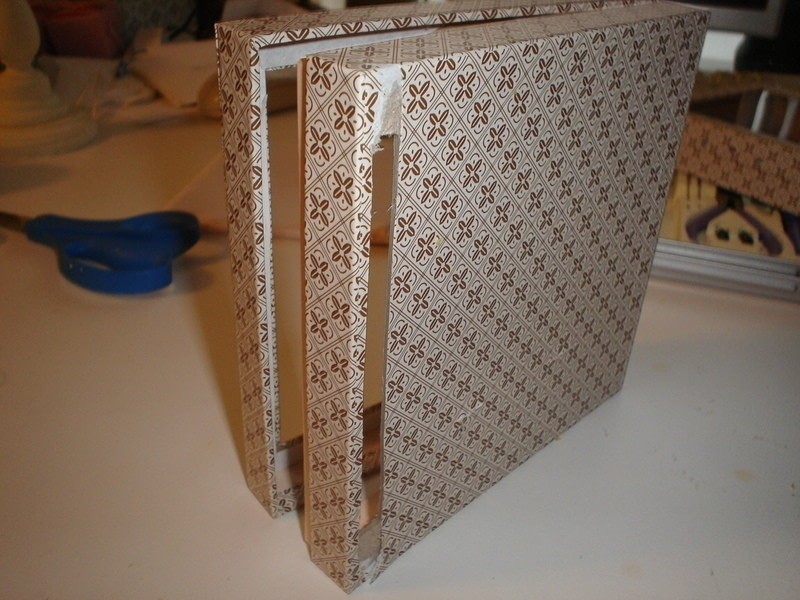
Next I used craft glue to glue the two boxes bottom-to-bottom, lining up the narrow openings
-
 Step 6
And ran my cords through the bottom box and
-
 Step 7
up through into the top box.
-
 Step 8
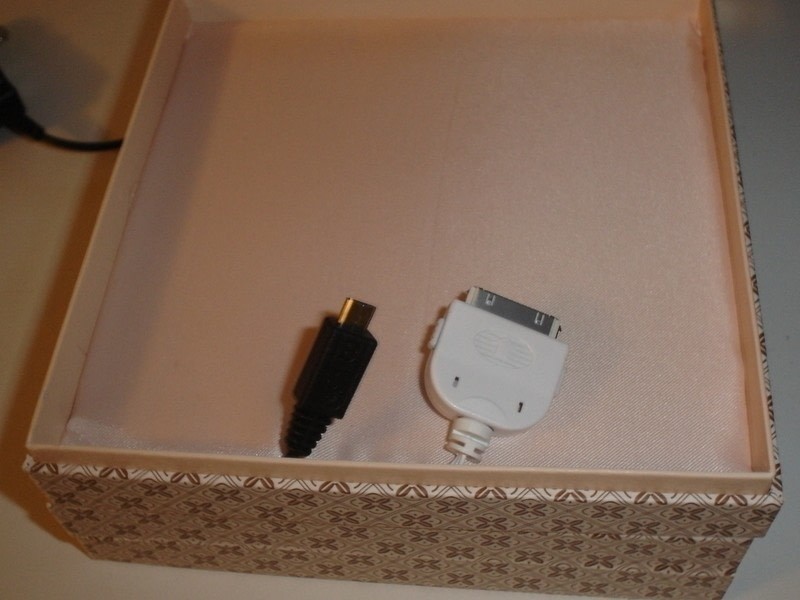
I replaced the padding in the top box, leaving just the adaptors peeking over the edge.
-
 Step 9
And that was it! Remember that I took out the plastic on this top, so I can just reach in and plug in my phone or iPod and let it rest on the pink padding!


I would need something like this !
(always loosing my uploader for my mobile