


About
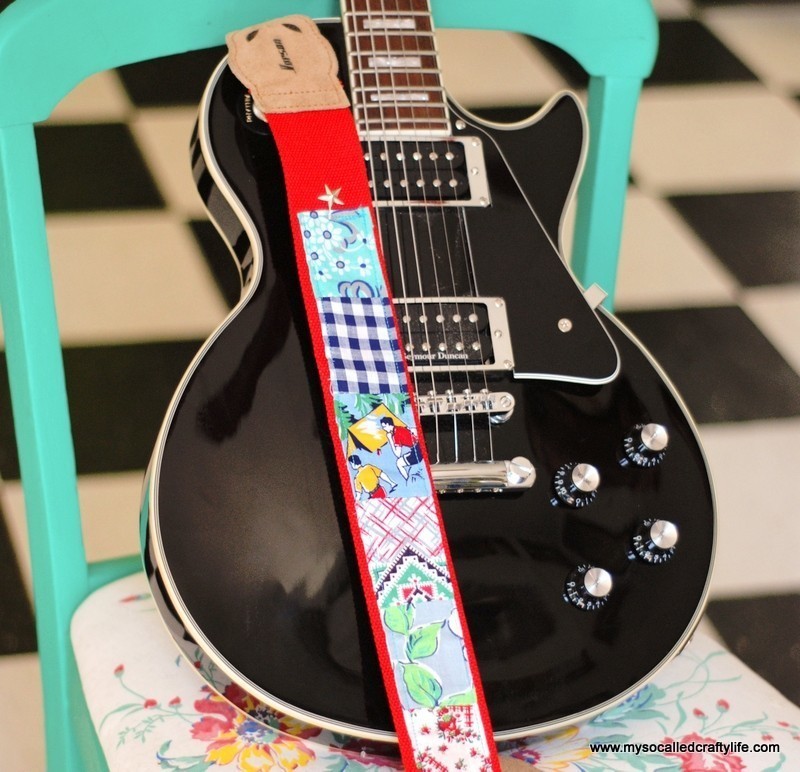
Make a fun scrappy strap for your favorite guitar enthusiast!
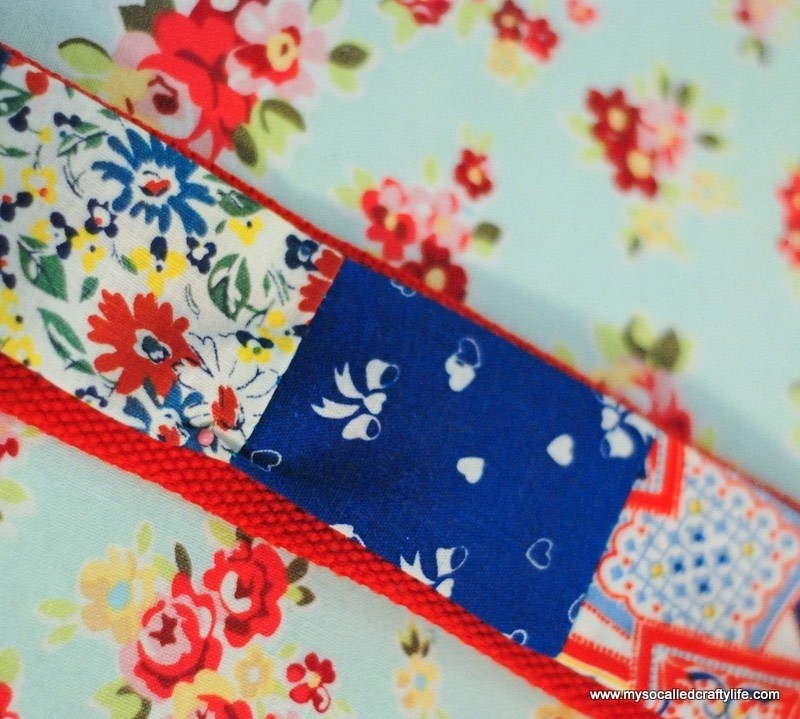
This year I wanted to make a guitar strap for my sister's new guitar. I knew she’d love a vintage flour sack patchwork strap. I had a great time picking out the fabric scraps and making it fit her style! Patchwork is so fun and easy, and you can get a great project from just a small stash.
-
 Amie F. favorited Diy Vintage Flour Sack Guitar Strap
21 Jan 05:48
Amie F. favorited Diy Vintage Flour Sack Guitar Strap
21 Jan 05:48
-
Gretchen M. favorited Diy Vintage Flour Sack Guitar Strap
08 Jan 19:22
-
 Ashlee P. published their project Diy Vintage Flour Sack Guitar Strap
14 Aug 21:40
Ashlee P. published their project Diy Vintage Flour Sack Guitar Strap
14 Aug 21:40
-
 Step 1
The first thing you need to do is measure your strap and decide how many fabric pieces you need. Adjust the strap to its longest position and measure the width and the length. Mine was 2″ wide and 46″ long. I decided to make my strips 2.5×3″ and so I divided the 46″ length by 3″ which gave me 15.333, so I cut 16 pieces.
-
 Step 2
Lay out your self-healing mat and grab a fabric scrap. Mark it at 3″ and cut the strip to 3″, then turn it and cut the width to 2.5 inches. Repeat until you have 16 strips. Lay out your fabric pieces and decide which order you want them to be in. Stack them in order from the top to the end.
-
 Step 3
Set up your sewing machine. Take the top two fabric pieces and lay them right sides together where the top of the second piece lines up with the bottom of the first piece. You want your directional patterns to be going all in the same direction in your patchwork strip. Stitch across the bottom with a quarter-inch seam allowance.
-
 Step 4
Now take the third fabric piece and lay it on top of the second where the top of the third piece lines up with the bottom of the second piece and the right sides of both pieces are facing. Stitch across the bottom.
-
 Step 5
Continue stitching the fabric pieces together until you have sewn all 16 pieces and have a long row of patchwork.
-
 Step 6
Lay your patchwork strip face down on your ironing board and heat up your iron. Press open all of the seam allowances. Next, starting at one end, fold over the side by a half an inch towards the center back of the fabric patchwork strip. Iron the raw edge under all the way down one side and then back up the other.
-
 Step 7
Next, lay your guitar strap face up and lay out your patchwork strip matching the top of the strap to the top of the strip. Lay the patchwork strip face up where the seam allowances you pressed under are nicely concealed to the face of the strap. Turn under the raw edges at the top and bottom. Pin the patchwork strip to the guitar strap.
-
 Step 8
Now you are ready to stitch the fabric strip to your guitar strap. Topstitch down one long side of the strap close to the edge of the fabric.
-
 Step 9
When you get to the end, keep your needle down in the fabric, lift up your presser foot and pivot. Put the foot back down and stitch across the bottom. Then pivot again and stitch up the other side. Pivot and Stitch across the other end. Make sure you back-stitch at the beginning and end. Snip excess threads. Now you are ready to rock!