About
Turn a scrap of wood into an adorable custom ruler!
I've been feeling nostalgic for the old fashioned wooden rulers they had in school and always wanted one with a CO+K logo on for my pencil case. When Silhouette sent me some of their temporary tattoo paper, I knew it was the perfect chance to craft my own. It was so simple to make and I love the finished result.
Tags
Downloads
- 112138_2F2015-11-27-224054-Tattoo.jpg 289 KB [ Download ]
-
 dippydiscoball added Diy Ruler to maybe one day
17 Dec 21:06
dippydiscoball added Diy Ruler to maybe one day
17 Dec 21:06
-
 Kay Bay favorited Diy Ruler
17 Dec 13:01
Kay Bay favorited Diy Ruler
17 Dec 13:01
-
 Kim T. favorited Diy Ruler
15 Dec 17:28
Kim T. favorited Diy Ruler
15 Dec 17:28
-
 Xfluffy_unitatoX favorited Diy Ruler
03 Dec 21:23
Xfluffy_unitatoX favorited Diy Ruler
03 Dec 21:23
-
 Cat Morley published her project Diy Ruler
01 Dec 21:51
Cat Morley published her project Diy Ruler
01 Dec 21:51
-
 Step 1
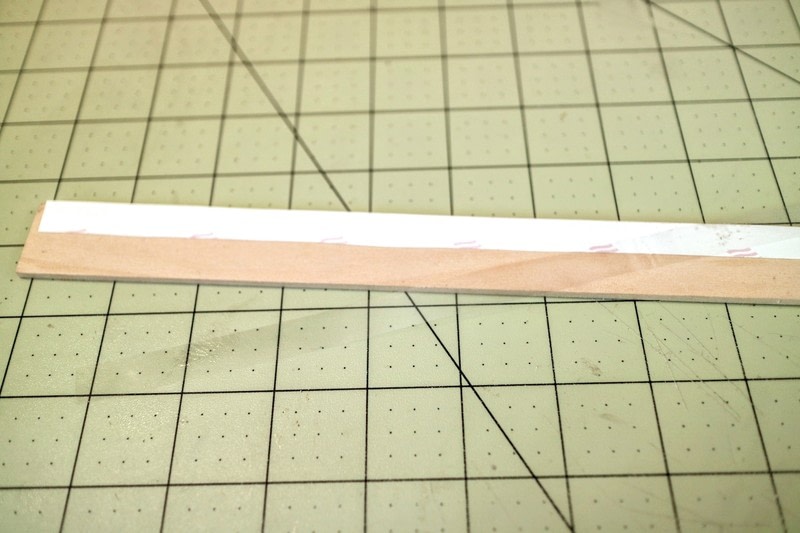
Print out the tattoo attachment on to a sheet of temporary tattoo paper and stick the sheet of adhesive on top.
-
 Step 2
Cut a strip of the centimeter measurement long enough for your ruler.
-
 Step 3
Peel of the adhesive and place the strip face down onto the wood.
-
 Step 4
Take a damp cloth and wet the strip for 15 seconds, making sure to wet the whole strip.
-
 Step 5
Carefully peel back the backing paper to reveal the tattoo transferred to the wood.
-
 Step 6
Repeat the process with the inch strip at the bottom of the ruler, or on the reverse side.
-
 Step 7
Damp this strip and peel off.
-
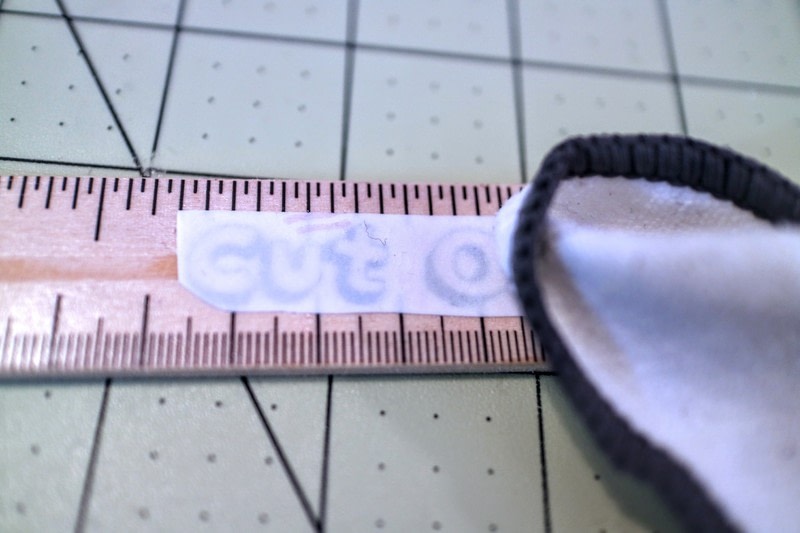
 Step 8
Finally cut out the logo.
-
 Step 9
Stick the logo in the middle of the ruler and damp.
-
 Step 10
Peel off the backing paper to reveal your finished ruler.
-
 Step 11
If you want to add numbers, use a fine liner pen or woodburning tool to neatly add each. Coat with spray varnish and leave to dry.