About
Nail Art
Polka dot pattern is my all time favorite! Whether it's a dress or anything!
Polka dot nail art may seem like 'an-easy-to-do-task' but doing it neatly isn't so easy. But here's a simple and effective way of doing it neatly. All you need is a few ordinary supplies and a steady hand.
Tags
-
 Key West Witch favorited Diy Polka Dot Nail Art
26 Jun 22:41
Key West Witch favorited Diy Polka Dot Nail Art
26 Jun 22:41
-
 Muhaiminah Faiz published her project Diy Polka Dot Nail Art
11 Nov 07:23
Muhaiminah Faiz published her project Diy Polka Dot Nail Art
11 Nov 07:23
-
 Step 1
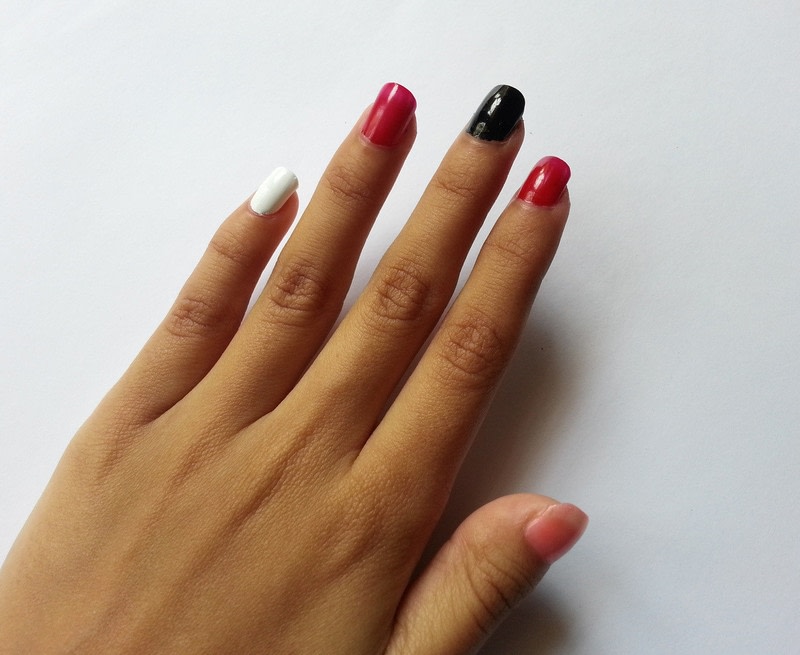
Apply clear nail polish for the base coat. After the base coat dries, apply 3-4 different colored nail polishes, one color for each nail. The color combination should be good. Allow the nail polish to dry.
-
 Step 2
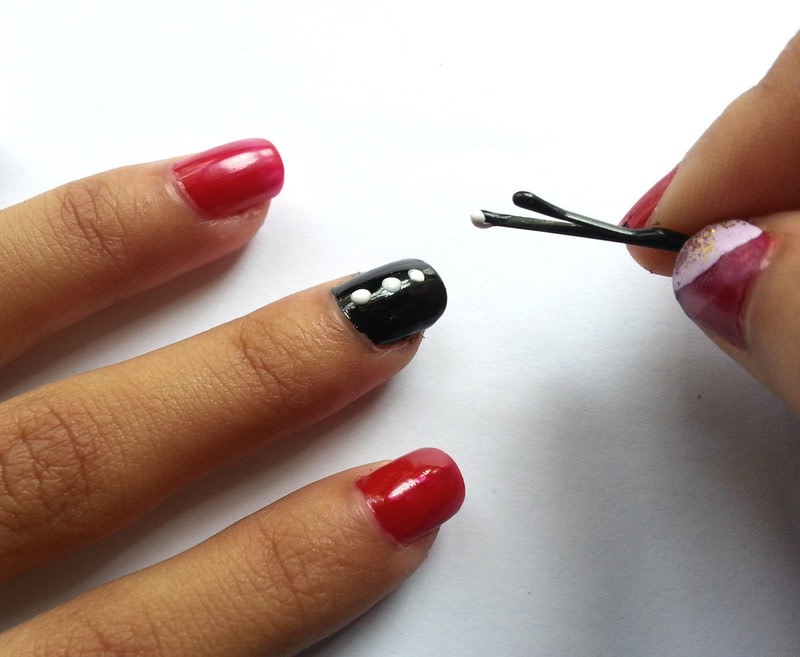
Use the straight part of the bobby pin as it is longer. You can dip the bobby pin into the nail polish, but I thought it would be better to take out the nail polish brush, keep it wet and dab any one of the pins of the bobby pin on the wet brush,
-
 Step 3
The pin should hold only a drop of nail polish,
-
 Step 4
Carefully dab the bobby pin onto your colored nails, dab once for each dot,
-
 Step 5
Do the same for all nails. Apply dark color over light color otherwise the polka dots won't be visible clearly.
-
 Step 6
Dip a cotton swab into the nail polish remover and carefully clean the sides of the nails if necessary.
You may apply another coat of clear nail polish. Polka dots turn out to be cute no matter where you create them.