


About
Minimal work with gorgeous results
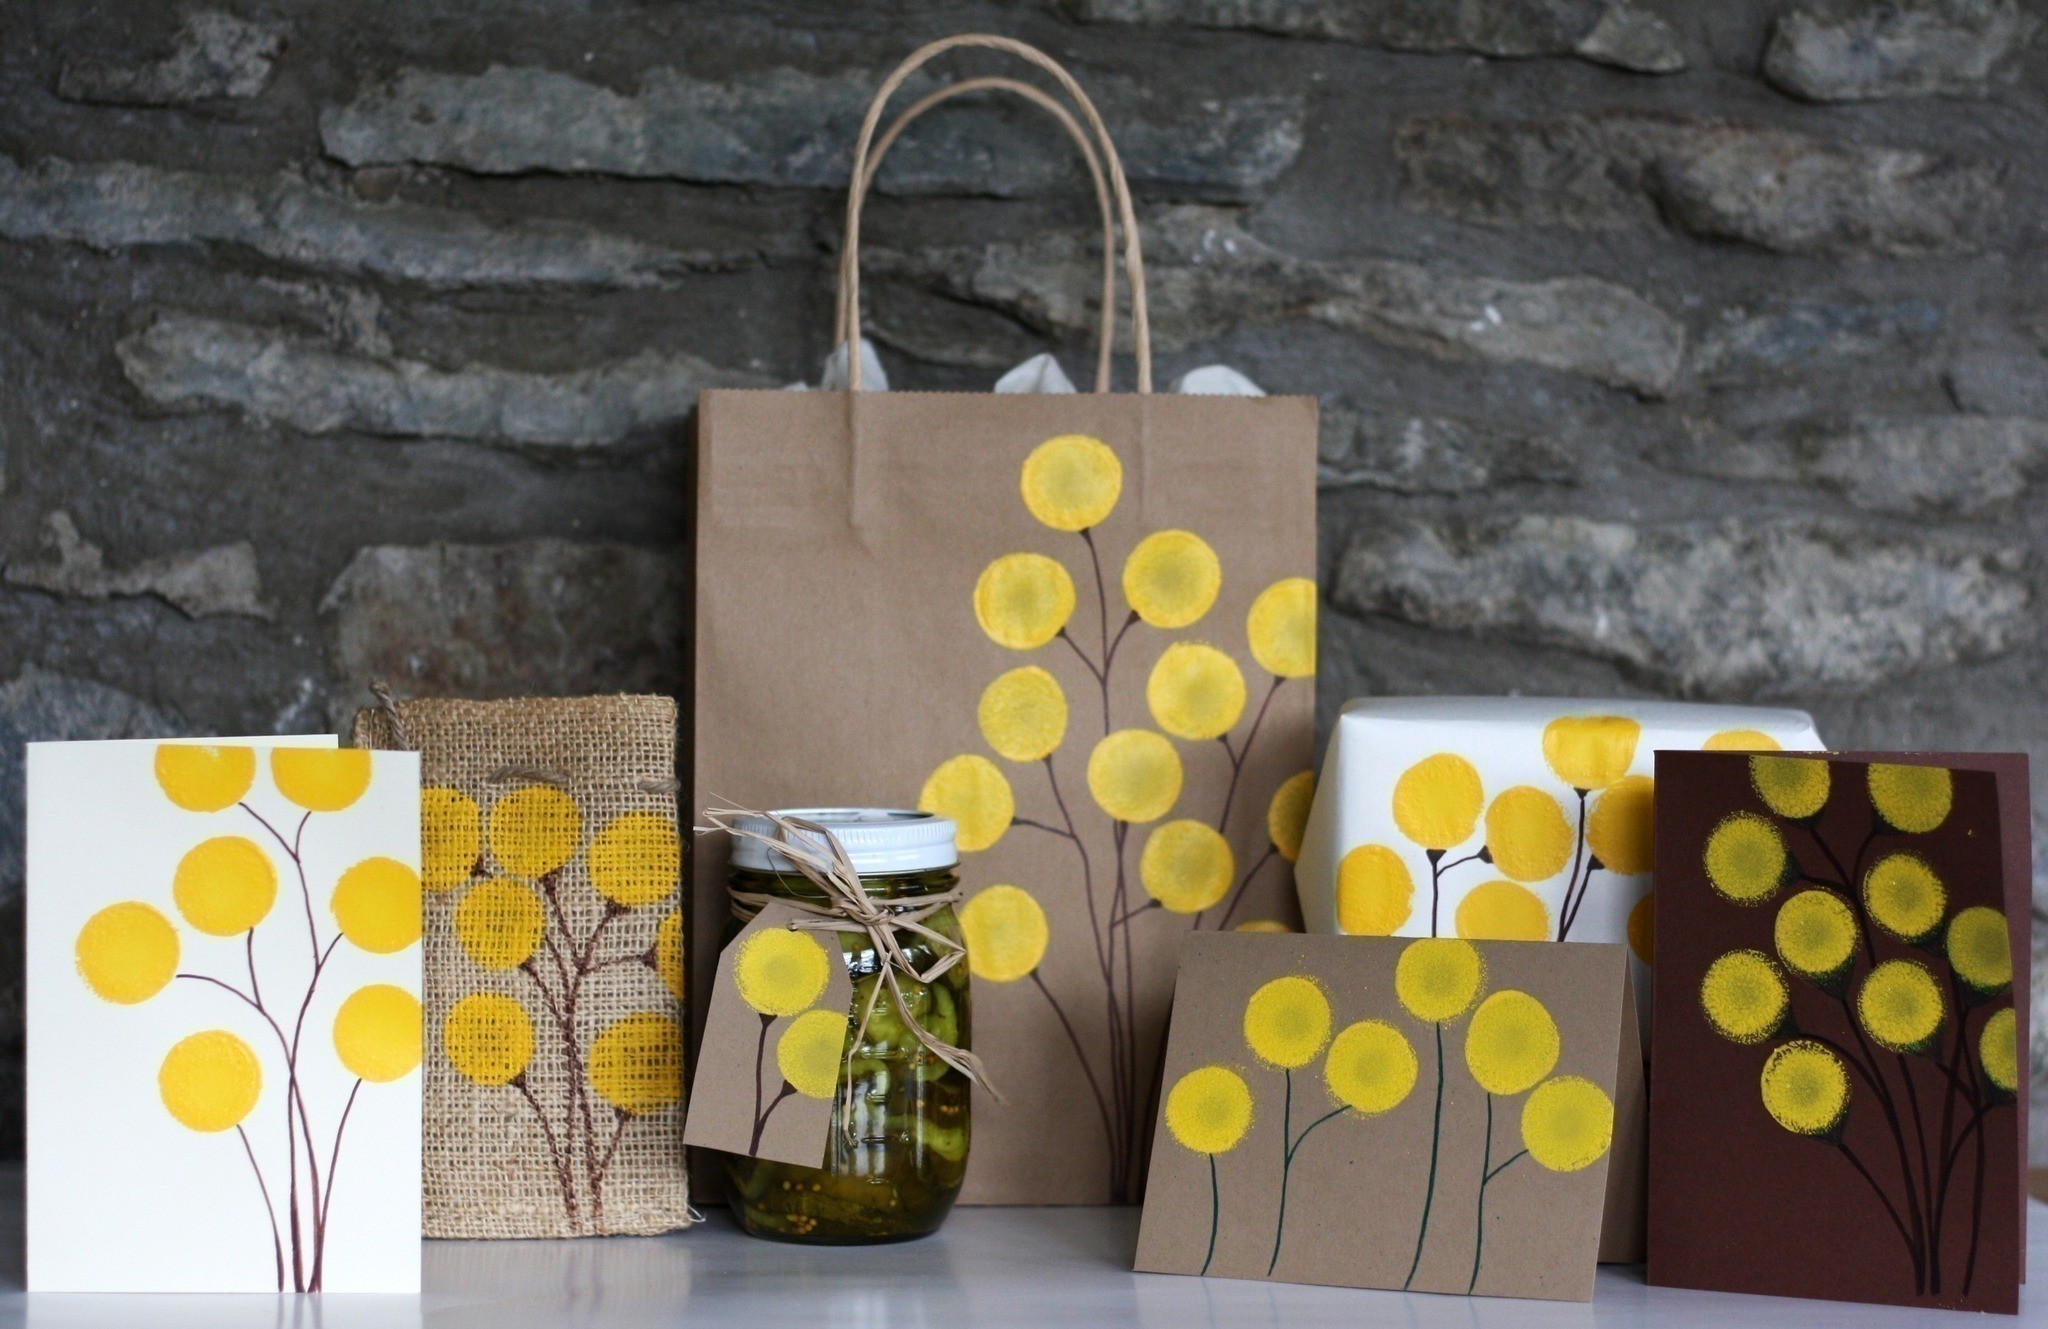
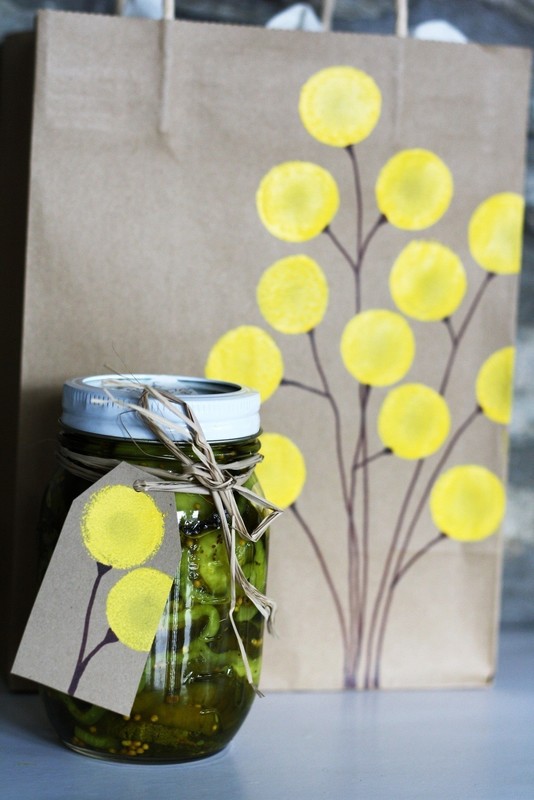
The easiest way to turn ordinary stationary and gift wrap into bright, cheery gifts. Just a few blots of yellow paint with a spouncer. Draw in the stems and done!
-
 Sarah Sylvia S. favorited Diy Painted Billy Balls & Gift Wrap
19 Jul 04:43
Sarah Sylvia S. favorited Diy Painted Billy Balls & Gift Wrap
19 Jul 04:43
-
 witterings favorited Diy Painted Billy Balls & Gift Wrap
13 May 09:34
witterings favorited Diy Painted Billy Balls & Gift Wrap
13 May 09:34
-
 ShortHairedGirl favorited Diy Painted Billy Balls & Gift Wrap
01 Jan 00:23
ShortHairedGirl favorited Diy Painted Billy Balls & Gift Wrap
01 Jan 00:23
- Emma S. favorited Diy Painted Billy Balls & Gift Wrap 06 Nov 16:56
-
 Kimiko G. favorited Diy Painted Billy Balls & Gift Wrap
03 Nov 23:48
Kimiko G. favorited Diy Painted Billy Balls & Gift Wrap
03 Nov 23:48
-
Joann S. favorited Diy Painted Billy Balls & Gift Wrap
26 Oct 20:01
-
Glenda A. commented on Diy Painted Billy Balls & Gift Wrap
22 Oct 13:18
-
 SemiFrugalLife published her project Diy Painted Billy Balls & Gift Wrap
07 Jun 19:57
SemiFrugalLife published her project Diy Painted Billy Balls & Gift Wrap
07 Jun 19:57
-
 Step 1
Decide if you'd like to create a cluster of flowers or flowers sprouting from the bottom of the card/bag. Use a small round foam brush or spouncer dipped in yellow paint to create flower dots. If you'd like more textured flowers, use two coats of paint.
-
 Step 2
Use a paper towel to catch extra paint. This allows you to paint to the edge of the gift wrap to create more realistic flowers.
-
 Step 3
Allow the paint to dry. Then draw in the stems with a fine tipped marker.
-
 Step 4
If you're painting a burlap gift bag, put a piece of cardstock between the two sides so the paint won't bleed through to the other side.


Comments

