


About
easy notepad out of recycled materials
i had this pretty tissue box that i didn't want to just get rid of. so I made a cute notepad!
Tags
-
 Cat Morley commented on Diy Notepad
08 Oct 16:55
Cat Morley commented on Diy Notepad
08 Oct 16:55
-
 Syeyon K. favorited Diy Notepad
29 Sep 13:31
Syeyon K. favorited Diy Notepad
29 Sep 13:31
-
 Pramodini Arela published her project Diy Notepad
25 Sep 23:55
Pramodini Arela published her project Diy Notepad
25 Sep 23:55
-
Step 1
CHOOSE CARDBOARD AND CUT OUT PORTION TO USE. So i chose a tissue box and cut off one of the side panels to be the cover of the pad. this will determine the overall size of your notepad.
-
Step 2
DETERMINE DESIRED WIDTH. I originally planned for the width or spine to be . cm but was having a hard time filling that width with paper. so keep that in mind.
-
 Step 3
CREATE SPINE AND FRONT/BACK FLAPS. measure the length of your whole piece of cardboard. Mine was about 13 cm. subtract the desired spine width ( cm) and divide the remainder by . this will be the amount you measure in on both sides so that you have a cm section right in the middle. Mark these lines on the wrong side of the cardboard.
-
Step 4
SCORE AND BEND. using either scissors or the back of a box cutter, score along those two middle lines and bend the cardboard, creating two flaps and a center spine.
-
Step 5
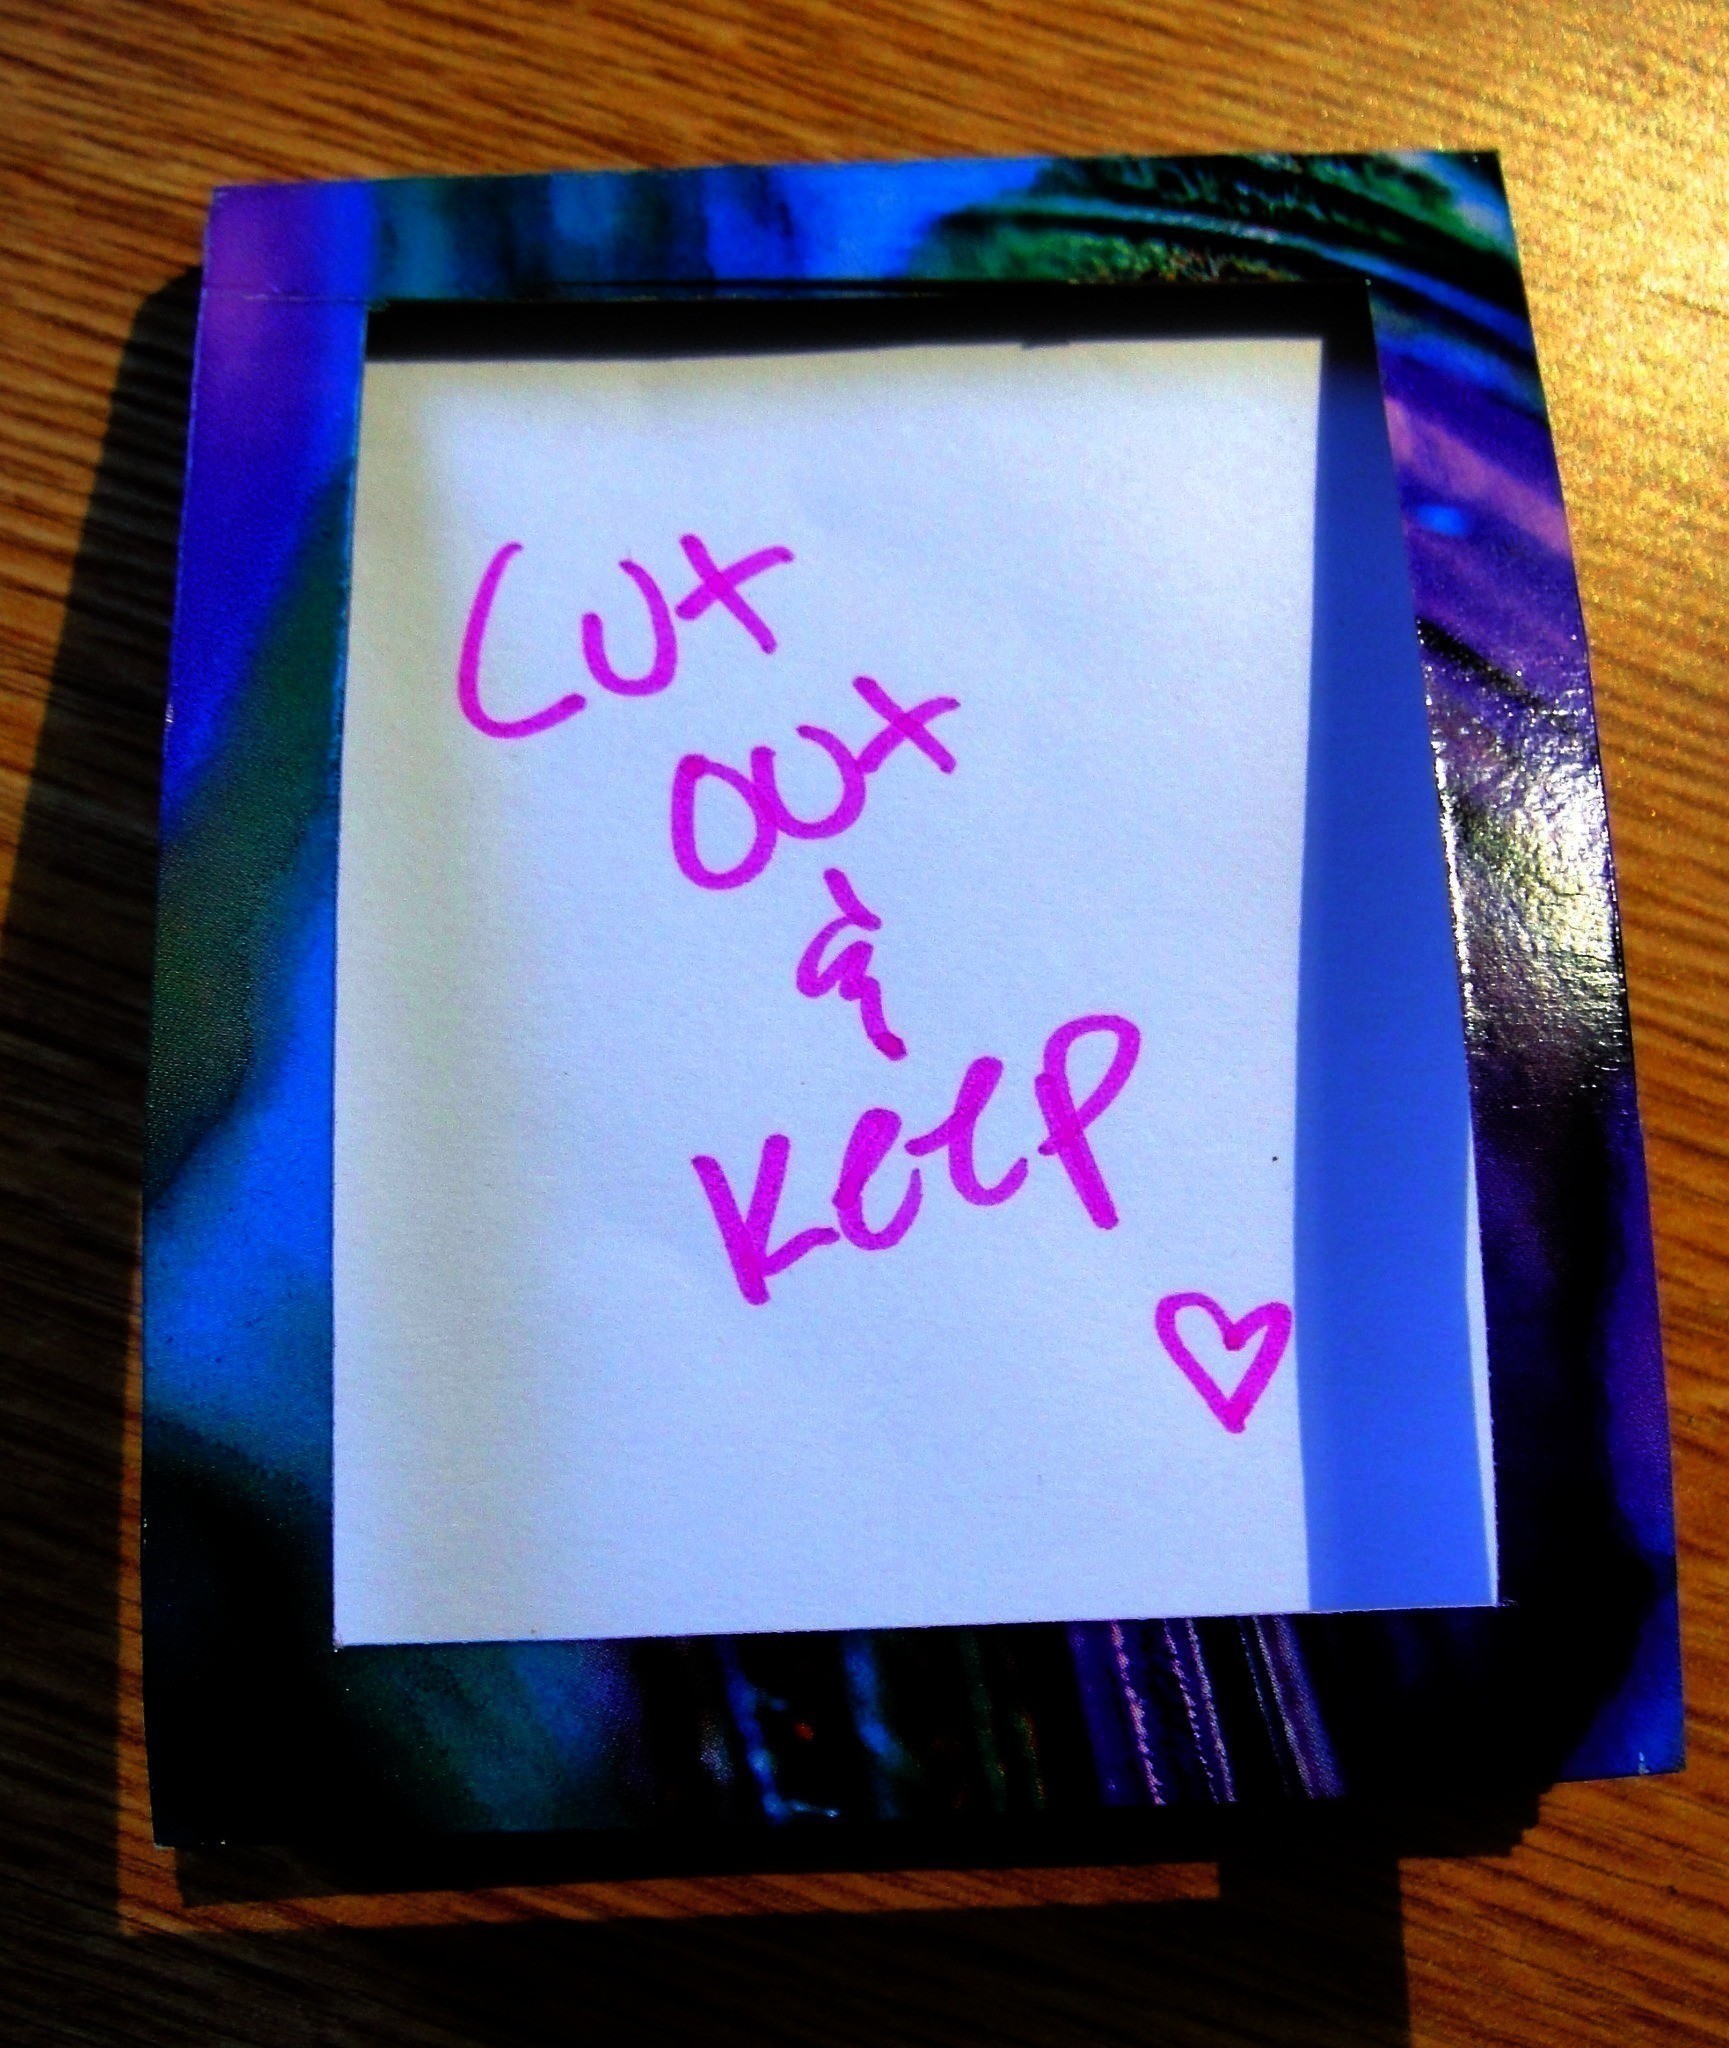
OPTIONAL. cut a frame out of the front flap by measuring 1 cm on all sides of the front flap (not including the spine) and cutting that rectangle out. Or you can just leave it solid.
-
Step 6
DETERMINE PAPER SIZE. measure the width and height of on of the flaps (either the back or front) NOT including the spine. If the measurement isn't a whole number, round it down because it is always better to have smaller than bigger. Mine was bout 8 cm by 10 cm.
-
Step 7
CUT PAPER. Using plain paper, it can be lined or blank, cut pages determined by the paper size. I cut about 45 pages to fill the 1cm spine.
-
Step 8
GLUE PAGES TOGETHER. Stack the pages and neatly as possible and clamp along both sides to hold in place (not along the top edge) along the top edge smear glue. You really want to get it into the cracks so that the pages stick together but not so much that it just makes the pages ripple.
-
Step 9
ADD MORE CLOTHESPINS. clamp along the top edge with the glue but try to avoid the glue so it doesn't stick to the clothespins
-
Step 10
LET DRY THEN REMOVE CLOTHESPINS.
-
Step 11
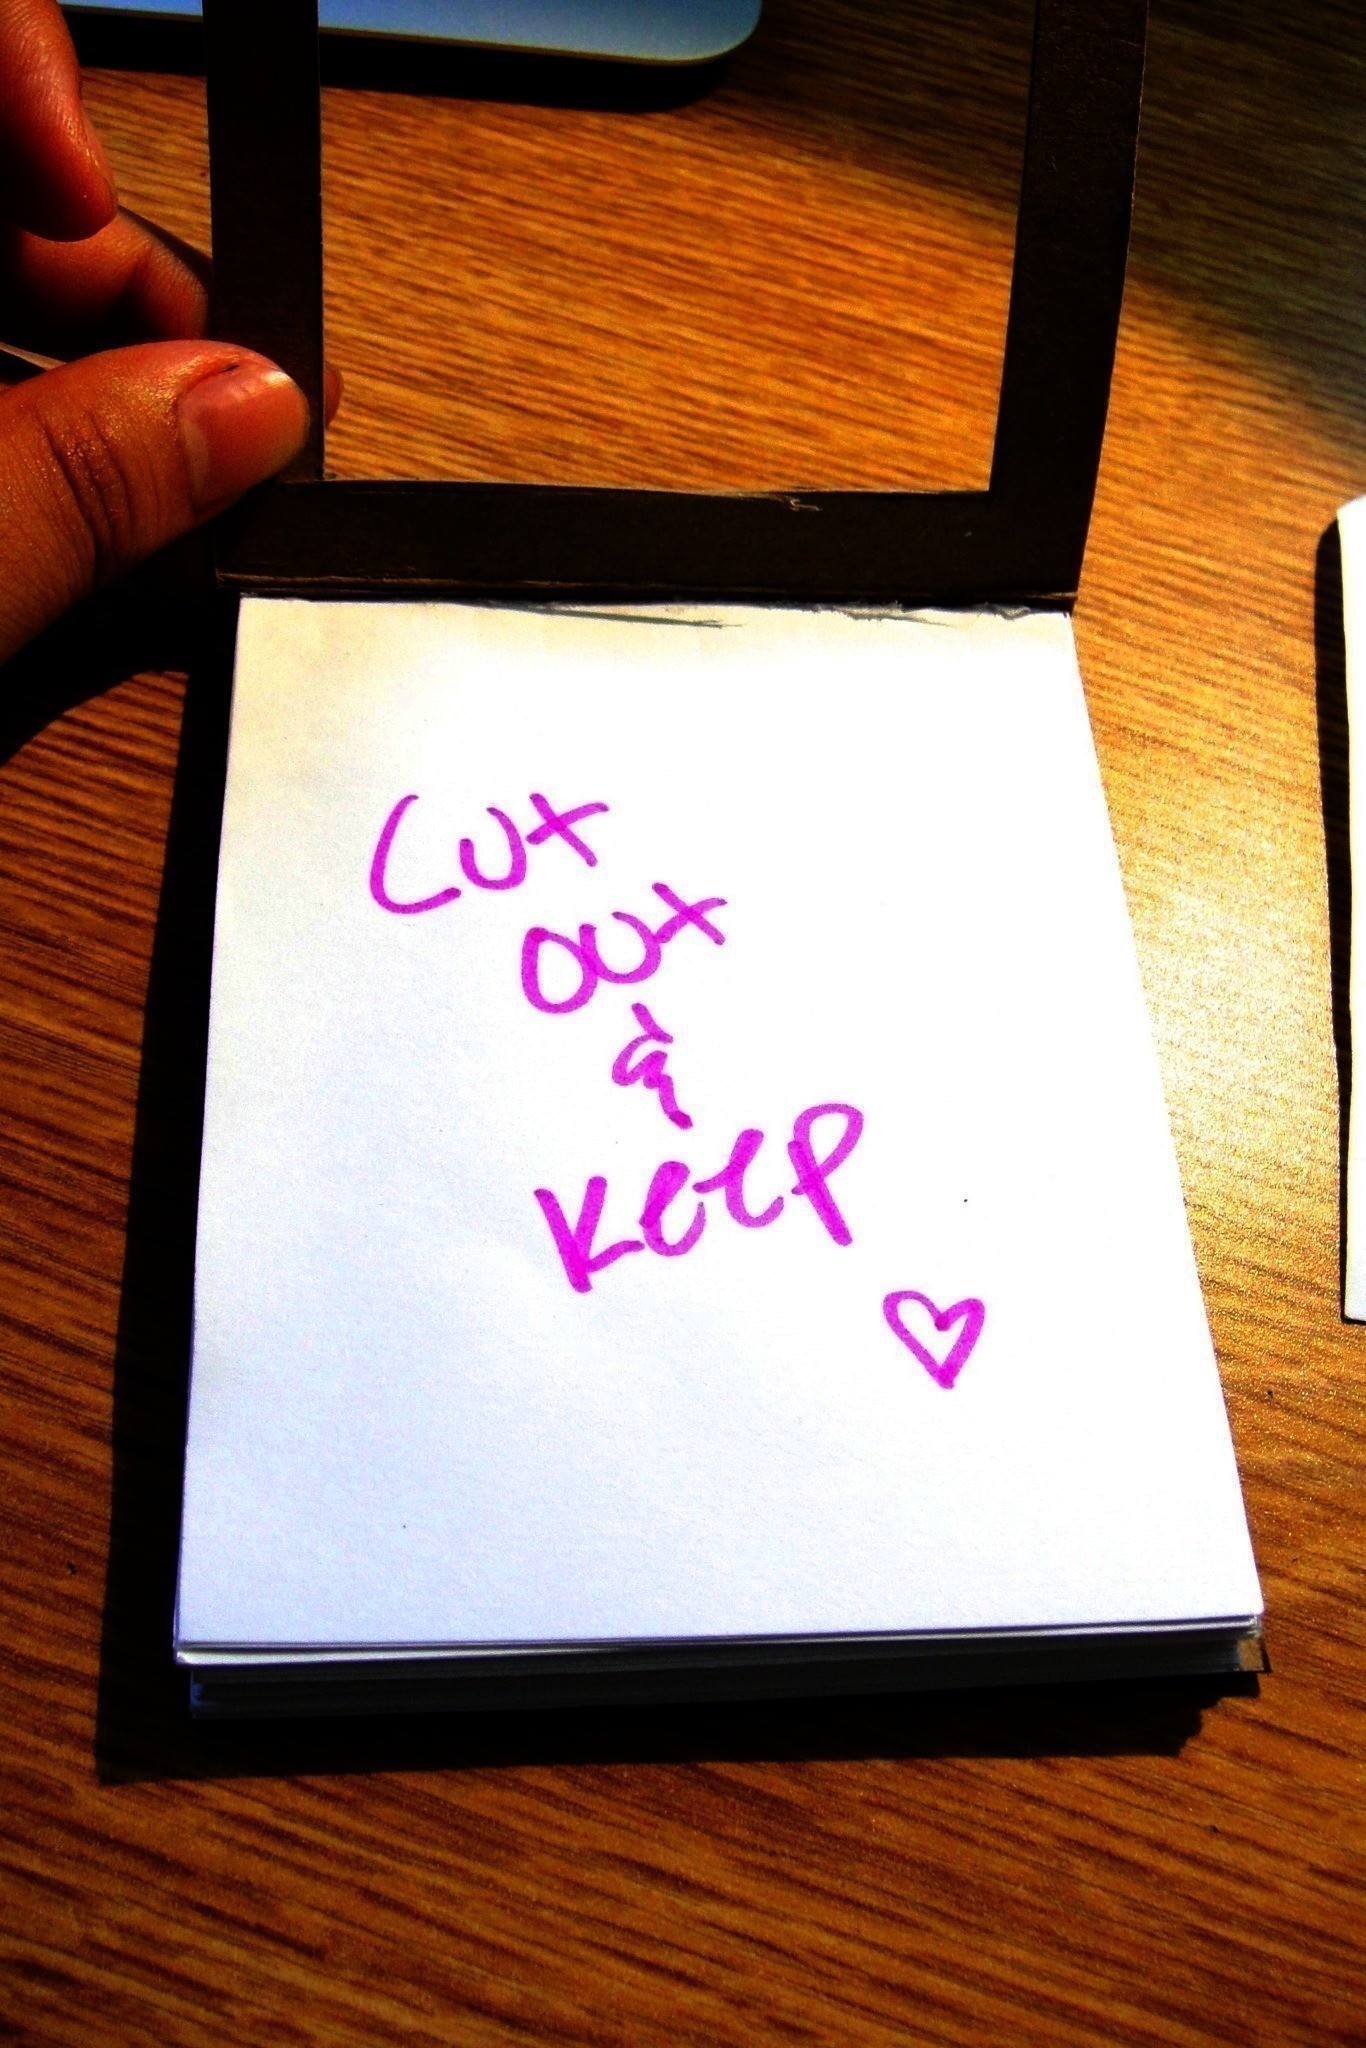
ATTACH TO COVER. glue on the back piece of paper and put it on the back flap, lining the edge up with the closest score line. Let it set and then add glue to the top edge where you did before and press it to the spine.
-
Step 12
LET DRY COMPLETELY.
-
Step 13
WRITE A CUTE NOTE!

Comments


