

About
How to make a multi-colored beaded necklace
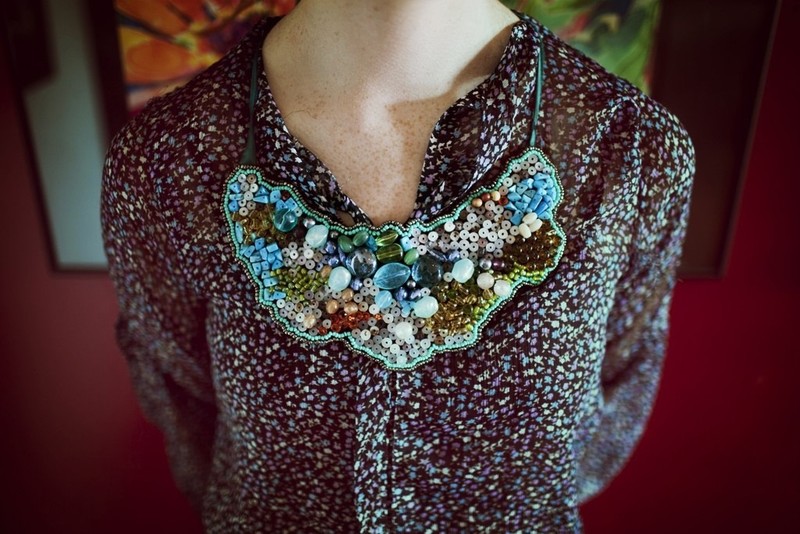
Today I'm posting the tutorial on how to make the Multi-Colored Beaded Necklace that I made in my previous post. Here are the steps on how to make one yourself!
-
 Key West Witch added Diy: Multi Colored Beaded Necklace to Jewelry
30 Jun 01:51
Key West Witch added Diy: Multi Colored Beaded Necklace to Jewelry
30 Jun 01:51
-
 Kimya J. favorited Diy: Multi Colored Beaded Necklace
28 May 02:34
Kimya J. favorited Diy: Multi Colored Beaded Necklace
28 May 02:34
-
 Kyara S. favorited Diy: Multi Colored Beaded Necklace
03 Oct 22:58
Kyara S. favorited Diy: Multi Colored Beaded Necklace
03 Oct 22:58
-
 Babsi's Bean Burgers favorited Diy: Multi Colored Beaded Necklace
03 May 22:51
Babsi's Bean Burgers favorited Diy: Multi Colored Beaded Necklace
03 May 22:51
-
 Tierra T. favorited Diy: Multi Colored Beaded Necklace
16 Nov 21:38
Tierra T. favorited Diy: Multi Colored Beaded Necklace
16 Nov 21:38
-
 Ashley H. favorited Diy: Multi Colored Beaded Necklace
12 Oct 20:48
Ashley H. favorited Diy: Multi Colored Beaded Necklace
12 Oct 20:48
-
 Ariane D. favorited Diy: Multi Colored Beaded Necklace
03 May 05:14
Ariane D. favorited Diy: Multi Colored Beaded Necklace
03 May 05:14
-
 NellyTimeBOMB favorited Diy: Multi Colored Beaded Necklace
02 Apr 17:14
NellyTimeBOMB favorited Diy: Multi Colored Beaded Necklace
02 Apr 17:14
-
 mmotse03 favorited Diy: Multi Colored Beaded Necklace
25 Feb 00:47
mmotse03 favorited Diy: Multi Colored Beaded Necklace
25 Feb 00:47
-
 Alyssa D. added Diy: Multi Colored Beaded Necklace to Not quite but close
18 Jan 03:35
Alyssa D. added Diy: Multi Colored Beaded Necklace to Not quite but close
18 Jan 03:35
-
 Step 1
Collect/find your items. This is the most fun part in my opinion. If you've ever been a crafter you know what I mean when I say the notorious, "random bobble box." It's that box (or boxes) where you keep all your random, pretty, things that you've found over the years and think you might use one day. Well now's your time to go through it! Take out whatever looks visually interesting to you.
If you don't have a random bobble box - no worries! Wal-Mart has an incredible $1 bead bin that has all sort of things you can use. You can also take apart old costume jewelry, or go to the clearance jewelry section and buy a cheap necklace to deconstruct and use for parts. For this necklace I used a plethora of random beads, old necklaces I took apart, and a few of those glass stones that are put in outside gardens. You can use anything!
-
 Step 2
Now's your time to start laying out your pattern on a piece of felt and choose where you want your items to go. There's no right or wrong way to do this, just play around with what looks pleasing to you.
-
 Step 3
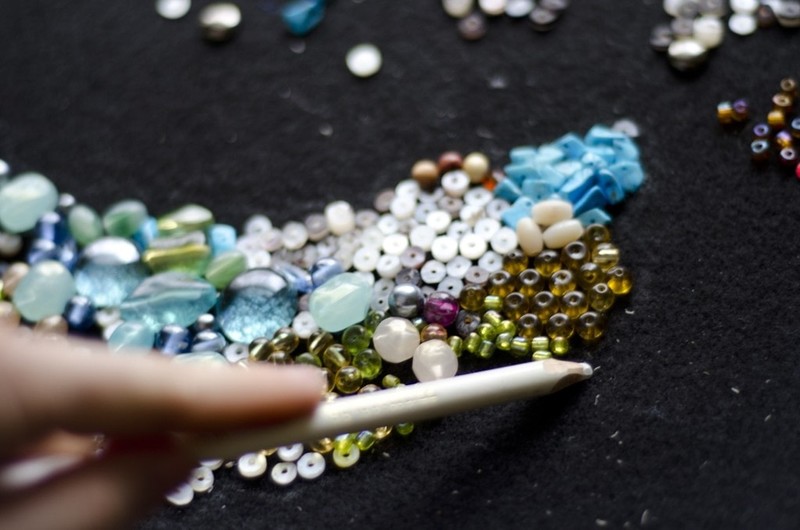
Once you have a basic, solid idea of what you want your necklace to look like, outline the shape with a chalk pencil.
-
 Step 4
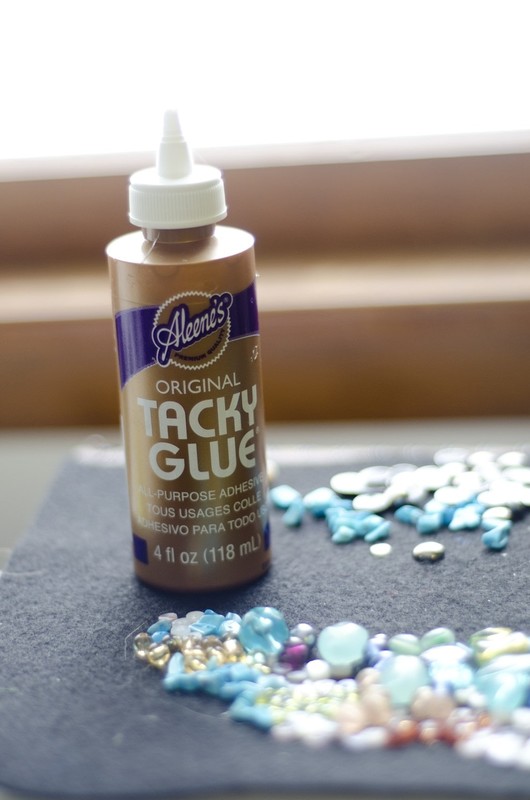
Next start gluing down your objects using a strong fabric glue.
-
 Step 5
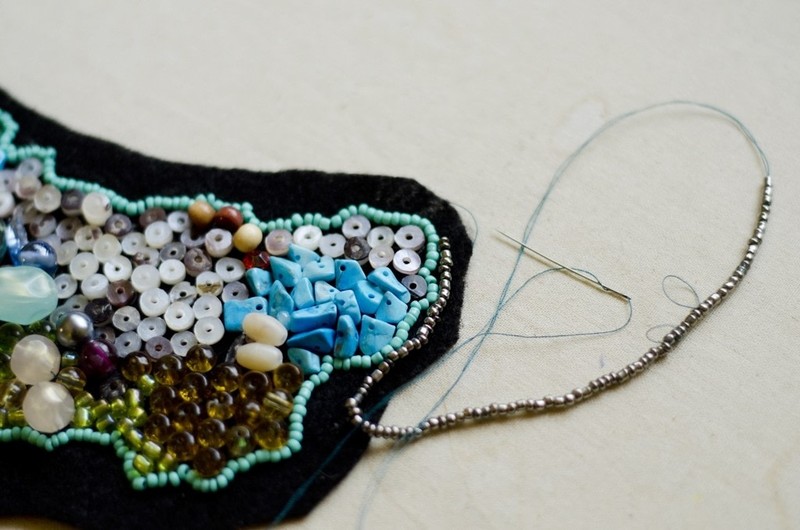
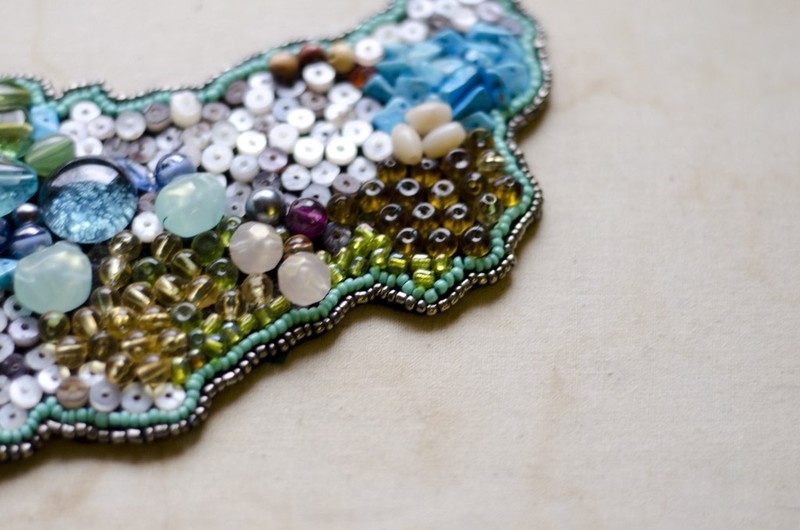
Once your bead are glued down into place you can cut out your design (leave a few extra centimeters around all the edges). Now if you'd like, you can outline your design with a row of fun colored seedbeds for a finished look. You can make as many rows as you want (I did two).
Tip: Instead of sewing each bead one by one, I put a bunch of them onto the thread so there's already a long strand of beads. Then I sewed that string of beads onto the edges. This makes the process go much faster and it looks more polished than sewing each bead one by one.
-
 Step 6
Now carefully cut off the extra felt.
-
 Step 7
The very last thing to do is attach a ribbon or chain to the backside of the necklace. If you already have a necklace that you took apart and it has a chain with a clasp already attached that makes it even easier for you! I decided to use ribbon so I'll be sewing that onto the back. If your ribbon is the kind that frays take a lighter or clear finger nail polish and go over the cut edges so it won't unravel.
-
 Step 8
Now enjoy your finished necklace!