About
Make a DIY Jeweled Triangle Necklace
-
 GiftedDiva24 added Diy Jeweled Triangle Necklace to Diy Jewelry
11 Mar 13:26
GiftedDiva24 added Diy Jeweled Triangle Necklace to Diy Jewelry
11 Mar 13:26
-
GiftedDiva24 favorited Diy Jeweled Triangle Necklace
18 Dec 17:52
-
 kokosza favorited Diy Jeweled Triangle Necklace
14 Jul 19:56
kokosza favorited Diy Jeweled Triangle Necklace
14 Jul 19:56
-
 Roaa A. added Diy Jeweled Triangle Necklace to may
04 Feb 04:32
Roaa A. added Diy Jeweled Triangle Necklace to may
04 Feb 04:32
-
 eFenuska added Diy Jeweled Triangle Necklace to Jewelry and Accessories
29 Apr 17:07
eFenuska added Diy Jeweled Triangle Necklace to Jewelry and Accessories
29 Apr 17:07
-
 HylianWriter534 favorited Diy Jeweled Triangle Necklace
27 Feb 01:57
HylianWriter534 favorited Diy Jeweled Triangle Necklace
27 Feb 01:57
-
 Alex Poser added Diy Jeweled Triangle Necklace to Accessories
10 Jan 21:27
Alex Poser added Diy Jeweled Triangle Necklace to Accessories
10 Jan 21:27
-
 Allyne favorited Diy Jeweled Triangle Necklace
01 Jan 21:56
Allyne favorited Diy Jeweled Triangle Necklace
01 Jan 21:56
-
 cristinakilljoyway favorited Diy Jeweled Triangle Necklace
01 Jan 17:47
cristinakilljoyway favorited Diy Jeweled Triangle Necklace
01 Jan 17:47
-
 Valeria favorited Diy Jeweled Triangle Necklace
02 Dec 08:53
Valeria favorited Diy Jeweled Triangle Necklace
02 Dec 08:53
You Will Need
-
 Step 1
Black leather (or faux)
Black cord or lacing (15 inches or more, depending on your length of necklace)
4 fold-over crimp ends
4 jump rings
Lobster clasp'
Super glue
Scissors
Rhinestones in setting (mine are broken off from earrings and necklace from this project. If you can't find rhinestones at the craft store, try cheap jewelry stores like for earrings like these or these)Optional but adds a nice finished look: leather punch, rivets, and rivet setter.
-
 Step 2
Using the super glue to attach the jewels to the leather. A toothpick to apply the glue helps keep the mess down. Let the jewels dry for several hours.
-
 Step 3
Cut the leather around the jewels into the shape of a triangle.
-
 Step 4
Using scissors or a leather punch, poke holes into each corner of the leather. If using eyelets, insert into the holes and set the rivets.
-
 Step 5
Cut your cord into two pieces for your desired length of necklace. Mine were 7 1/2 inches each. Using the pliers, fold over the the crimps onto each piece of the cord, one on each end. Attach each cord to the leather triangle with a jump ring.
-
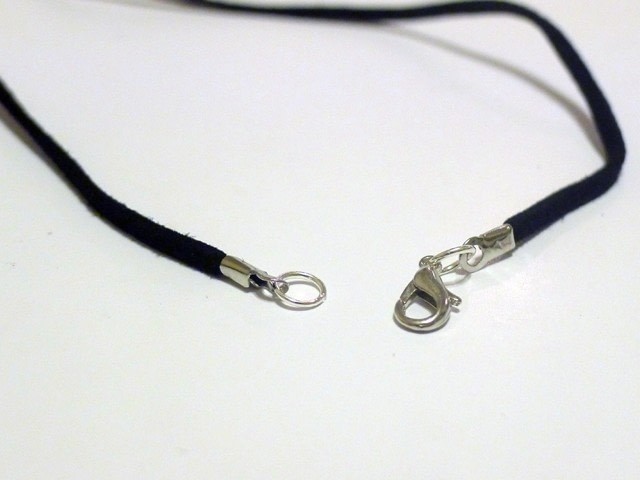
 Step 6
On the other ends of the cord, attach the other jump rings and clasp.
-
 Step 7
You're done!