


About
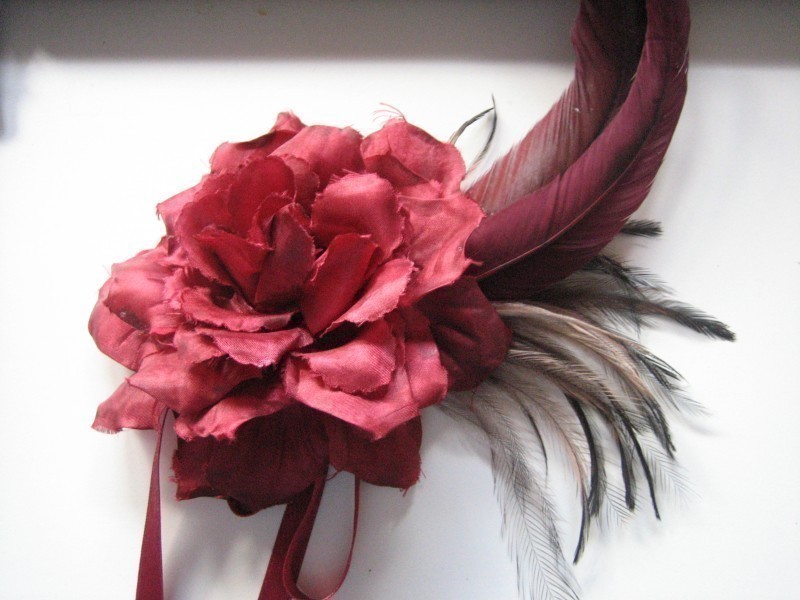
Flower and Feather Fascinator
Fascinators from department stores can easily start from $50 and go into the hundreds. Those are ridiculous prices for some relatively cheap components and putting together a fascinator yourself is easy. I have been complimented far more times on my homemade fascinator than any ones I’ve bought and the materials cost me only about $15.
I realise that fascinators come in many different styles and use a lot of different materials, but I’m going to teach you how I fudged my own and then you can experiment with different styles and shapes.
Tags
-
 Key West Witch favorited Diy Fascinators
28 Jun 23:02
Key West Witch favorited Diy Fascinators
28 Jun 23:02
-
 Marc H. added Diy Fascinators to Fascinator
13 Apr 06:44
Marc H. added Diy Fascinators to Fascinator
13 Apr 06:44
-
 Deven Q. favorited Diy Fascinators
09 Mar 03:01
Deven Q. favorited Diy Fascinators
09 Mar 03:01
-
 Jackkie added Diy Fascinators to Maeve Millay
05 Jan 15:11
Jackkie added Diy Fascinators to Maeve Millay
05 Jan 15:11
-
 Agnes W added Diy Fascinators to SJP
23 Mar 00:48
Agnes W added Diy Fascinators to SJP
23 Mar 00:48
-
 Stephanie H. favorited Diy Fascinators
25 Jun 15:29
Stephanie H. favorited Diy Fascinators
25 Jun 15:29
-
 rhiannonfaun favorited Diy Fascinators
02 Dec 16:09
rhiannonfaun favorited Diy Fascinators
02 Dec 16:09
-
 Anna Bean added Diy Fascinators to Regina Spektor
22 Oct 23:28
Anna Bean added Diy Fascinators to Regina Spektor
22 Oct 23:28
-
 NJ T. favorited Diy Fascinators
25 Sep 14:21
NJ T. favorited Diy Fascinators
25 Sep 14:21
-
NJ T. commented on Diy Fascinators
22 Sep 00:00
You Will Need
-
Step 1
Planning
Google some images and figure out a general shape for your fascinator and this is really the hardest part of “making” the fascinator.
Some questions to think about:
Which direction do you want your feathers to go?
Do you want the feathers to stick out above your head, towards the back or follow the curve of your skull?
How long do you want your feathers to be?
Do you want layers of feathers with different types, lengths or colours?
Decide on a centrepiece of the fascinator – basically something that will cover the glue and the ends of the feathers. It can be just some ribbon, it can be an old pendant or stamping you don’t use, an old brooch, some beaded trim, a fabric flower, etc. Your feathers will extend out from this item so to some extent this will determine the minimum length your feathers will need to be.I chose a silk flower that I already owned with some clips at the back, but you can make fabric flowers and add the clips yourself or buy them on your shopping trip. Alternatively if you have any fake flowers lying around you can snip off the stem (and sometimes the stem is made to be be detatched) and use some glue or duct tape to secure the ends.
Your planning doesn’t have to be very detailed and you don’t have to decide on everything at the moment but these are some things you should start thinking about so you don’t get buyers’ remorse. At the very least decide on the length(s) of feathers you need and a colour scheme.
-
 Step 2
Shopping
Your local craft or fabric store should have everything you need. Grab a few different feather choices and muck about with how the feathers and arrangement might look. You might also want to look into some Russian Veiling, different sort of clips and bases. If the craft store doesn’t have it, or you’re not sure what it’s called then check Etsy.
Fake/silk flowers seem to be the default centrepiece, but if you want a more upmarket sort of look you might want to go to thrift stores for cheap vintage-style jewelled brooches.
-
 Step 3
Assembling
I’m going to show you how I specifically created my own fascinator. You can follow my instructions exactly if you want to, but I encourage you to experiment a little or a lot.
Supplies:
Silk flower: $5
Cocktail feathers: $7 for a pack of 6
Emu feathers: $4 for a bunch
Ribbon: $1 for a short spool.
I chose emu feathers because they were short and very small, thin and light. The centre of the feather has very little support and so gravity pulls them down. They curve downwards when worn instead of sticking straight out of the back of my head.I chose these cocktails feathers because they were longer than the emu ones, had good support at the base but also had a little curve at the top. I didn’t want them to stick straight out above my head.
-
 Step 4
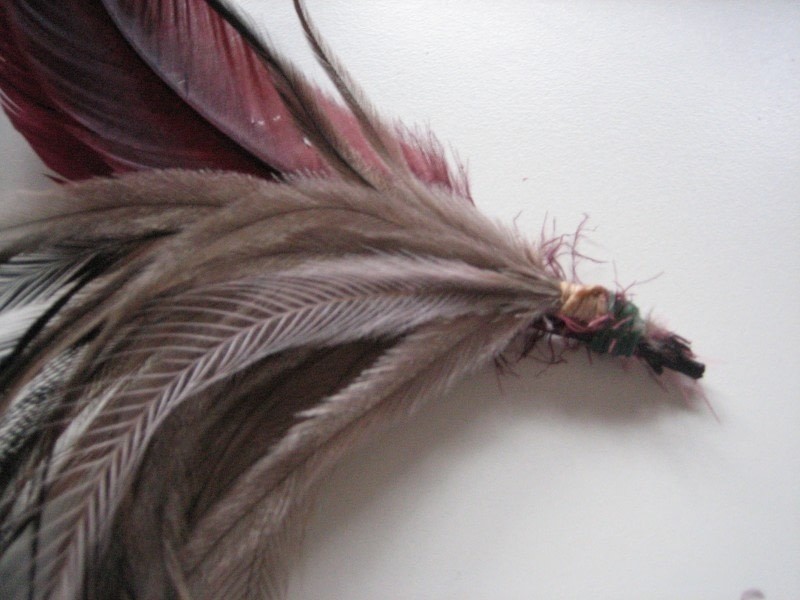
The emu feathers came tied together in a bunch, so I had the brainwave of using another tiny rubber band to tie the cocktail feathers onto the emu bunch. A lot easier, secure and less messy than glue. It also means the bunches can come undone if you make a mistake.
-
 Step 5
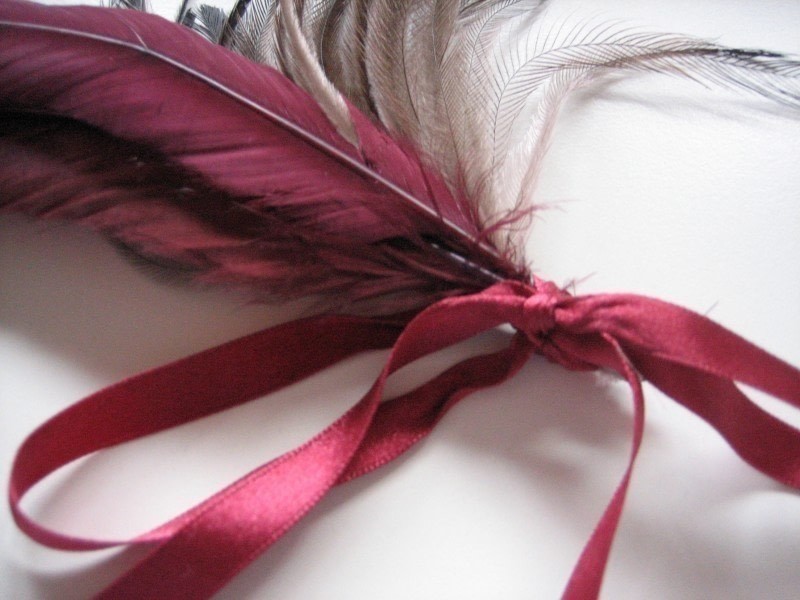
I tied some ribbon over the rubber band to hide them. It will also make the feathers easier to glue and attach onto the flower. I left a lot of ribbon free so it would actually form part of the fascinator and hang down from flower.
-
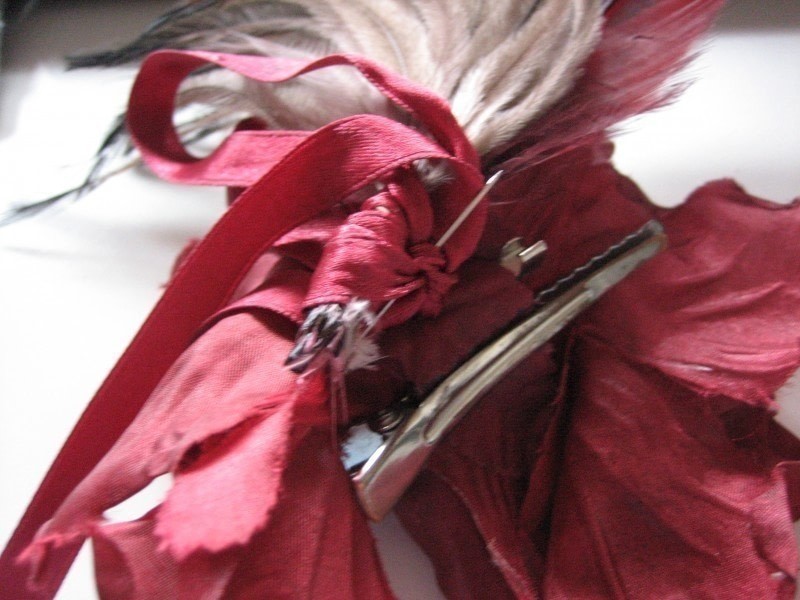
 Step 6
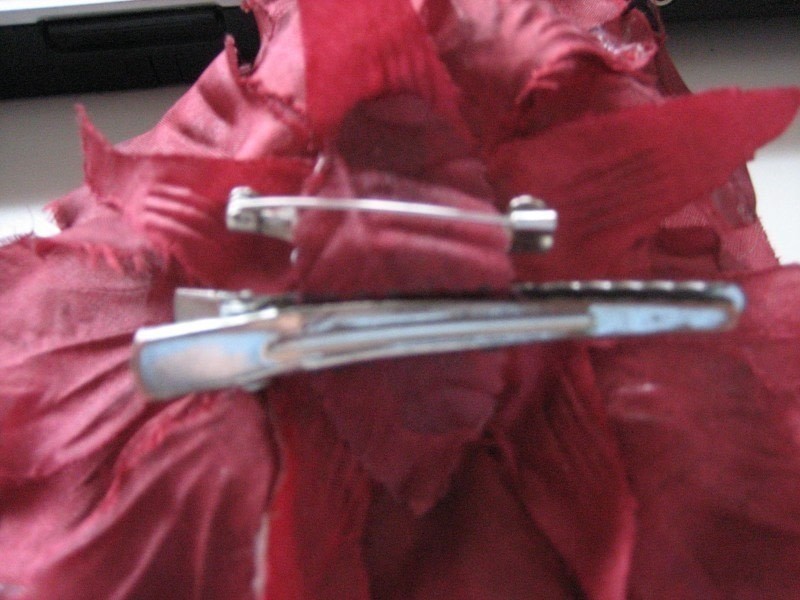
The back of my flower had a clip and brooch attachment which meant that that I didn’t have to use any glue. I simply attached the ribbon to the brooch needle. If you don’t have that option you could also use a needle and sew the ribbon onto the back of the flower, or take a bit of material (or more ribbon) and glue it over the back of the flower and the base of the feathers. If your flower doesn’t have a clip you can attach it in the same way as the feathers.
-
 Step 7
This fascinator has got me so many compliments and it took me only all of ten minutes to make! Awesome!
-
 Step 8
Awesome Face:
Let me know if you have any problems with this tutorial!


Versions

Comments

