About
Beautiful, Simple and Easy
This kit was given to me free via CutOutAndKeep and MakersKit to test, review and make this tutorial. Who doesn't love getting free crafting supplies, let alone DIY Kits?! Of course I was going to say yes! This kit is a DIY Dream Catcher Kit. It is beautiful, simple and pretty easy to make. If you don't want to purchase the kit, you only need a few items from your local craft store to get started and make your own beautiful dream catcher to get rid of those unwanted nightmares or just to hang on a wall as a beautiful piece of wall art.
The link for the this kit is listed below (It is a set so it comes with a DIY Vial Terrarium Necklace Kit, and yes there will be a tutorial for that as well):
http://makerskit.com/collections/experience-gift-boxes/products/18k-gold-filled-vial-terrarium-necklace-kit-dream-catcher-kit?variant=2984885828
-
 SassyGinger_24 published his project Diy Dream Catcher Via Makers Kit
08 Jun 20:57
SassyGinger_24 published his project Diy Dream Catcher Via Makers Kit
08 Jun 20:57
-
 Step 1
This is the kit before I opened it to get ready to make this awesome Dream Catcher!
-
 Step 2
Everything out of the kit!
-
 Step 3
Now to get started, you want to anchor your twine on to the hoop with a tight double knot as shown and you want to cut your twine to about 10 ft or so which will be more than enough to do this 7" hoop.
-
 Step 4
First you need to decide how many points you want your dream catcher to have in the first row, I did 6 and evenly spaced them around the hoop. In order to secure each point to the hope you bring the twine around under the hoop as shown.
-
 Step 5
Then you bring the twine through the hoop then down through the gap between the hoop and twine and pull tight as shown.
-
 Step 6
Keep doing that until you get all the way around the hoop and you are back to the knot. From there you repeat steps 4 and 5 but this time instead on the hoop you do it in the middle of each section of twine as shown. Just make sure you keep your tension tight. If you wish to add beads all you do is string them on and keep going as normal and when you get back around to the section of twine the bead is on push it to one side and keep going.
-
 Step 7
Once you get to the middle and are ready to end it, tie another tight double or triple knot and cut the excess twine off.
-
 Step 8
Now that you've cut the excess twine off you are ready to add the leather cord, feathers and any other items you wish to hang off the Dream Catcher.
-
 Step 9
Cut the cord to whatever length you wish to use to hang the Dream Catcher with and secure it to the hoop, I chose to attached it where I tied the twine knot so that it would hide the knot and seem almost seamless.
-
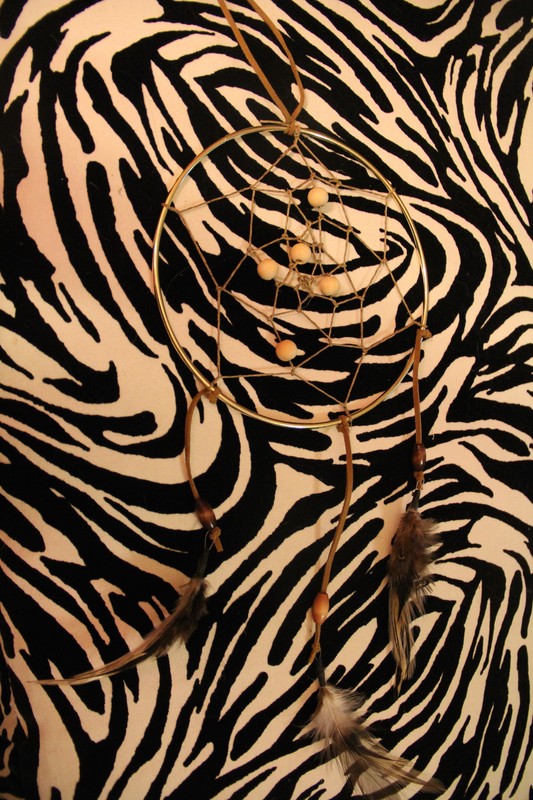
 Step 10
Then cut 3 more pieces of cord and tie the feathers on to each end and string any beads on you wish and secure them to the bottom of the hoop. Some people may chose to have other colored leather cord and add leather braids that hang off as well. Once you are done it is ready to hang up either above your bed or on a wall as a accent piece.