


About
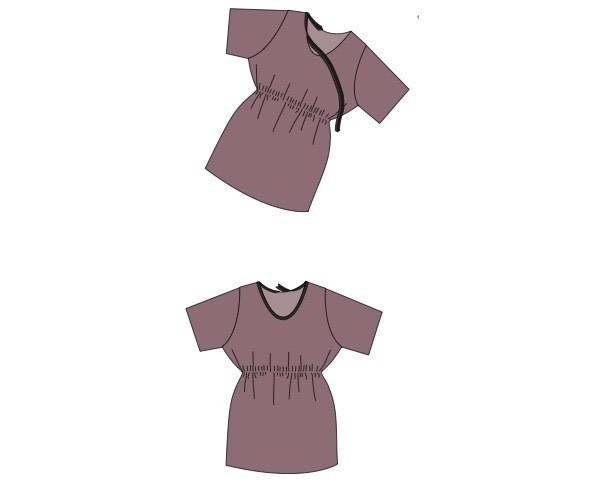
Transform a mans T-shirt into a classical tunic dress.
This can look smart in a plain, dark colour or boisterous and playful with a colourful printed T-shirt.
-
 Key West Witch favorited Diy Couture Tshirt Dress
27 Sep 23:14
Key West Witch favorited Diy Couture Tshirt Dress
27 Sep 23:14
-
 Melissa S. favorited Diy Couture Tshirt Dress
10 Jun 03:27
Melissa S. favorited Diy Couture Tshirt Dress
10 Jun 03:27
-
 witterings favorited Diy Couture Tshirt Dress
14 May 01:16
witterings favorited Diy Couture Tshirt Dress
14 May 01:16
-
 Shelly S. added Diy Couture Tshirt Dress to refashion
23 Aug 03:29
Shelly S. added Diy Couture Tshirt Dress to refashion
23 Aug 03:29
-
Shelly S. favorited Diy Couture Tshirt Dress
23 Aug 03:29
-
 Darlene G. favorited Diy Couture Tshirt Dress
26 Jul 23:15
Darlene G. favorited Diy Couture Tshirt Dress
26 Jul 23:15
-
 Hgosn1 favorited Diy Couture Tshirt Dress
30 Jun 14:49
Hgosn1 favorited Diy Couture Tshirt Dress
30 Jun 14:49
-
denise n. favorited Diy Couture Tshirt Dress
27 Apr 19:51
-
 Jacquie D. favorited Diy Couture Tshirt Dress
07 Feb 02:24
Jacquie D. favorited Diy Couture Tshirt Dress
07 Feb 02:24
-
 Alma added Diy Couture Tshirt Dress to Recycling T-shirts
22 Dec 22:49
Alma added Diy Couture Tshirt Dress to Recycling T-shirts
22 Dec 22:49
You Will Need
-
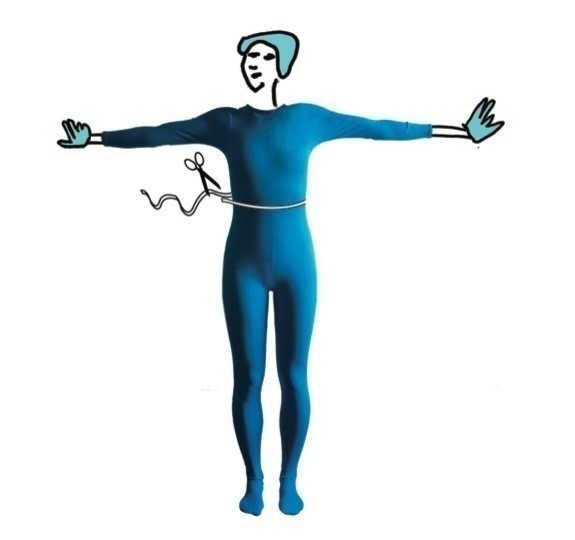
 Step 1
Find a T-shirt that is long enough to be a dress. Try your T-shirt on inside out. Make a mark where you want your dress to cling to your body. This could be at your waist or under your bust. Take the T-shirt off. Draw a horizontal line with chalk all the way around it at the level you made the mark.
-
 Step 2
Cut a piece of elastic the same length as the distance around your waist (or under your bust).
-
 Step 3
Mark the middle point of this elastic by folding it in half and putting in a pin at the fold.
Position your elastic over the line you marked on your T-shirt. Put the sewing machine foot - and needle - down on top of them. With your right hand, gently pull the elastic towards you so the pin reaches the side seam of your T-shirt. This ensures you sew exactly half of your elastic onto each side of your t-shirt, so your folds will fall evenly.
-
 Step 4
Begin sewing slowly with straight stitch onto your elastic. As you sew, check that you are attaching your elastic to the line you marked with chalk.
Continue sewing your elastic to the line until you come back to the place you started. Trim your elastic.
-
 Step 5
If you like, you can trim the neck of your dress to make a deeper, more elegant, neckline.
-
 Step 6
You can leave this edge ‘raw,’ as T-shirt fabric will not come unravelled, or you can use bias binding to create a professional decorative finish. Bias binding is like ribbon made of a stiffish fabric. The strip of fabric is cut ‘on the bias’, which means the fibres run diagonally through it, instead of vertically and horizontally. This gives it flexibility to bend.
-
 Step 7
You need a piece of bias binding that is slightly longer than the full distance around the neck line. Fold the bias binding in half between your thumb and two fingers, and poisition so that it encases the edge of your fabric. Sew it down with straight stitch, catching both the front and back of your bias binding, with your fabric sandwiched in between.
-
 Step 8
Bias binding is available in all sorts of colours. You can trim the sleeves of your T-shirt and finish the edges in a different colour bias binding.


Also, I'm pretty tall, so I cut the bottom of another colored tee and sewed it to the bottom of my main t-shirt to add a little length. Just a suggestion for the tall girls!