About
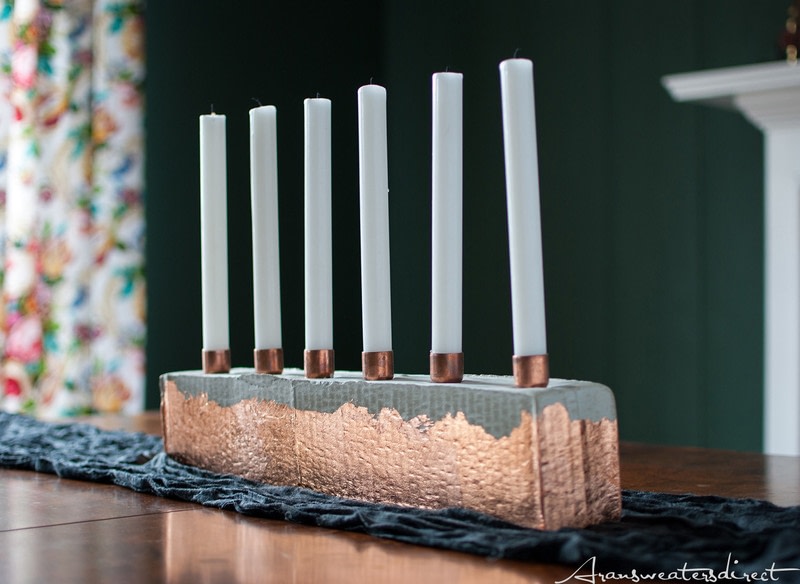
The combination of warmth of copper with the cooler industrial edge of cement for a simple-to-create yet striking centerpiece!
There’s nothing like the magic of candlelight for gathering around the table during the holiday season. This warm and edgy centerpiece will improve the mood of your holiday dinners!
-
 Patricia J. favorited Diy Cement & Copper Candle Centerpiece
29 Mar 01:17
Patricia J. favorited Diy Cement & Copper Candle Centerpiece
29 Mar 01:17
-
 MARIA A. added Diy Cement & Copper Candle Centerpiece to POP TAB/SODA CAN
25 Feb 14:45
MARIA A. added Diy Cement & Copper Candle Centerpiece to POP TAB/SODA CAN
25 Feb 14:45
-
MARIA A. favorited Diy Cement & Copper Candle Centerpiece
25 Feb 14:44
-
 amyistheparty favorited Diy Cement & Copper Candle Centerpiece
19 Nov 18:29
amyistheparty favorited Diy Cement & Copper Candle Centerpiece
19 Nov 18:29
-
Paul C. published his project Diy Cement & Copper Candle Centerpiece
19 Nov 14:24
-
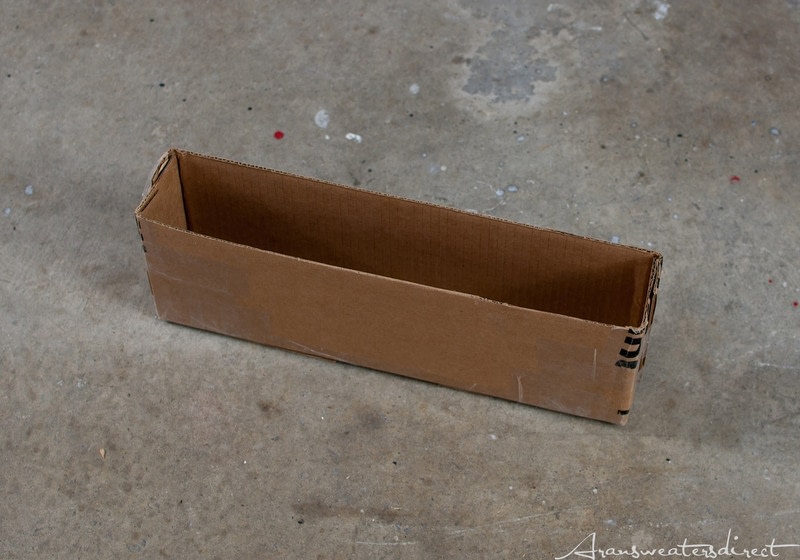
 Step 1
Using the cardboard box and tape, create a form that is roughly the desired size of your finished candleholder.
I wanted my cement candleholder to be 18” long by 3” wide by 4” tall, so I cut the box down to those dimensions and sealed the seams tightly with clear tape.
-
 Step 2
Important: Use proper precautions when handling cement dust, such as a mask to avoid inhaling the dust and heavy-duty gloves to protect your skin.
In the plastic bucket, use the stirring stick to mix the rapid set cement with water according to the instructions on the bag/box. For this candle holder, I used a little more than half of the 25 pound bag of cement mix I purchased.
Work quickly to mix the cement thoroughly and break up any clumps, stirring vigorously for around one minute.
-
 Step 3
Pour the cement into the cardboard form, jiggling the form to help level the cement.
The cement is heavy and may start to expand the sides of the form, so you can brace the form using heavy objects on either side.
-
 Step 4
Wrap each ¾” x ½” copper coupling in a small piece of plastic cling wrap and insert into the wet cement in an evenly-spaced row.
The plastic wrap will keep the cement from filling up the hollow copper piece.
Note: Be very careful to insert the copper pieces as upright as possible.
-
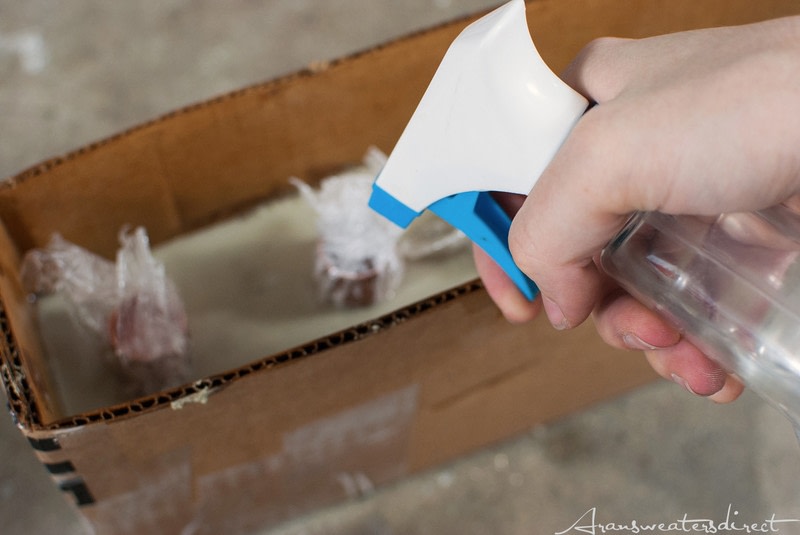
 Step 5
For the first hour while the cement dries, use the spray bottle filled with water to mist the top of the cement and keep it continually damp.
After the first hour, allow the cement to completely dry overnight.
-
 Step 6
Remove the cardboard form from the now-hardened cement candle holder. If any cardboard remains stuck to the surface of the cement, a damp sponge will help remove it.
The cement candle holder is now a blank slate, ready for some copper metal leaf embellishment!
Decide where you would like to apply the copper leaf detail and brush on the metal leaf adhesive. I decided to use messy brush strokes to paint the adhesive onto the cement three-quarters of the way up the side.
Allow the metal leaf adhesive to dry briefly until tacky.
-
 Step 7
Carefully lay copper metal leaf sheets over the tacky adhesive and allow to rest briefly. Then, using a clean paintbrush, burnish the leaf onto the adhesive and whisk away any loose leaf from the surface.
Repeat for the other three sides of the candleholder.
-
 Step 8
Display your new candle holder and fill with candles! The copper coupling pieces are the perfect size for standard taper or dinner candles.