About
Add a retro twist to your succulents
Hi darlings, today was a sunny day and I got inspired to make this stylish pop art vase. You know I have a family – in growth – of succulents I love, so Irene had this great idea of making a Campbell’s Soup Vase at my home.
Downloads
- 101510_2F2014-05-03-165556-Campbell-Soup.jpg 108 KB [ Download ]
-
 Becky favorited Diy Campell’s Soup Vintage Vase
16 May 10:50
Becky favorited Diy Campell’s Soup Vintage Vase
16 May 10:50
-
 Rebecca favorited Diy Campell’s Soup Vintage Vase
15 May 10:49
Rebecca favorited Diy Campell’s Soup Vintage Vase
15 May 10:49
-
 Key West Witch favorited Diy Campell’s Soup Vintage Vase
27 Jun 14:03
Key West Witch favorited Diy Campell’s Soup Vintage Vase
27 Jun 14:03
-
 Summer O. favorited Diy Campell’s Soup Vintage Vase
19 May 22:24
Summer O. favorited Diy Campell’s Soup Vintage Vase
19 May 22:24
-
 amyistheparty favorited Diy Campell’s Soup Vintage Vase
18 Apr 21:47
amyistheparty favorited Diy Campell’s Soup Vintage Vase
18 Apr 21:47
-
 Tara Rees added Diy Campell’s Soup Vintage Vase to DREAM HOME
15 Mar 09:13
Tara Rees added Diy Campell’s Soup Vintage Vase to DREAM HOME
15 Mar 09:13
-
 Mia added Diy Campell’s Soup Vintage Vase to Room Decor
18 Jan 09:11
Mia added Diy Campell’s Soup Vintage Vase to Room Decor
18 Jan 09:11
-
 Tess added Diy Campell’s Soup Vintage Vase to home
10 Aug 16:52
Tess added Diy Campell’s Soup Vintage Vase to home
10 Aug 16:52
-
 Markee R. added Diy Campell’s Soup Vintage Vase to Andy Warhol Factory Party
19 Jun 12:14
Markee R. added Diy Campell’s Soup Vintage Vase to Andy Warhol Factory Party
19 Jun 12:14
-
 MischievousRaven added Diy Campell’s Soup Vintage Vase to bedroom ideas
23 Mar 09:40
MischievousRaven added Diy Campell’s Soup Vintage Vase to bedroom ideas
23 Mar 09:40
You Will Need
-
 Step 1
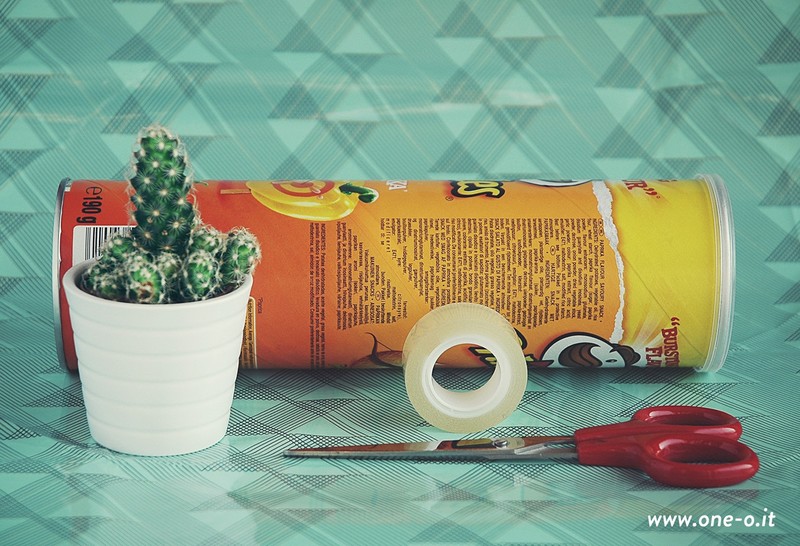
t’s very easy, what you’ll need:
- succulents in vase (mine are the smallest ones from Ikea, very cheap!)
- Pringles tube (or similar)
- scissors
- bi adhesive tape
- nail file -
 Step 2
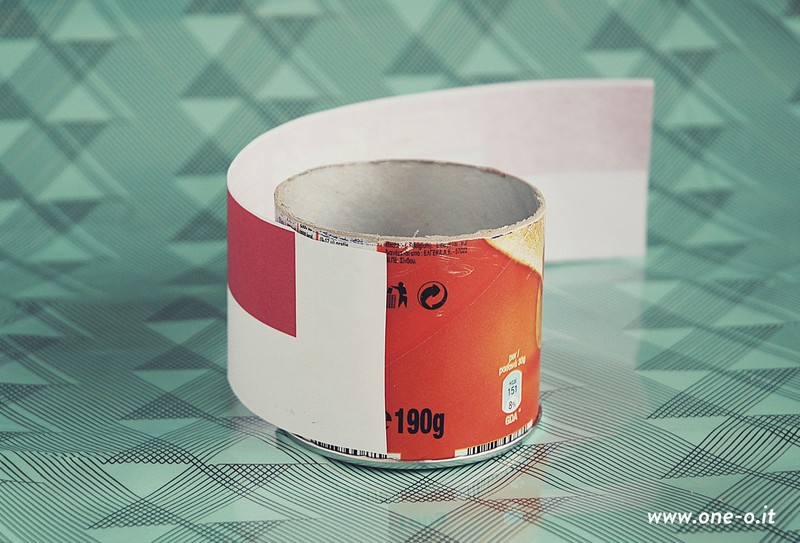
Start by measuring the height of your succulent’s vase (mine was 6 cm) and cut the chips packaging at 6 cm from the bottom. Use a pen and make some marks in order to go straight. Now the packaging will probably have a rough edge like mine had, so grab the nail file and make it softer.
-
 Step 3
Print the image of the packaging you can find just attached to this DIY and cut it like the image shows below (leave blank space on one side for the two strips to overlap).
-
 Step 4
Also, check the height by leaning the piece of paper over the packaging: if it’s too high, work further with the nail.
-
 Step 5
When you’re happy with the look of the edge, apply tape to the back of the longer edge of the label (where we left blank space) and paste to the chips tube. WATCH OUT NOT TO GLUE THE LABEL UP SIDE DOWN ( I was about to do this! fieuuu!).
-
 Step 6
Place another piece of tape on the other end. Now, pull firmly the remaining label all around the tube and stick on the overlapping part. Done!