
About
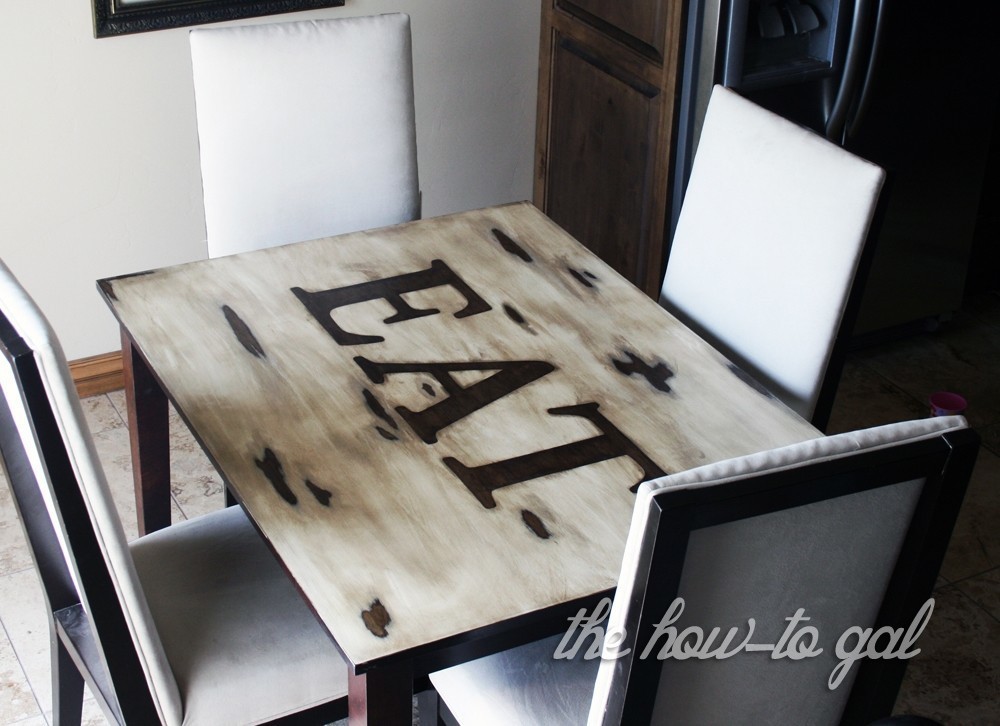
Because eating dinner on a table that says "EAT" is just awesome.
This summer, my neighbor decided to sell her dining room table to upgrade to something bigger. With a price tag of $20, I couldn't resist. I snatched it up with big plans in mind.
-
 MischievousRaven added Distressed "Eat" Table to Mad hatter - tea room
04 Feb 11:00
MischievousRaven added Distressed "Eat" Table to Mad hatter - tea room
04 Feb 11:00
-
 Taylor K. favorited Distressed "Eat" Table
29 Oct 00:19
Taylor K. favorited Distressed "Eat" Table
29 Oct 00:19
-
 Xx13.CrowsxX added Distressed "Eat" Table to Idea
10 Jun 17:43
Xx13.CrowsxX added Distressed "Eat" Table to Idea
10 Jun 17:43
-
 Mariah E. favorited Distressed "Eat" Table
14 Nov 22:35
Mariah E. favorited Distressed "Eat" Table
14 Nov 22:35
-
heather m. favorited Distressed "Eat" Table
11 May 14:59
-
Frances G. favorited Distressed "Eat" Table
28 Apr 16:33
-
 Sandie E. favorited Distressed "Eat" Table
22 Apr 14:37
Sandie E. favorited Distressed "Eat" Table
22 Apr 14:37
-
 Create&Destroy favorited Distressed "Eat" Table
07 Apr 03:56
Create&Destroy favorited Distressed "Eat" Table
07 Apr 03:56
-
 The Downtown Fiction favorited Distressed "Eat" Table
07 Apr 01:53
The Downtown Fiction favorited Distressed "Eat" Table
07 Apr 01:53
-
 Mary H. added Distressed "Eat" Table to Home
03 Mar 23:03
Mary H. added Distressed "Eat" Table to Home
03 Mar 23:03
You Will Need
-
 Step 1
First, I sanded down the table top with 3M Advanced Abrasives sandpaper. There were a few damaged areas, but nothing major. The legs were in perfect condition so they were left completely alone.
-
 Step 2
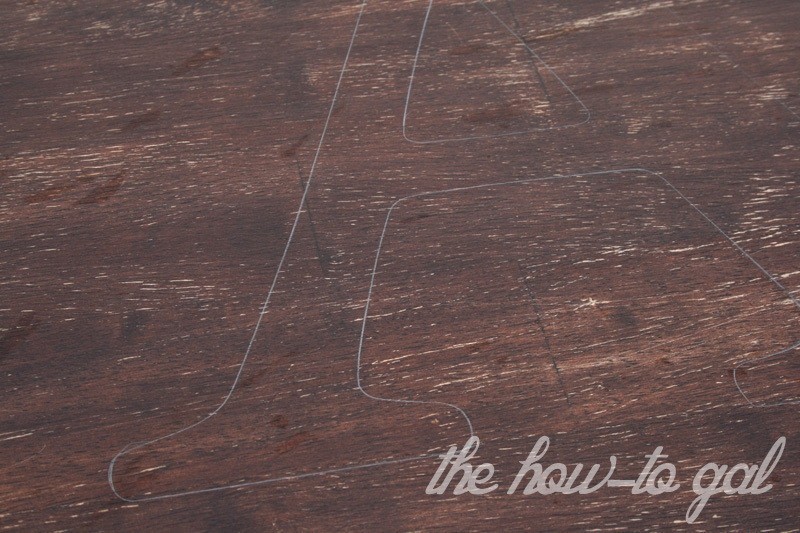
I searched for the perfect letter templates and found these large MDF pieces at Michaels for a little over $1 a piece.
I placed the letters on the table and traced around them with pencil.
-
 Step 3
Then I cut the letters out of contact paper and stuck them onto my pencil-drawn template.
-
 Step 4
I covered the sides of the table with ScotchBlue Painter's Tape to guard against paint drips.
To really make the letters pop, I painted the table top with three coats of cream, latex-based paint. I didn't paint it perfectly or even cover the table completely because I planned on distressing it later.
I waited until the paint was dry to peel off the contact paper. This was a mistake...peel it off when the paint is still a little wet. I think you'd get cleaner lines.
-
 Step 5
For the finishing touches, I sanded down certain areas and the edges to the wood grain. Then I wiped a few layers of stain over the top, focusing on the areas where the wood grain showed through. The stain seeped into the cracks and crevices of the painted surface, giving it an "old world feel."
When the stain was dry, I covered the top with three coats of polyurethane. Follow the instructions on the back of your particular brand. Mine required four hours of dry time and a light sanding in between coats.