


About
Rawr!
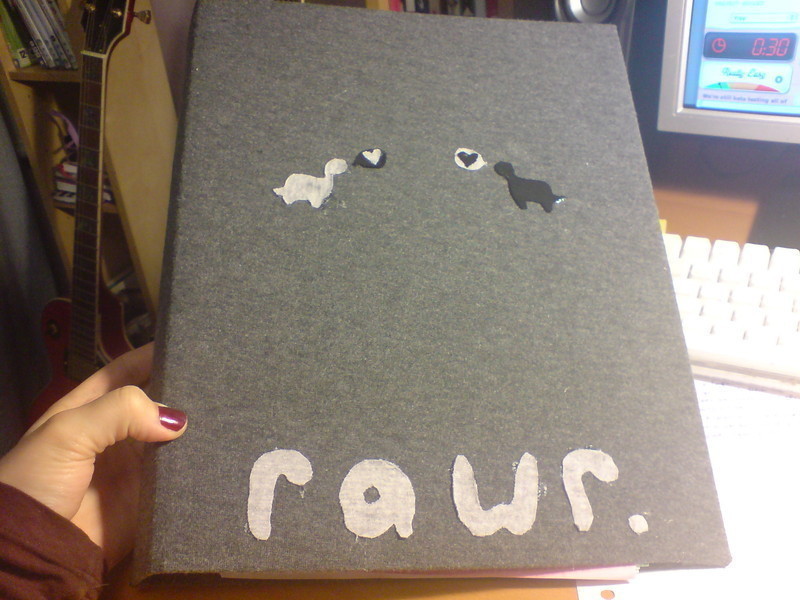
I needed something to cheer me up during double French, and what else does the job better than two dinosaurs in love? Aww.
Tags
-
 SilverSnake S. favorited Dinosaur Love Folder
09 Aug 00:40
SilverSnake S. favorited Dinosaur Love Folder
09 Aug 00:40
-
 Angeliiii entered their project Dinosaur Love Folder to Glue Contest
20 Apr 17:39
Angeliiii entered their project Dinosaur Love Folder to Glue Contest
20 Apr 17:39
-
 Step 1
Rip any tags from the folder, so that you have a blank canvas to work with.
-
 Step 2
Straighten out the dark gray T-shirt and lay the folder on top of it. Then draw directly around the outside of the folder.
-
 Step 3
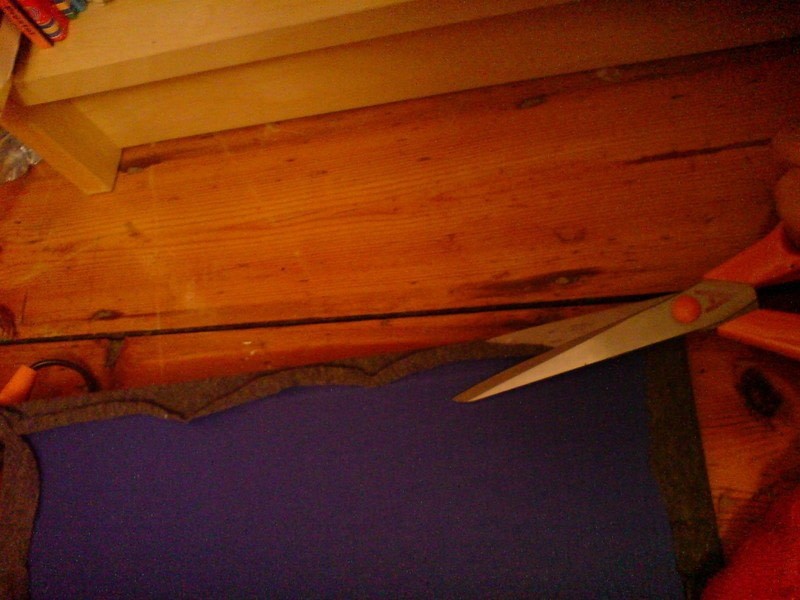
cut out the rectangle of fabric leaving about an inch extra around the outside.
-
 Step 4
Design your little dinosaur on a piece of paper
-
 Step 5
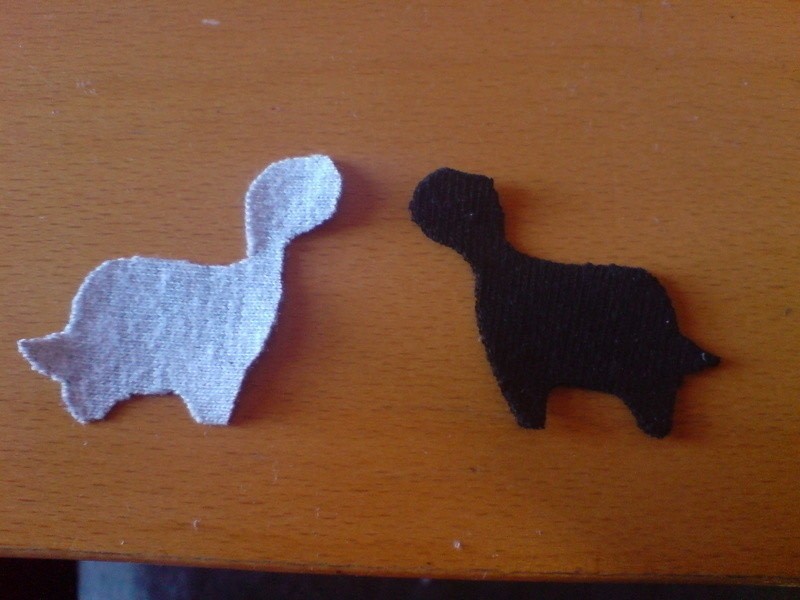
Copy the design on to a scrap of the baby gray material and a scrap of the black material, then cut it out. I half free-hand cut this because the pen did not really show up on the black.
-
 Step 6
Next, cut out two little speech bubbles and two little hearts, one from each material. These are pretty easy to free-hand cut, just a bit fiddly!
-
 Step 7
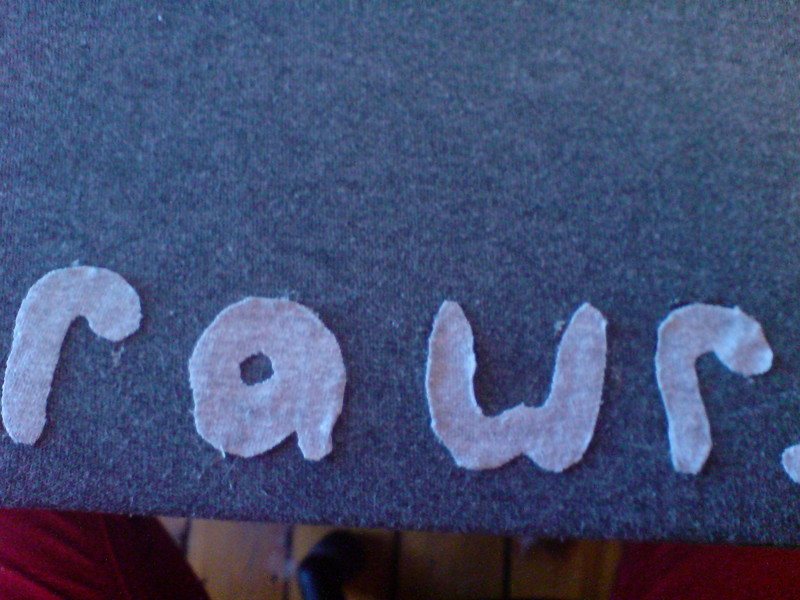
Cut out the following letters: 2xR, 1xA, 1xW, and also a full stop. I thought it looked the best when these were all made out of baby gray, but you can choose the colour you like.
-
 Step 8
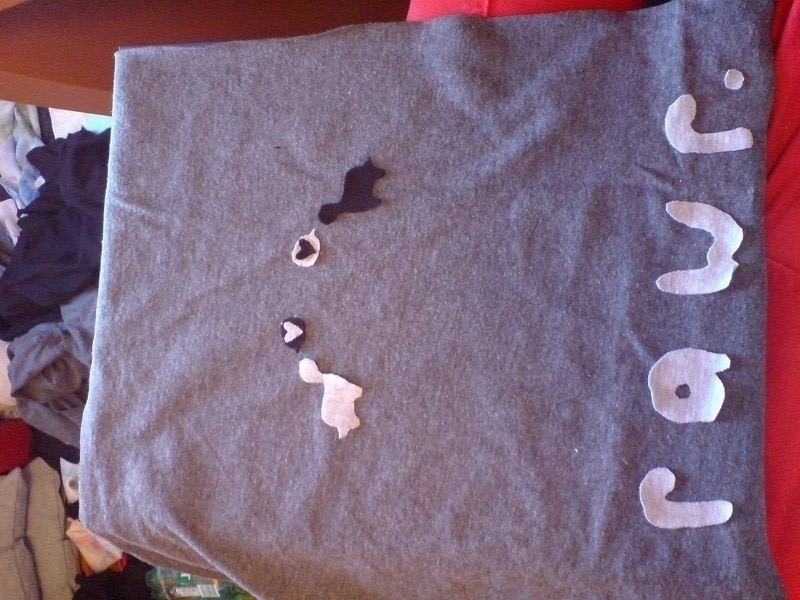
arrange all the pieces on top of the folder to see which layout looks best, and to congratulate yourself for how awesome it looks so far :P! (sorry this is sideways, i have no idea how to flip it!)
-
 Step 9
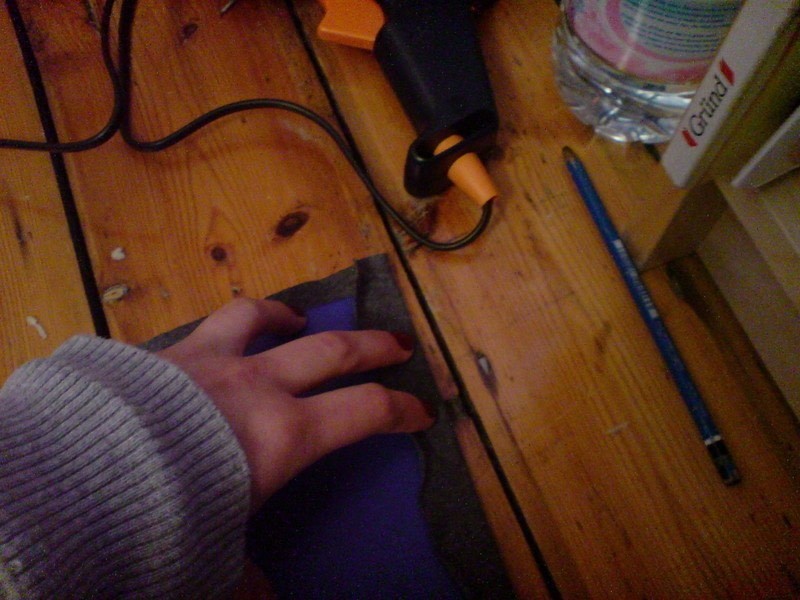
Get the glue gun out, put all the little pieces to the side, and lay the folder on top of the gray material again. Make sure it is centered, then glue gun down each edge, and quickly fold the overlapping material over and hold it down until it has dried. Repeat around all four edges.
-
 Step 10
cut off any extra bits of material that don't look nice.
-
 Step 11
close the folder again, and re-arrange all the little bits on the front, then proceed to gluegun them all down. Warning: i burnt myself a LOT during this step. And it really hurts! So be careful.
-
 Step 12
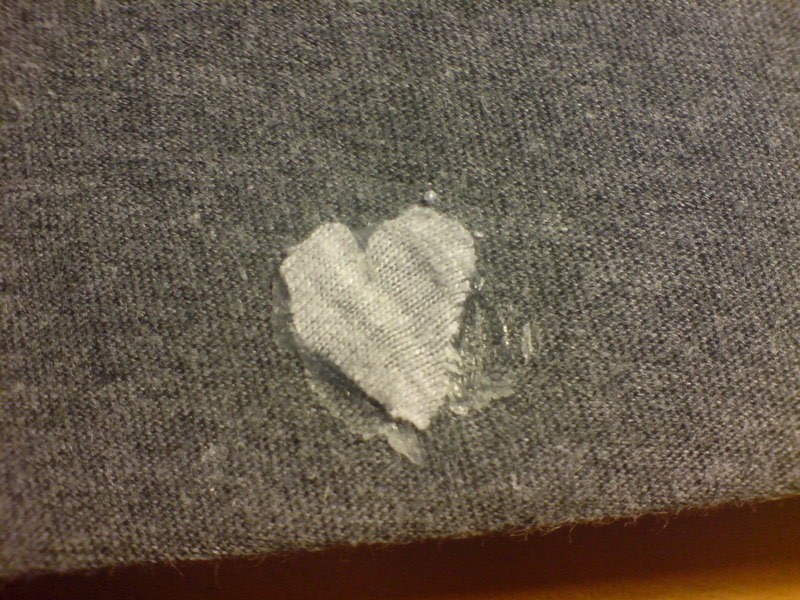
Add a little heart to the back :) (i cut this out after finishing because i thought the back looked to plain, but you don't have to do this step!)


Comments


