


About
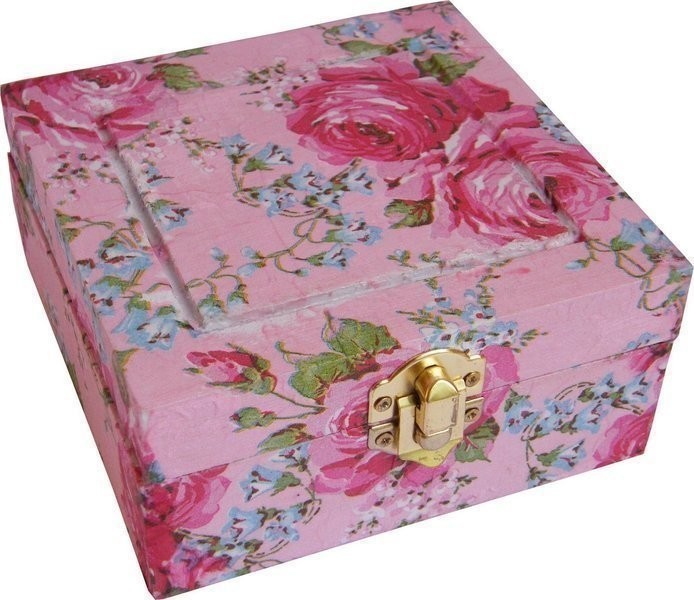
How To Decorate Wood With Paper Napkins
Click on any photograph to see larger image.
-
 Theresa C. favorited Decorate Wood With Paper Napkins
22 Apr 20:24
Theresa C. favorited Decorate Wood With Paper Napkins
22 Apr 20:24
-
 stephanie C. favorited Decorate Wood With Paper Napkins
07 Sep 16:16
stephanie C. favorited Decorate Wood With Paper Napkins
07 Sep 16:16
-
Susan J. commented on Decorate Wood With Paper Napkins
25 Jun 21:30
-
Susan J. favorited Decorate Wood With Paper Napkins
25 Jun 21:27
-
 Alice N. added Decorate Wood With Paper Napkins to Room Deco
07 May 13:08
Alice N. added Decorate Wood With Paper Napkins to Room Deco
07 May 13:08
-
 Kay T. favorited Decorate Wood With Paper Napkins
12 Nov 23:14
Kay T. favorited Decorate Wood With Paper Napkins
12 Nov 23:14
-
 Lesley D. favorited Decorate Wood With Paper Napkins
22 Feb 13:20
Lesley D. favorited Decorate Wood With Paper Napkins
22 Feb 13:20
-
 harley r. favorited Decorate Wood With Paper Napkins
02 Jun 19:11
harley r. favorited Decorate Wood With Paper Napkins
02 Jun 19:11
-
Penny S. favorited Decorate Wood With Paper Napkins
20 Jun 19:23
-
 Millie H. added Decorate Wood With Paper Napkins to Organize and display
26 Mar 00:37
Millie H. added Decorate Wood With Paper Napkins to Organize and display
26 Mar 00:37
-
 Step 1
Remove all the hinges from the box
-
Step 2
Mark on the inside of the box where the holes for screwing are – this will make life easier at the end of the project!
-
 Step 3
Apply one coat of matt paint to the surfaces of your box that you wish to cover
-
Step 4
When the paint has dried, apply the Mod Podge – again, to all the surfaces you wish to cover
-
 Step 5
Separate ALL layers of your paper napkin until you have just one layer. (This takes a bit of practice but it is crucial that you only have one layer of napkin.)
-
Step 6
Gently lay the napkin onto your box trying to avoid getting any creases.
-
 Step 7
With Mod Podge on your brush, gently apply a layer over the top of your napkin, smoothing it onto the box carefully with your brush. This layer of Mod Podge seals your napkin and acts like a varnish
-
 Step 8
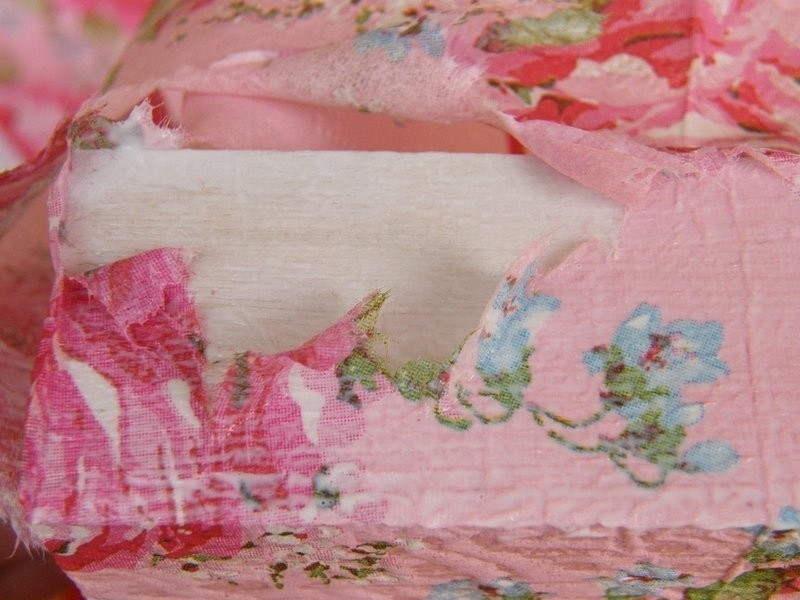
Don’t panic if you get some tears or rips.
-
 Step 9
Try to find a matching part of the pattern on another napkin and tear a piece off to cover the rip. Don’t cut it with scissors, as you want the torn edges to blend into the ripped piece. Stick your “repair” piece onto your box with the Mod Podge on your brush.
-
 Step 10
Stick your “repair” piece onto your box with the Mod Podge on your brush.
-
Step 11
Fold down all the corners, trimming off any excess and smoothing down with Mod Podge on your brush.
-
Step 12
When your box has gone tacky, gently poke some holes through the tissue paper so that you can screw the hinges back into place later.
-
Step 13
Leave to fully dry and that’s it!
-
 Step 14
Screw the hinges back into place and decorate with any embellishments.
You could also line the inside of the box in the same way, just make sure the outside is completely dry first.
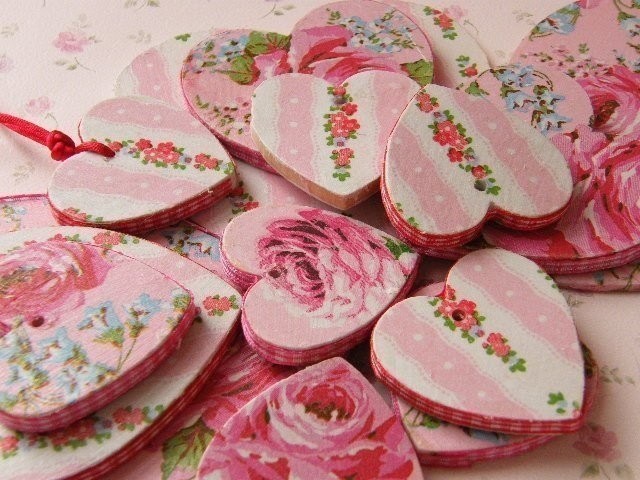
If you don't want to use a box, this process will work on any wooden or mdf shape.
I hope maybe that's inspired you to have a go ... I'd love to see pictures of any projects you make!


Comments


