


About
Recreate a Stylish Old Tank Top + Cereal Box into a Dazzling New Handbag!
HELLO CEREAL BOX!!
I made this using an old tank top from the back of my closet...
...And recycling cereal boxes into accessories is fun +
Gifts are always on my mind...!
I have seen many templates but none for the specific design I had in mind.
Since I couldn't find what I wanted, I just winged it -- and
I took some pictures along the way!!!
Let me know what you think!
-
 Dawn C. added Dazzling *Cereal Box* Clutch Or Purse to Purse
10 Aug 21:25
Dawn C. added Dazzling *Cereal Box* Clutch Or Purse to Purse
10 Aug 21:25
-
Shantelle t. added Dazzling *Cereal Box* Clutch Or Purse to something i'd like to try
02 Oct 02:53
-
 KLUVATL replied to a comment on her project Dazzling *Cereal Box* Clutch Or Purse
03 Jun 00:56
KLUVATL replied to a comment on her project Dazzling *Cereal Box* Clutch Or Purse
03 Jun 00:56
-
KLUVATL replied to a comment on her project Dazzling *Cereal Box* Clutch Or Purse
03 Jun 00:56
-
KLUVATL replied to a comment on her project Dazzling *Cereal Box* Clutch Or Purse
03 Jun 00:56
-
michelle d. favorited Dazzling *Cereal Box* Clutch Or Purse
06 Nov 01:51
-
 Andree D. favorited Dazzling *Cereal Box* Clutch Or Purse
25 Oct 22:37
Andree D. favorited Dazzling *Cereal Box* Clutch Or Purse
25 Oct 22:37
-
 Romana S. favorited Dazzling *Cereal Box* Clutch Or Purse
09 Sep 14:40
Romana S. favorited Dazzling *Cereal Box* Clutch Or Purse
09 Sep 14:40
-
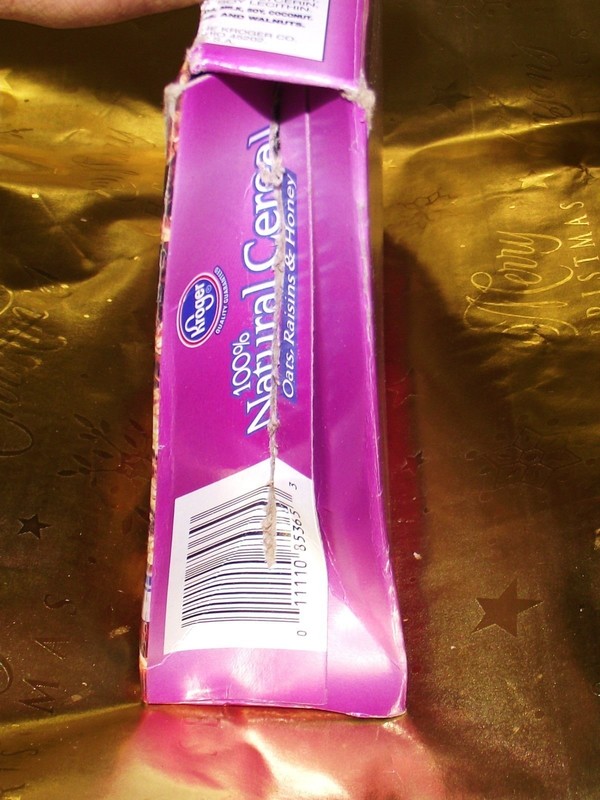
Step 1
1) Turn the box upside down to the barcode area.
Make sure the barcode is to your left.
Note: This side of the box will actually become the right side panel of your handbag.
-
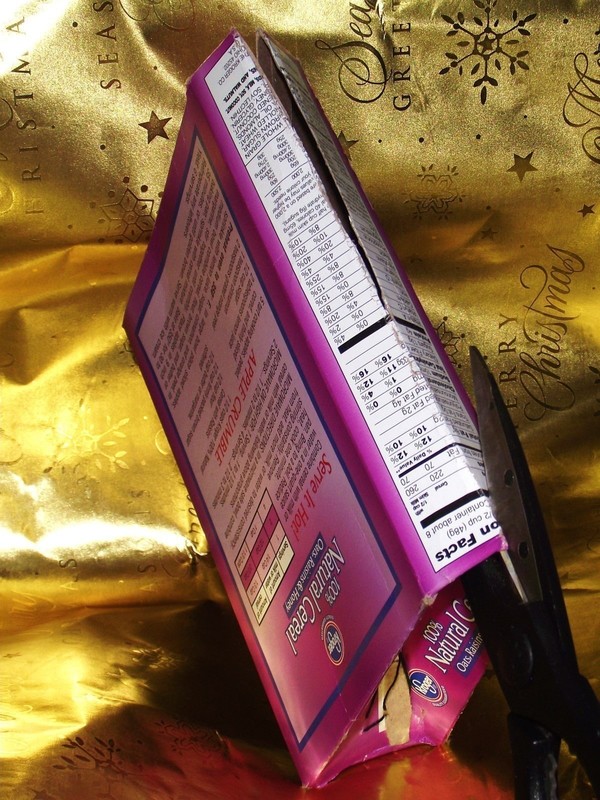
 Step 2
2) Caution: This method is to create symmetrical, easy-bending panels --
DO NOT slice through the box!Using the Scissors (or Exacto Knife),
Starting on the right (further away from the barcode),
Begin lightly tracing a 4-inch line down the center of the panel (with a Ruler if necessary),
Continuing until you are 2 inches away from the other end.
Note: The slice should end about an inch over the barcode.
-
 Step 3
3) Fold the panel along the crease you just made, then
Cut one inch down the crease at that same top of the panel.
Note: If the panel does not crease easily, simply repeat Step 2.
-
 Step 4
4) Next, hold the box vertically (top-side up), and
Close the Cereal Box's inside flaps,
Followed by the top flaps.
Note: This side of the box will become the left side panel of your handbag.
-
 Step 5
5) Using the Needle & Thread (or Glue),
Connect the small flap on the left (under the brand name) and the two top flaps together,
Leaving the small flap on the right unattached underneath.
Note: Make sure the three panels are secure, yet loose-fitting (otherwise, see Step 2.)
-
 Step 6
6) Caution: Do not bend the bottom of the handbag!
Holding the box horizontally
(Left panel in your left hand and the right panel in your right),
Slightly bend each panel inward on the lines you scored.
-
 Step 7
7) Make a fold at the top of the handbag (see Steps 2 and 3) then
Cut through the straight line you just made, creating two flaps.
-
 Step 8
8) With the barcode facing you, tuck the flaps on the left inward and over.
Drape the other flap over the edge of the purse's front.
Meanwhile, slightly squeeze the top of the clutch.
If the line is not straight, correct it using your sharp instrument.
-
 Step 9
9) Next, line the entire outer box with Duct Tape
Starting about a 1/2 inch over the front inside panel, and
Continuing to the back to cover the clutch's cover flap.
Also, carefully line the inner bottom and side panels.
Be sure to secure the outer corners and edges last.
Hint: Use the Duct Tape to create a new "ending line" if you want the cover flap extended.
-
 Step 10
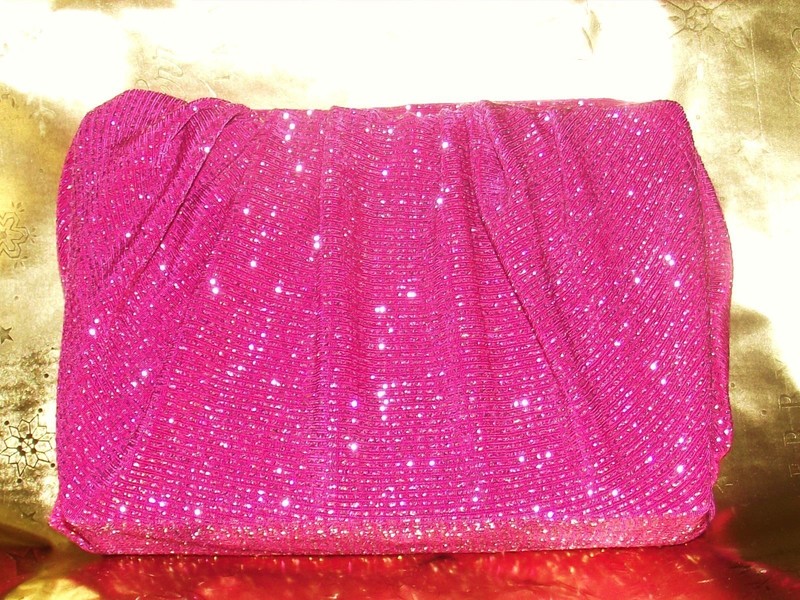
10) Drape some Fabric around your clutch and
Secure it in place using Needle & Thread or Glue or even lapel pins!
-
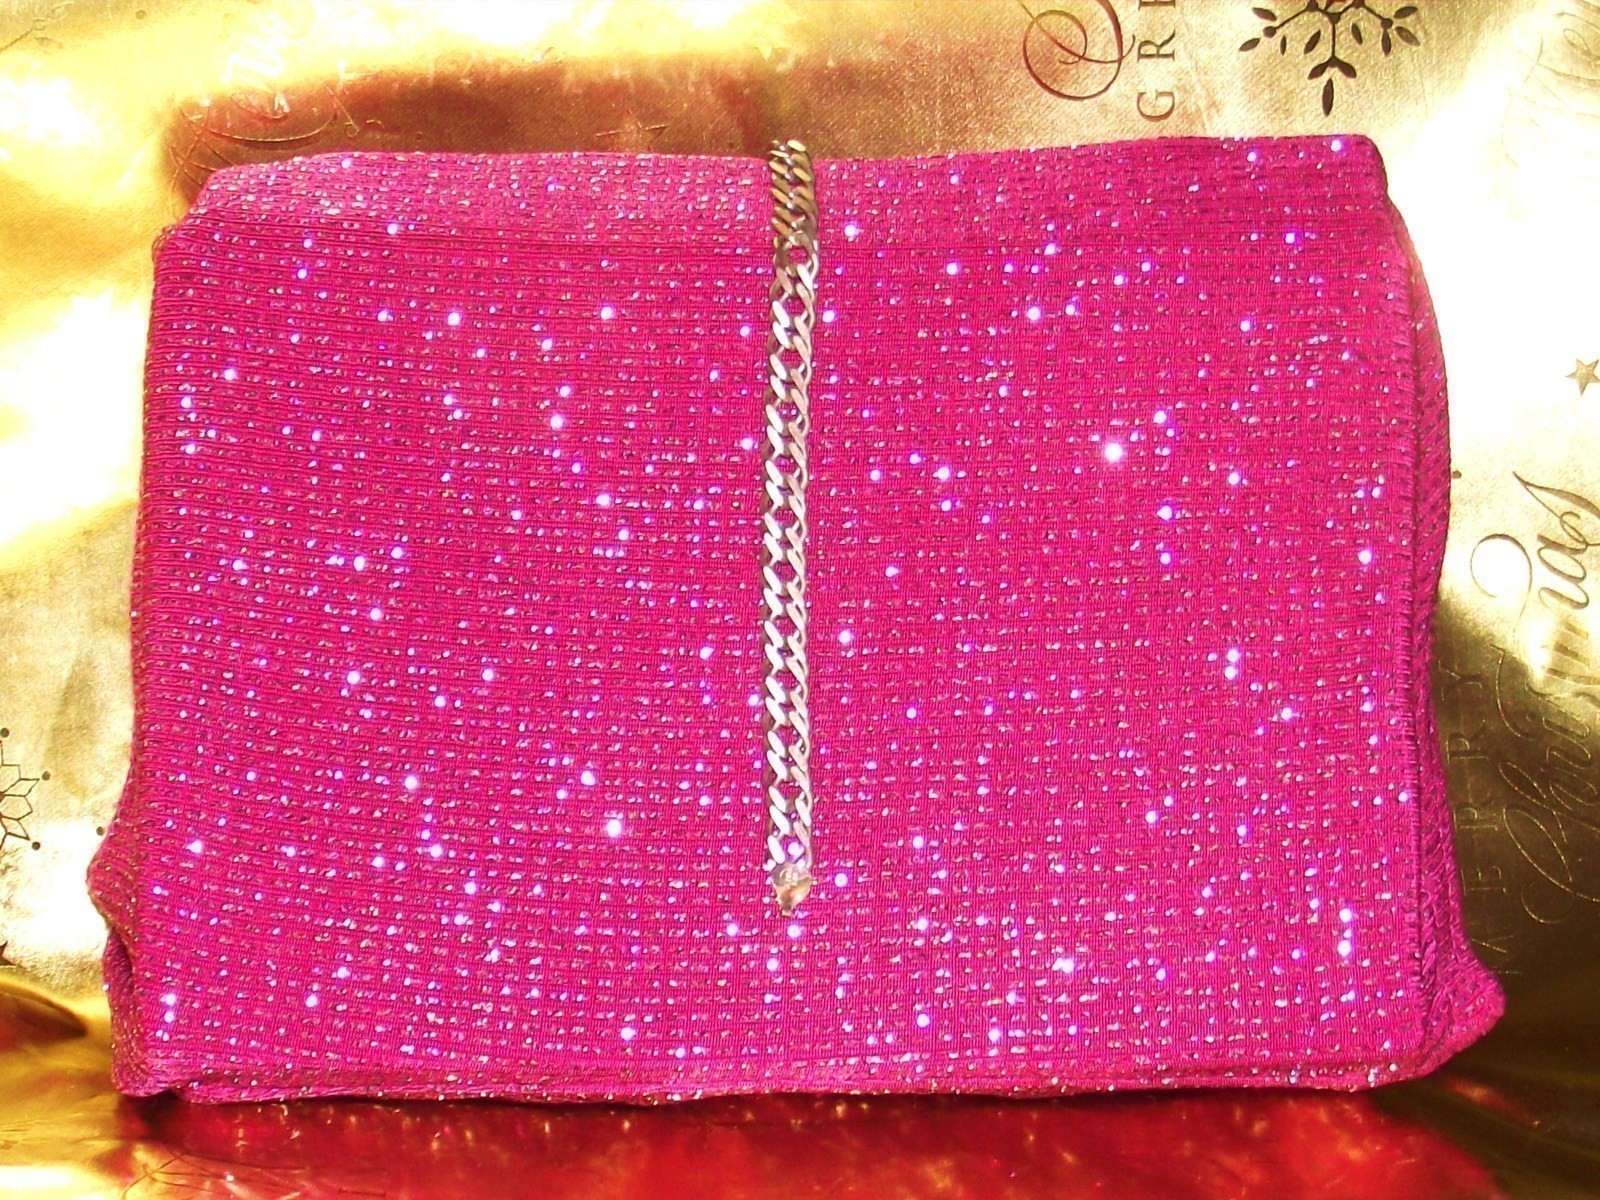
 Step 11
11) Don't forget to add your own personal touch of wonderful embellishments!
HELLO CLUTCH!!!
Congratulations!!
Your very own perfect,
Hand-crafted holiday gift(s)
For yourself, family AND friends!


Hopefully by the time spring rolls around I can take some video footage but in the meantime I shall prep!
If you have any questions, just message/comment me and I'll do my best to answer them for you ASAP!