

About
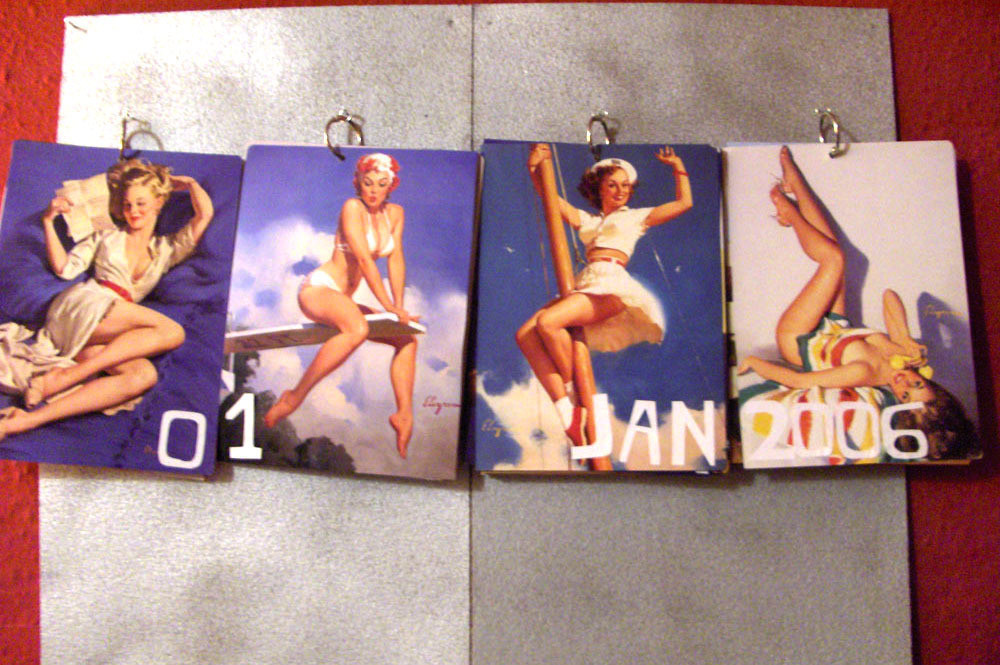
Keep track of the date with a handy date flipper.
It can take a long time to cut out each of the numbers and letters for the date. So, being as lazy as I am, I cut them out each day or month I needed them.
Tags
-
 Angel C. favorited Date Flipper
21 Mar 22:50
Angel C. favorited Date Flipper
21 Mar 22:50
-
 Penny F. added Date Flipper to decorating ideas
28 Apr 10:19
Penny F. added Date Flipper to decorating ideas
28 Apr 10:19
-
Theresa S. favorited Date Flipper
18 Nov 15:51
-
 Veronica B. favorited Date Flipper
09 Nov 23:42
Veronica B. favorited Date Flipper
09 Nov 23:42
-
 Step 1
You can use any kind of image you want for this, just make sure to have 27 or more individual pieces. I got my cards from an old day planner. Separate your cards, or whatever you are using in to 4 groups. A group of 4 for the first part of the date, a group of 10 for the second part of the date, a group of 12 for the month and one card or more for the year.
-
 Step 2
Cut your letters and numbers out of paper. Make all the months, whatever years you want to do, the numbers 0 - 4 and then 1 - 31 for the day.
-
 Step 3
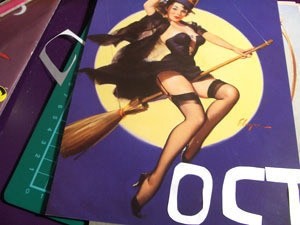
Stick the relevant day / month / year to the cards.
-
 Step 4
Measure to find the center of the cards and the mark it.
-
 Step 5
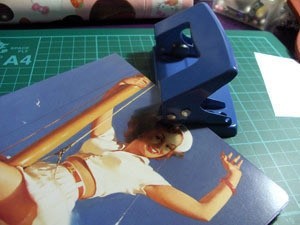
Punch a hole, where marked, on all the cards.
-
 Step 6
Organise the piles in to the correct order and open a binder hoop.
-
 Step 7
Slip a binder hoop on to each pile.
-
 Step 8
Slip a large jump ring on to each of the hoops and close.
-
 Step 9
Now you have finished your date flipper. The next part is a suggestion for hanging.
-
 Step 10
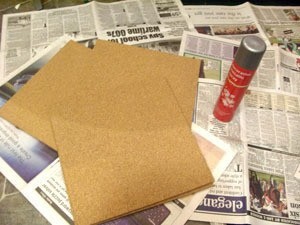
Find a nice dull wall that needs brightening up. Take four cork board squares, these are made from the same material as notice boards etc.
-
 Step 11
Spray paint or decorate the boards to make them look more interesting and then nail them to the wall.
-
 Step 12
Bang in a nail for each pile of the date flipper and then slip the jump rings on to the nail. Use thumb tacks to attach other interesting pictures and bits and pieces to your board.


thanks for putting this up!
i have a vargas girl tatto on my back
they are so gorgeous!
CO + K User
I did Charlie Chaplin.
Hashi
sunshinedreams
jo